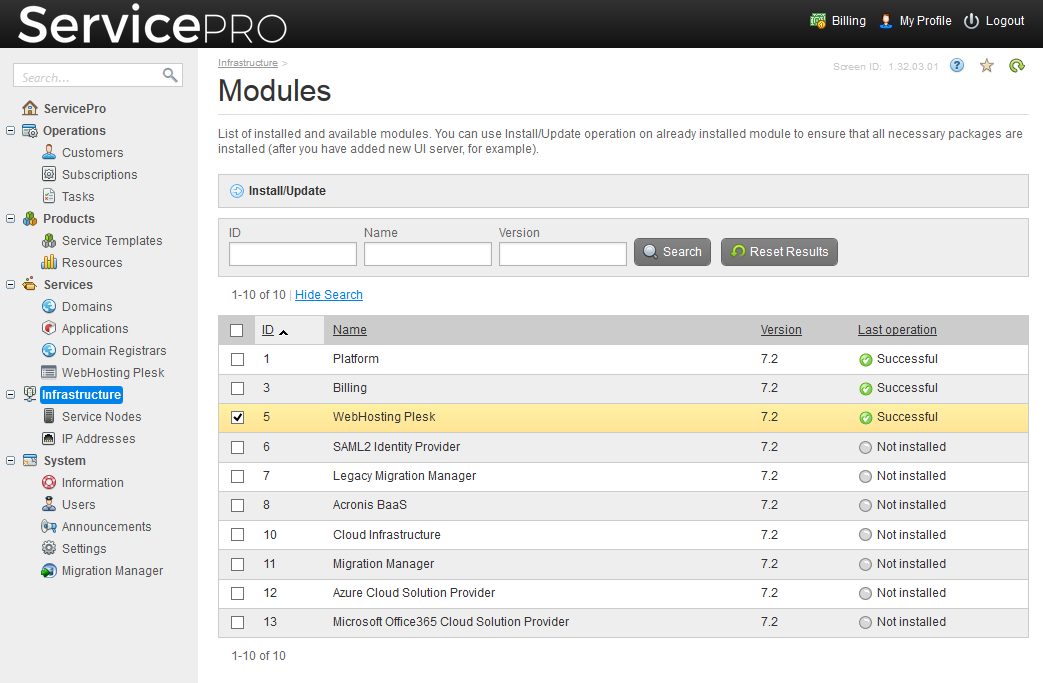
If you have installed CloudBlue Commerce without the WebHosting Plesk module, you can easily install the module from the provider’s control panel: Go to Infrastructure > Modules, select the checkbox next to WebHosting Plesk, and click Install/Update.
If you have set up a number of Online Stores in Billing, make sure that the first Online Store is active before you proceed to adding a service node with the WebHosting Plesk Websites Manager role: Go to Billing > Products > Online Store > Switch Store, click the name of the store with ID 1 in the list, and click Activate, Set Default, and Select for Editing. After you add a service node with the WebHosting Plesk Websites Manager role, as described further in this section, you can deactivate the first Online Store, if you need to.
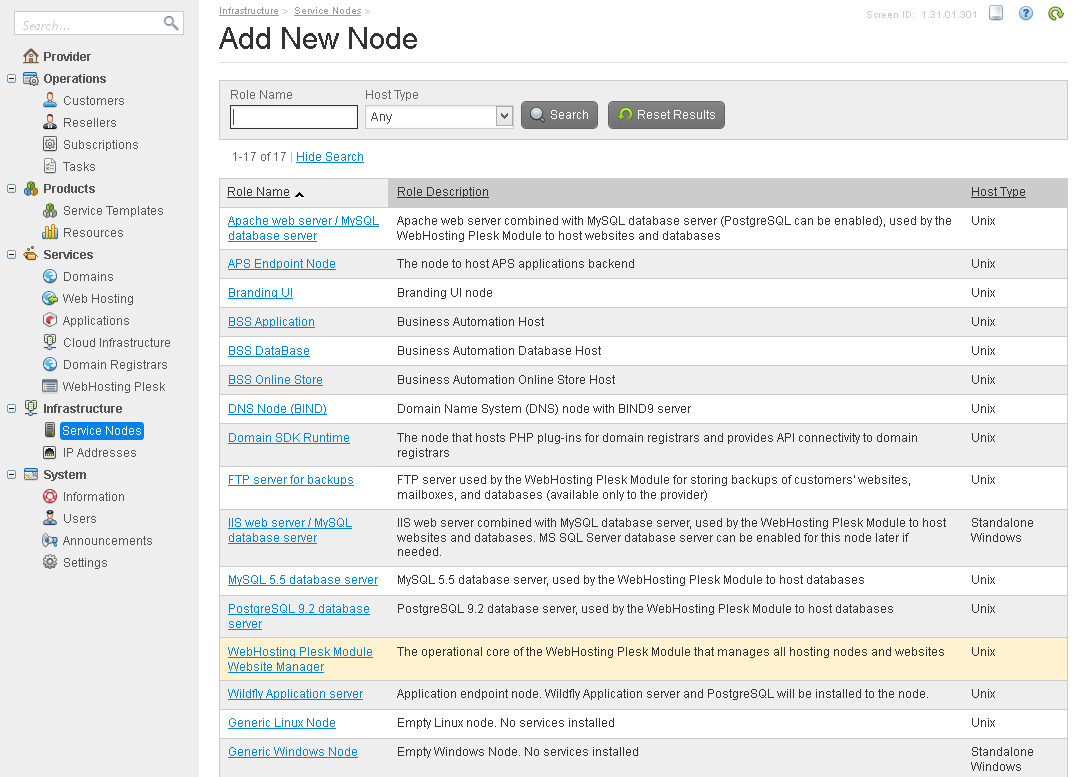
To add a service node with the WebHosting Plesk Websites Manager role: Go to Infrastructure > Service Nodes > Add New Node, and select the WebHosting Plesk Module Websites Manager role.
To install a predefined set of service templates and service plans, which will simplify the initial setup of the WebHosting Plesk module:
- Go to Billing > Products > Service Plans > Plan Categories, locate the ID that corresponds to the Hosting Services category, and copy it to a text file or write it down. You will need to specify it in subsequent steps.
- Go to Operations > Services > Applications, locate the ID that corresponds to WebHosting Plesk, and copy it to a text file or write it down. You will need to specify it in subsequent steps.
- Go to Infrastructure > Service Nodes, click the host name of the service node that has the role WebHosting Plesk Module Website Manager. Click the Packages tab, click Install Package, locate the package called shm_configuration, and click the Install package icon in the Actions column.
- Click the Edit properties icon in the Action column.
- Specify the ID of the plan category that you obtained in step 1, and the ID of the WebHosting Plesk application that you obtained in step 2. Click Submit.
- Click Finish.
After the deployment is completed, proceed to adding the necessary number of service nodes, as described in Adding Service Nodes.