The default language packs are installed automatically during CloudBlue Commerce 21.0 deployment.
Important: When upgrading to CloudBlue Commerce21.0, default locale customizations and custom locales are migrated automatically.
The English language pack is enabled automatically. The other default languages must be enabled manually.
To enable other default locales:
- Step 1: Check which locales are installed to your system.
- Step 2: Enable default locales for CloudBlue Commerce components.
- Step 3: Enable language choice in the UI.
Important: The maximum number of language packs allowed in the system is 8 (including English). Installed language packs cannot be removed.
Note: To order additional language packs, please contact CloudBlue Commerce support.
Step 1. Check the Installed Locales
To view the locales installed to your system:
- Log in to the Provider Control Panel > Operations.
-
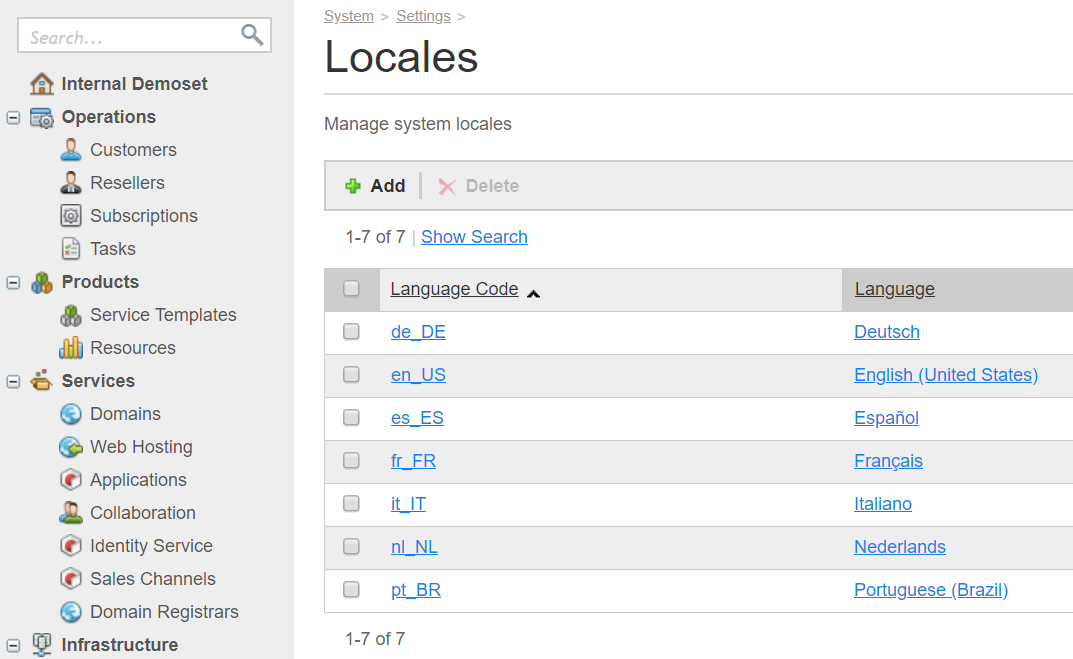
Go to System > Settings > Core > Locales. The installed locales will be displayed, including the English locale:
Step 2. Enable Default Locales for CloudBlue Commerce Components
To enable default locales on CloudBlue Commerce components:
-
To the global config map a8n-config, add the key ENV_LOCALES with the value equal to a comma-separated list of locale abbreviations. For example:
kubectl edit cm a8n-config
...
data:
  ENV_LOCALES: en,de
Note: The English locale, en, is available by default. You do not need to specify it.
-
Restart UI and Branding:
kubectl rollout restart deployment branding-ui-cluster-ui
-
Restart the bss-atm pod:
kubectl rollout restart deployment bss-atm
-
Restart the oss-node pod:
kubectl rollout restart sts oss-node
Step 3: Enable Language Choice in the UI
Please see Managing Brand Interface Settings.