-
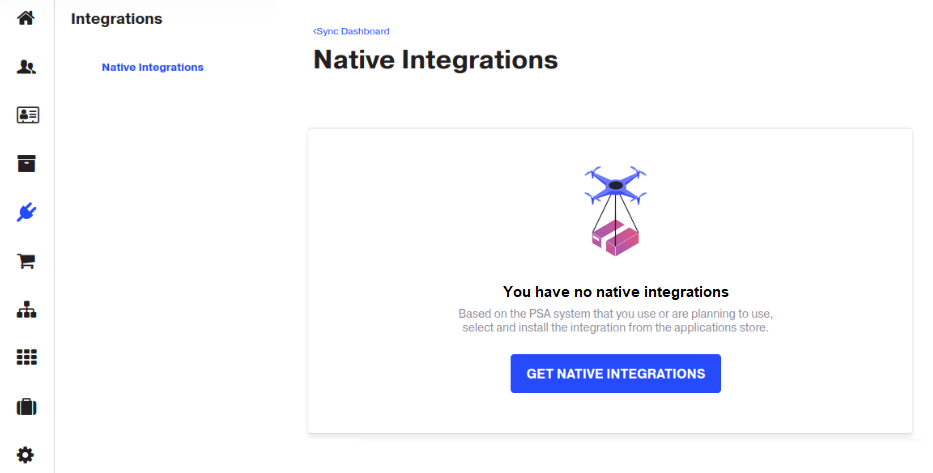
In your UX1 for Resellers, click Integrations.
-
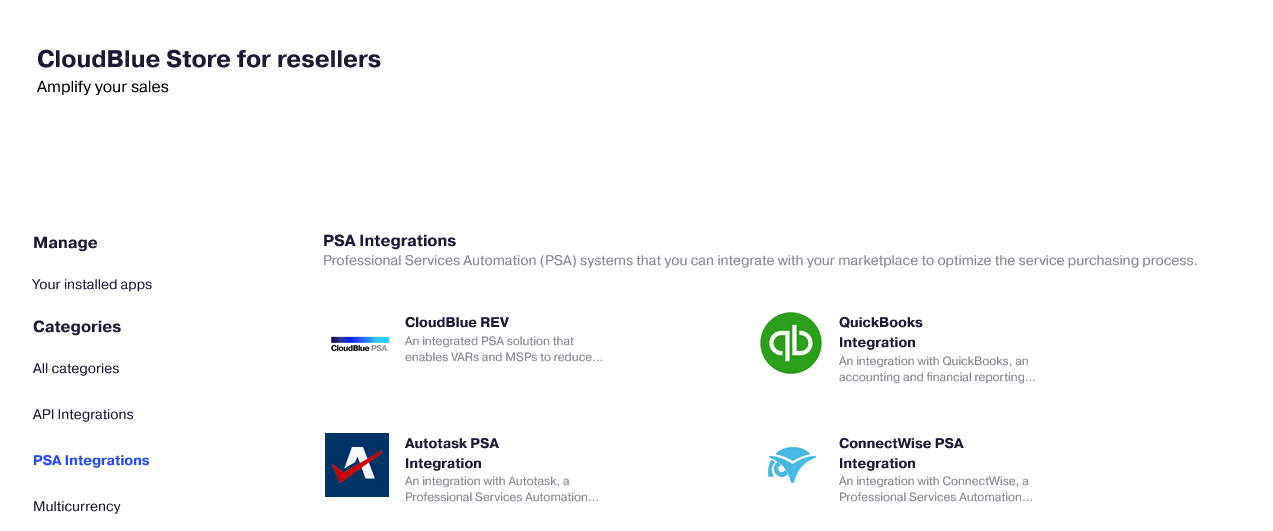
Click Get Native Integrations. You will be redirected to the CloudBlue Store for Resellers.
-
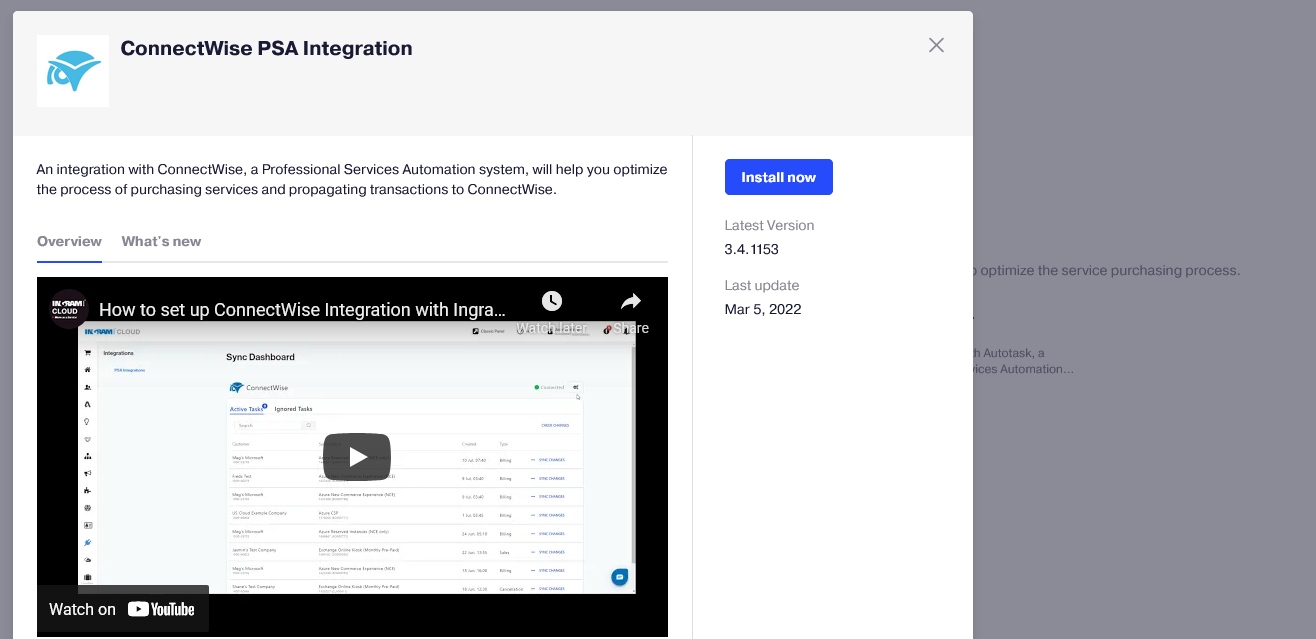
Click ConnectWise Native Integration.
-
In the pop-up window that displays, click Install now.
-
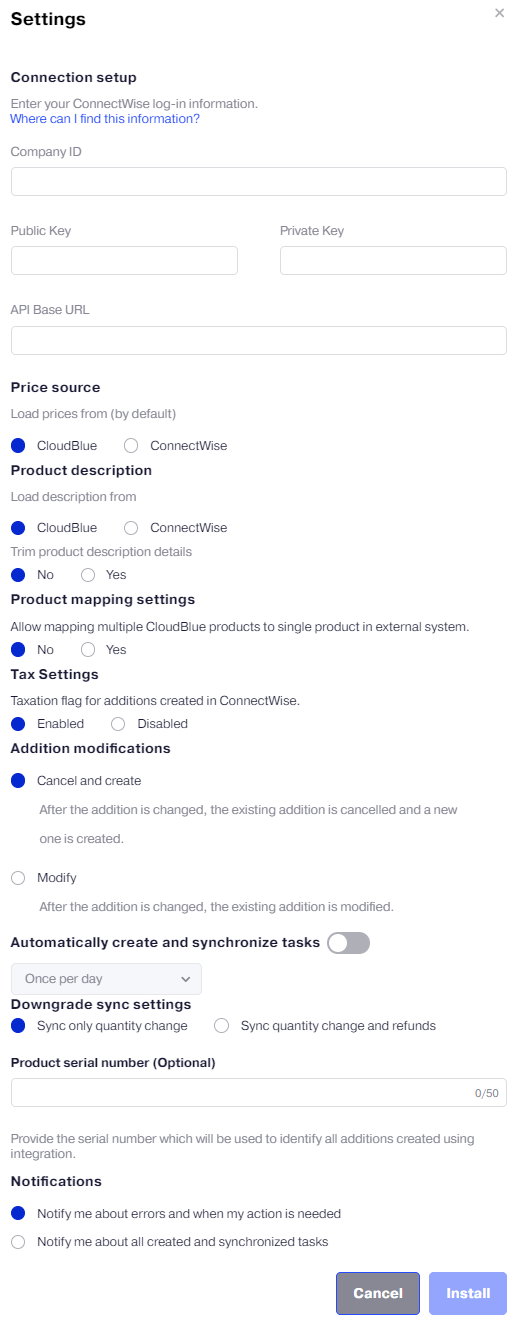
In the Settings pop-up window that displays, specify:
- Connection settings:
- Company ID,
- Public Key,
- Private Key,
- API Base URL.
For instructions on how to configure API credentials, refer to Obtaining ConnectWise API Credentials.
-
Whether to load prices and their descriptions from ConnectWise or Reseller Marketplace by default.
-
Whether or not to trim product description details. When Yes is selected, only the product name is used in the line description.
-
Whether or not to allow mapping multiple products to a single product.
-
Whether to enable or disable the Taxation flag for additions created in ConnectWise.
-
Whether to cancel and create a new addition after its modification or to keep all addition modifications.
-
Whether to automatically create and process synchronization tasks. You can select from the two options of change checking periodicity: once per day, or once per 5 min. It is also required to enable auto-sync at the customer level.
-
Whether to sync refunds on downgrades or sync only resource quantity changes.
-
The product serial number parameter can be specified to identify CloudBlue Commerce as the source of data synchronized. The serial number will be added to newly created additions. Serial numbers of existing additions will not be modified.
-
Events you want to be notified of and tracked: only about errors and actions required from you, or about all tasks. These notifications are displayed in pop-up messages and Action Log.
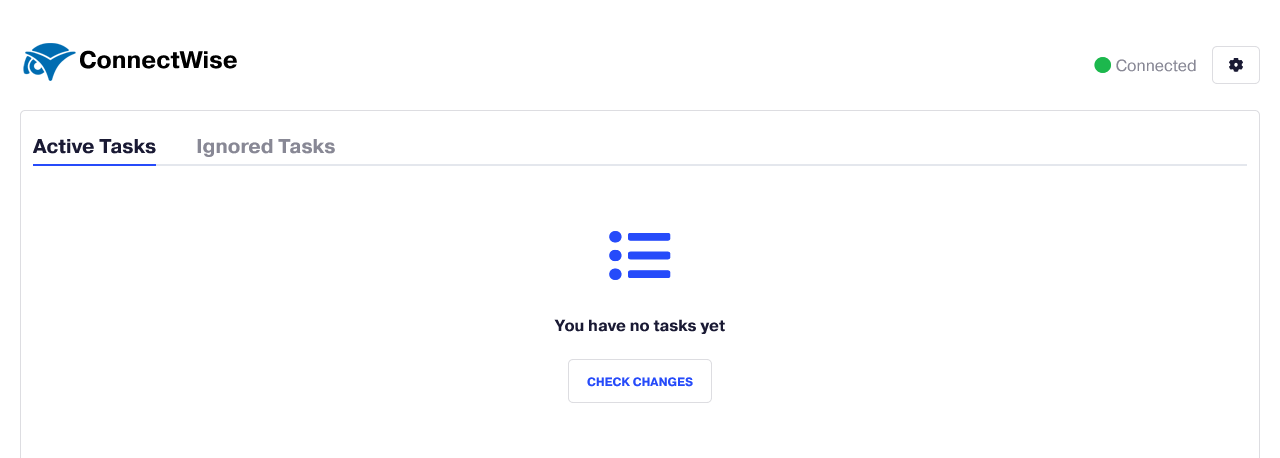
Note: You can access these settings later by clicking the gear icon on the dashboard and selecting Settings.
- Connection settings: