To validate the QuickBooks, Xero and Sage redirect URLs when integrating Cloud Marketplace with QuickBooks, Xero and Sage, perform these steps:
-
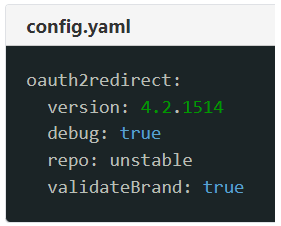
In the config.yaml file, enter "true" for the validateBrand variable.
-
Contact your account manager or support to add the validated redirect URLs to the application.
If you have multiple instances of CloudBlue Commerce, additional configuration of APS Bus Access and Federated Services is required for all instances where OAuth 2.0 Redirect is not installed.
Upgrading OAuth 2.0 Redirect to 1.1 or later
-
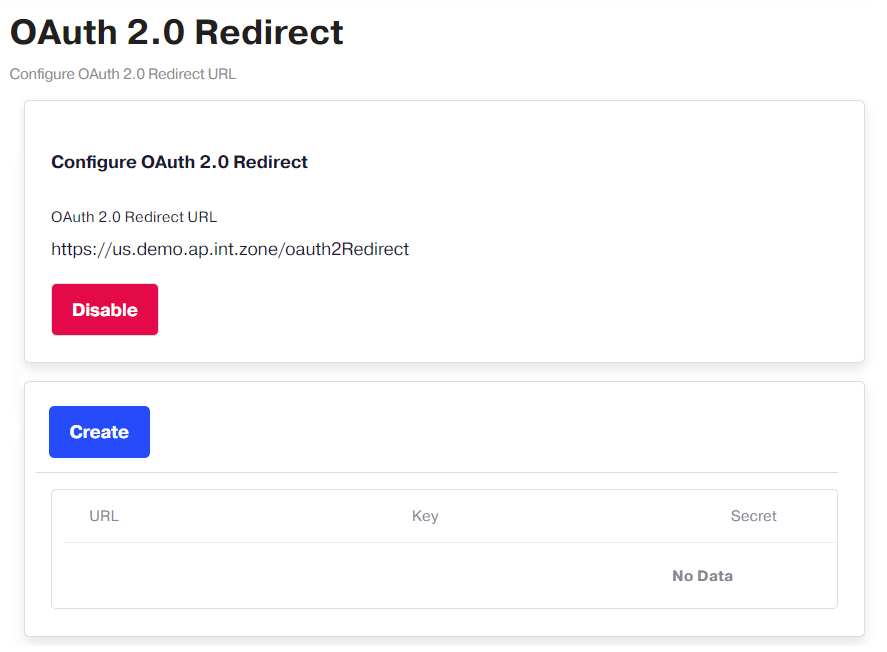
In your UX1 for Providers, go to Settings and then OAuth 2.0 Redirect.
-
Click Disable to disable the redirect URL and refresh the page.
-
If there are multiple redirect URLs, repeat step 2 to disable each one.
Configuring APS Bus Access and Federated Services
If you have multiple instances of CloudBlue Commerce, APS Bus Access and Federated Services must be configured for all instances where OAuth 2.0 Redirect is not installed. To do so, follow these steps:
-
Copy the namespace in your URL, for example, https://namespace.example.com.z
-
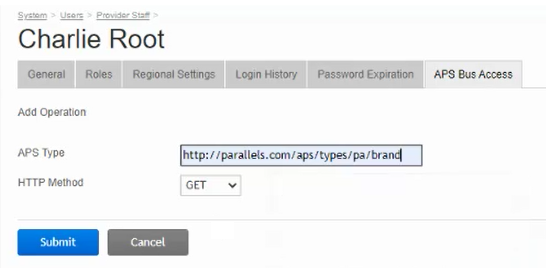
In the Classic Panel, go to System > Users.
-
From the list of users, click the admin user name.
-
Switch to the APS Bus Access tab.
-
In Allowed Operations, click Add.
-
In the APS Bus Access tab, enter the APS Type.
-
In HTTP Method, select Get in the drop-down menu and then click Submit.
-
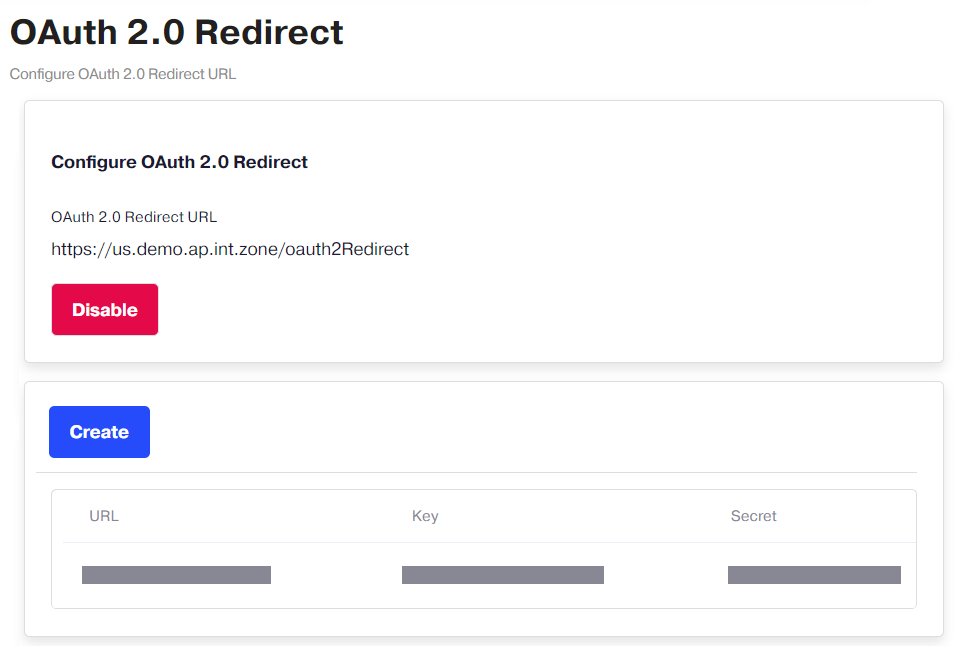
In OAuth Credentials, click Create.
- Copy the following generated details and paste them into a text editor:
OAuth Base URL
Consumer Key
Consumer Secret
-
Go to UX1 > Settings > OAuth 2.0 Redirect and click Create.
-
In the pop-up window, enter the URL, Key and Secret from step 9. Then, click Import.
-
Ensure that the URL, Key and Secret are now populated.