Provisioning
At the provisioning stage, verify if the application generates notifications for the customer control panel as expected by design.


In this document:
Continue Your Demo Project
Continue your demo project from the previous step.
Provision a subscription for a customer, login to the customer control panel, and do the following.
Navigate to VPS Management.
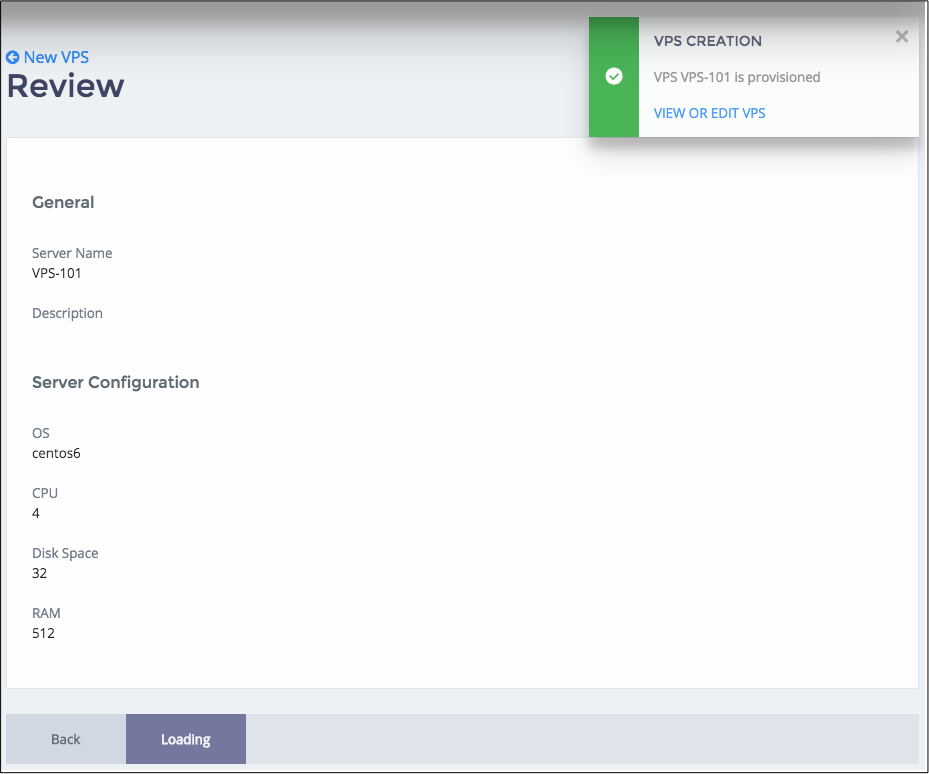
Verify if a notification is generated when you create a VPS (without OS kernel).
Click New to start creating a server.
Edit server properties as needed. Make sure the I will manage the OS Kernel check-box is clean.
Click Finish. You must see a notification whose type is
activityand status isready:

Click on the View or edit VPS link and make sure the VPS editor is opened.
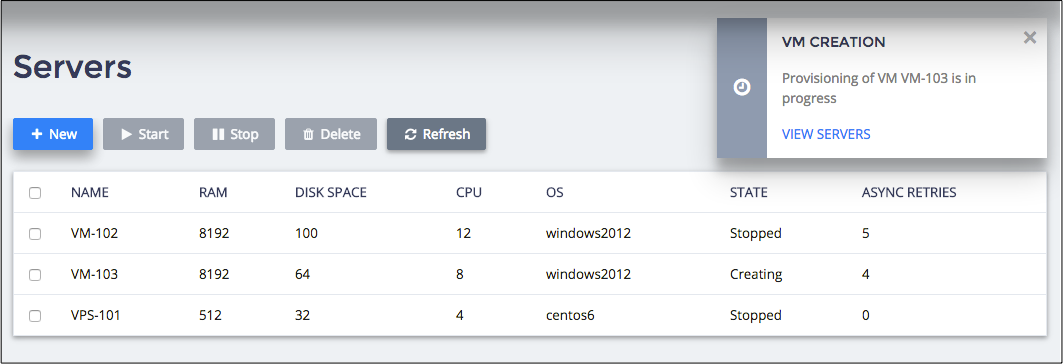
Verify if a notification is generated and then modified on each async retry when you create a VM (with OS kernel).
Click New to start creating a server.
Edit server properties as needed. Tick the I will manage the OS Kernel check-box.
Click Finish. You must see a notification whose type is
activityand status isinProgress:

Once all 5 retries are finished, the notification must change its status to
ready.Select a server and then click Delete. Confirm the operation.
The previous
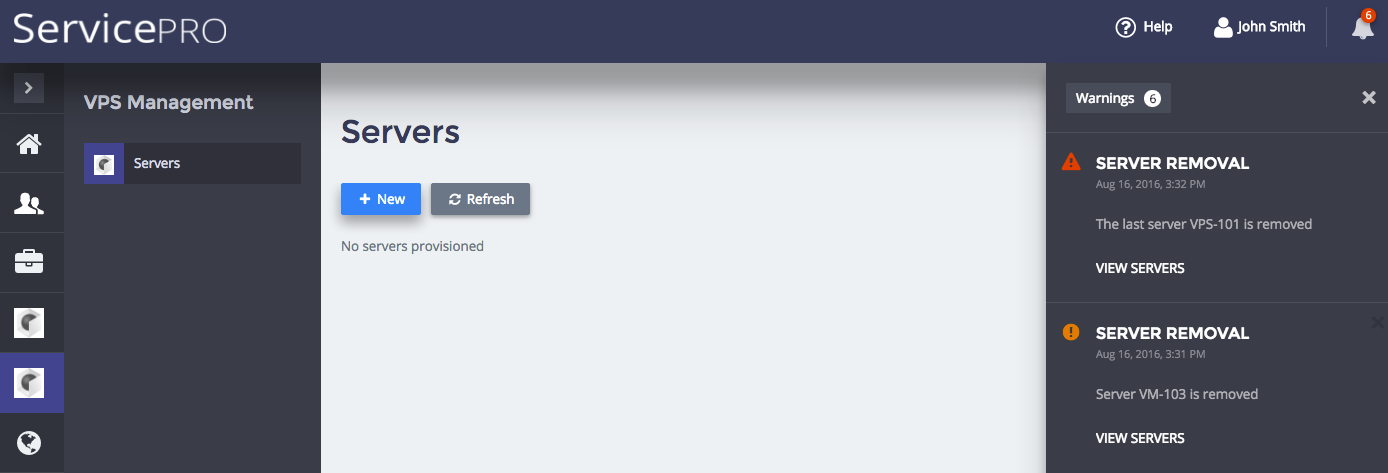
activitynotification must disappear. You must see a new notification whose type iswarningand status isupcoming.Remove the last server from the list. Confirm the operation. You must see a notification whose type is
warningand status isexisting. Check the list of notifications by clicking on the icon with the exclamation mark (!) on top right of the screen.
Conclusion
This completes the APS application development cycle. If you experienced any issues when following
the project steps, you can download
the final sample package and compare it
with the package you have created in this demo project.
