Table Of Contents
Application Packaging Standard
Last updated 18-Mar-2019Deployment
At this phase, you will make the application service available for customers.


In this document:
Continue the demo project after completing the development of a basic or advanced view-plugin.
Deploy Application Instance
The Application Deployment document explains in details the application deployment in the platform.
- Choose one of the following methods to prepare the APS connector image and to build the APS package:
- The Docker based deployment is the preferable method. It prepares an image of an APS connector to install it later in a separate virtual container. Follow the Get Started demo project that provides the detailed procedure on creating an image for a Docker container and building the APS package. If you followed that demo project, you must have already the deployment environment for this method.
- The deployment based on a shared Apache web space creates a virtual web host for every APS connector in a shared web space.
- Follow the Deployment Process to install an APS application instance. The Get Started demo project also illustrates this process.
Create Resource Types
Create the same resource types as explained in the predecessor Generic Service Management demo project.
Create Service Template
Create a service template similar to the one you have created in the Generic Service Management demo project. Finally, it must look as follows:

Note
Keep in mind that the VPS Management resource type must be marked as Automatically provision service. Make sure the check-box is clean for the other resources.
In a case your platform contains not only OSS, but BSS as well, follow the BSS Configuration section to complete the application deployment.
BSS Configuration
You should follow this section if you test the application on the platform containing both
OSS and BSS. If you do not have such a platform, you can
order a sandbox with the lin-pba configuration.
The following steps in BSS will help you create a test customer with a credit card as an auto-payment method as well as complete the application deployment.
Configure Payment Method
Configure a system-wide dummy credit card payment method.
In the BSS provider control panel (PCP), navigate to System > Settings and in the Operations group click on the Payment Processing link.
Click Manage Payment Methods.
Check the Visa payment system with the Dummy Payment System payment gateway.

Click Save.
Navigate to System > Settings > Encryption Keys. Generate and activate a pair of encryption keys used to encrypt credit cards.
Create Customer
Create a customer with a credit card.
Create a test customer.
- Navigate to Operations > Customers.
- Click Add Customer Account.
- On the New Customer Account screen, select the Personal account type and click Next.
- Fill out the personal information and click Next.
- Configure login parameters and click Finish.
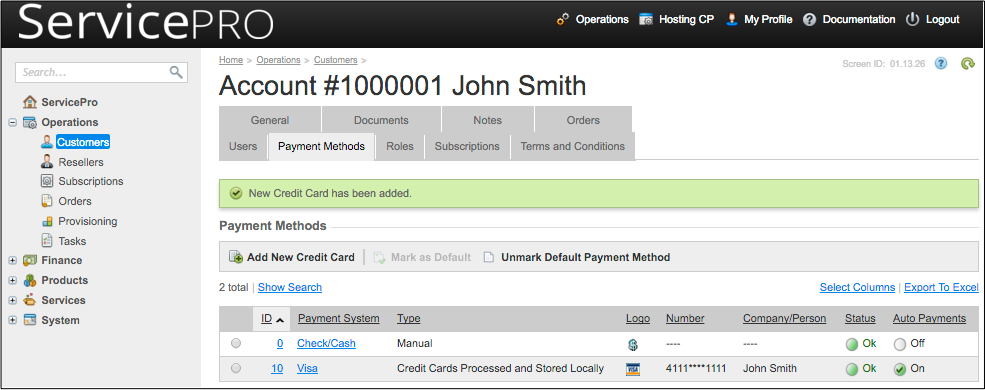
Add a visa credit card to the test customer as a payment method and ensure it is marked as Auto payment.
- Open the new customer account and switch to the Payment Methods.
- Click Add New Credit Card.
- For the Credit Card Type, select Visa.
- In the Credit Card Number field, enter 4111111111111111.
- Configure all required parameters and leave the other parameters intact.
- Click Save.
Create Service Plan
Create a service plan providing the application services as follows.
Navigate to Products > Service Plans and switch to the Service Templates tab.
Open the service template and switch to the Plans tab.
Click Add New Service Plan.
Fill in the required fields:
- In the Name field, enter any name, for example, Cloud VPS Services - Home Dashboard Integration.
- In the Plan Category drop-down list, select Hosting Services.
- In the Short Summary and Detailed Description, enter any text you wish to display in UX1 and online store.
- Check the Published field.
Click Next.
In the list of Periods, select 1 Month(s) and 3 Month(s). Mark the former as Trial and set a recurring fee for the latter.

Click Next and then Finish.
Ensure the plan is in a sales category.
- Navigate to Products > Service Plans, and on the Sales Categories tab, create a sales category, for example, “VPS Infrastructure”.
- On the Service Plans tab of the new category, add the new service plan.
Now, the service plan must be Available for service (In CCP only).
Conclusion
This completes the application deployment. Your application service is ready for sale.