Table Of Contents
Application Packaging Standard
Last updated 18-Mar-2019Generic Services
This document explains how an APS application can implement generic resource management. It considers the first scenario in the demo tracks. The application you create here is the basis for the other demo projects.

Typically, an integration procedure consists of the following steps:


In this document:
Scenario
An application provides a service that allows the subscribers to use the following operations:
- Create/provision resources
- Get a list of provisioned resources
- Configure/update resources
- Remove resources
- Run custom operations, such as start/stop or enable/disable a resource
In the demo project that accompanies this procedure, the application imitates provisioning of virtual private servers (VPSes).
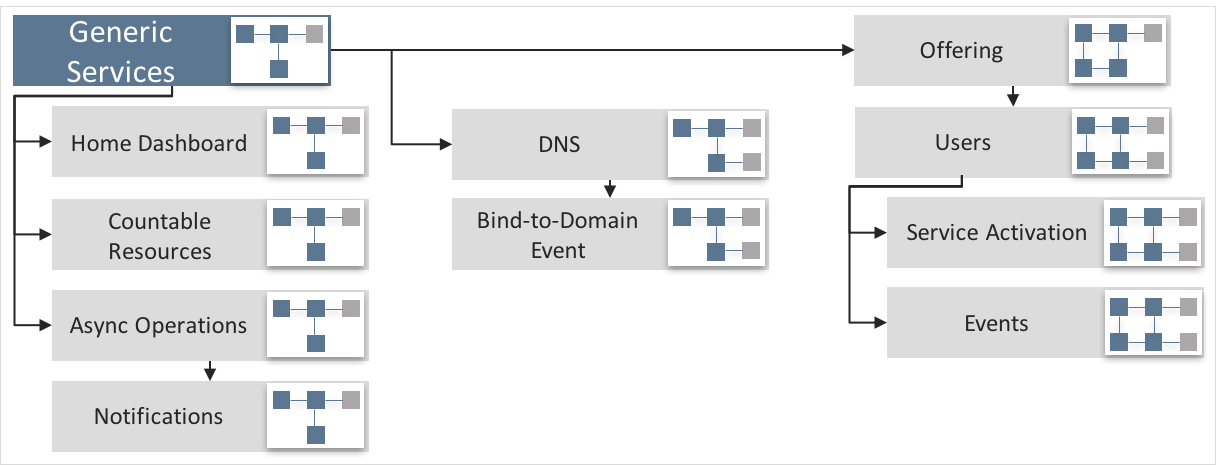
From the technological perspective, the procedure demonstrates implementation of the single page UI. After customers get subscribed to application services, they can start managing services in UX1. A customer navigates to the needed management screen through the hierarchical application navigation tree plugged into UX1.
Resource Model
Such an application contains three APS types with relationship similar to the following:

/vpsdemo/cloud- used to install an APS application instance on the APS connector and create a respective APS resource in the APS database. Every customer subscription with the application resources must contain an Application Service Reference resource representing the application instance./vpsdemo/context- used to create a singular resource in a subscription on the customer side. It presents a management context or a tenant of the application. Normally, it has the relationship with system resources (customeraccountandsubscription) and custom application resources, such as VPSes in this demo./vpsdemo/vps- used to provision VPSes as APS resources.
The following relationship binds resources to each other:
- The
cloudresource is linked through itscontextslink collection (multiple blue squares) with multiplecontextresources. On the customer side, eachcontextresource has a mandatory (red colored) linkcloudwith the application resource. - The
contextresource in each subscription is linked with multiplevpsresources. For this purpose, the APS types declare a link collectionvpsesand a reverse required linkcontext.
Start Your Demo Project
To start a new project, you have a choice of using either IntelliJ IDEA IDE or Eclipse IDE or a set of the APS command line tools with text editors. Whatever tools you use, follow these steps.
In your development workspace, create a folder where you will develop your APS application. Let us call it
vpsdemo.In the
vpsdemo/folder, create theAPP-META.xmlfile and copy the contents of thetemplate fileto it.<application xmlns="http://aps-standard.org/ns/2" version="2.0"> <id></id> <name></name> <version>1.0</version> <release>0</release> <homepage></homepage> <vendor> <name></name> <homepage></homepage> </vendor> <packager> <name></name> <homepage></homepage> </packager> <presentation> <summary></summary> <description></description> <categories> <category>Samples</category> </categories> <navigation></navigation> </presentation> <license-agreement must-accept="true"> <free/> <text> <name>End-User License Agreement</name> <file>http://opensource.org/licenses/bsd-license</file> </text> </license-agreement> <service> </service> </application>
Note
1. The template contains the minimal set of required elements with empty values. You will fill them later with the values corresponding your application.
- The template contains neither a navigation nor a service declaration. You will add them later.
In the
vpsdemo/folder, create two folders -scripts/andui/.In the
scripts/folder, create the following files and copy the content of thetemplate fileto them.Files:
scripts/clouds.php- the service for thecloudAPS typescripts/contexts.php- the service for thecontextAPS typescripts/vpses.php- the service for thevpsAPS type
Contents:
<?php

	define('APS_DEVELOPMENT_MODE', true);
	require "aps/2/runtime.php";

	/**
	* @type("http://aps-standard.org/samples/vpsdemo/server-template/1.0")
	* @implements("http://aps-standard.org/types/core/resource/1.0")
	*/

	class service extends \APS\ResourceBase
	{

		public function provision(){

		}

		public function retrieve(){

		}

		public function upgrade(){

		}

		public function unprovision(){

		}


	}
?>
Every PHP script solves the following tasks:
- Declare the corresponding APS type through the special PHP inline annotations.
- Define the APS type properties, structures, relations and operations using PHP in-line annotations.
- Define PHP functions (methods) for some operations declared in the APS type.
Note
1. When developing a certain APS type and its service, you will change the ID (
@typein the PHP script) and the class name appropriately.2. The template contains the predefined functions. It is possible to redefine them, but this is not planned in the current demo.
In the
ui/folder, create theplugins/sub-folder and then create the following files and copy the contents of thetemplate fileto them.Files:
ui/servers.js- the list of VPSesui/server-edit.js- the VPS editorui/vps-wizard.js- the VPS creation wizardui/wizard/server-new-1.js- the first step in creating a VPSui/wizard/server-new-last.js- the last step in creating a VPS
Contents:
define([
		"dojo/_base/declare",
		"aps/View"

	],
	function (
		declare,
		View

	) {
	return declare(View, {
		init: function() {
			/* Declare the data sources */

			/* Define and return widgets */
			return [

		];}

});});
The template contains a minimal set of elements of a view structure. You will extend the JavaScript code at the further steps.