Table Of Contents
Application Packaging Standard
Last updated 18-Mar-2019Skin Deployment
First of all, let us consider the implementation of an existing package. If you have an APS 1 package containing a custom skin you can deploy and test it as explained here.
In this document:
Import Skin Package
To import the skin into the platform:
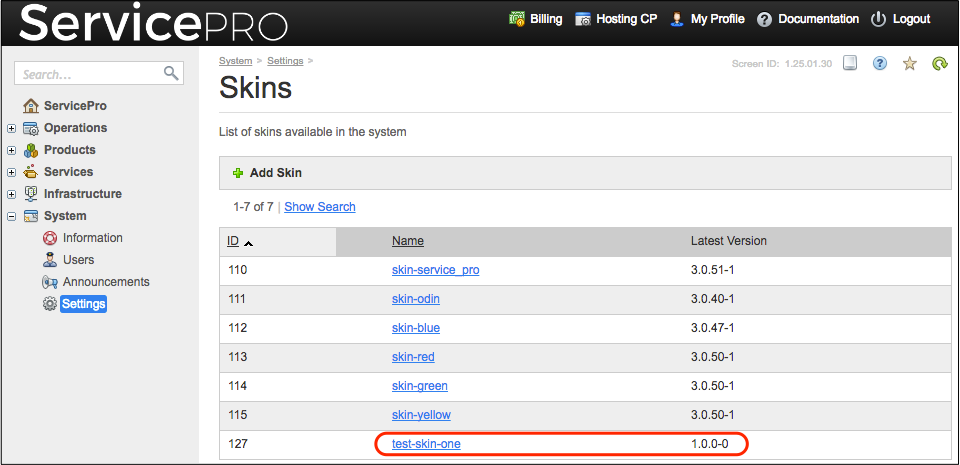
- In the provider control panel, navigate to System > Settings and then click Skins in the Branding group.
- Click Add Skin to import the downloaded skin into the platform.
- Choose to upload the package from a local file and specify the path to the uploaded skin.
- Click Submit to start the import.
Once the skin is imported, you should apply it to the website (brand) where you can test the skin while editing it.
Apply Skin to Platform Frontend
You can assign the skin to an existing brand used as a platform frontend access point or create a new brand for it.
Note
If you imported an updated version of a skin package that is already installed on your websites, you should reapply it to your websites after the import - it cannot be applied automatically even if the name has not changed.
To apply the skin to a new brand:
Go to System > Settings and click Brands in the Branding group.
Click Add New Brand.
Choose New domain and follow the on-screen instructions. This way, you create a new domain name to access the control panels with the assigned new skin.
When configuring the brand parameters, browse to the Skin settings and select the required skin.
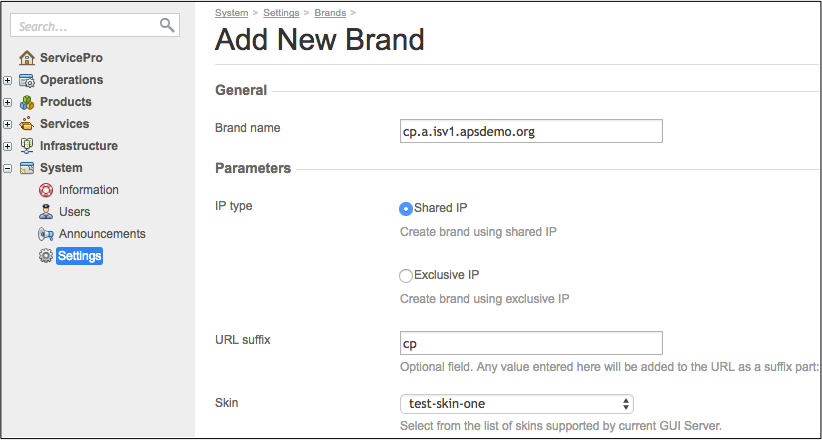
Click Finish.
To apply the skin to an existing brand:
In the Operations Automation provider control panel, navigate to System > Settings and click Brands in the Branding group.
Click the brand where you want to install the skin.
Click Edit.
Choose the required skin from the Skin menu.
Note
You can select any skin, except the default skin which cannot be modified.
Click Submit to install the skin.
After that, if your customers visit the control panel using the branded domain name, cp.a.isv1.apsdemo.org
in the example above, they will look and feel the skin assigned to that brand.
Logo Customization
In Odin Automation, the main logo is a branded element. In the scope of a certain brand, the logo is the same on all types of control panels, either CP or UX1. You can configure and apply it along with all other skin elements explained above or separately as explained here.
When designing a logo image, follow these recommendations on the aspect ratio:
If a logo image form is close to a square, we recommend the sizes not less than 500x250 px and centering of contents.
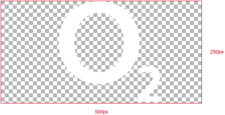
For other forms, the height should be not less than 250 px with the full filling of the area.

To upload a custom logo to a brand, follow the Apply Skin to Platform Frontend procedure where you can upload your file for the custom logo.