Creating a New AWS Account
This section provides a step-by-step walkthrough of the order process for creating a new AWS account.
-
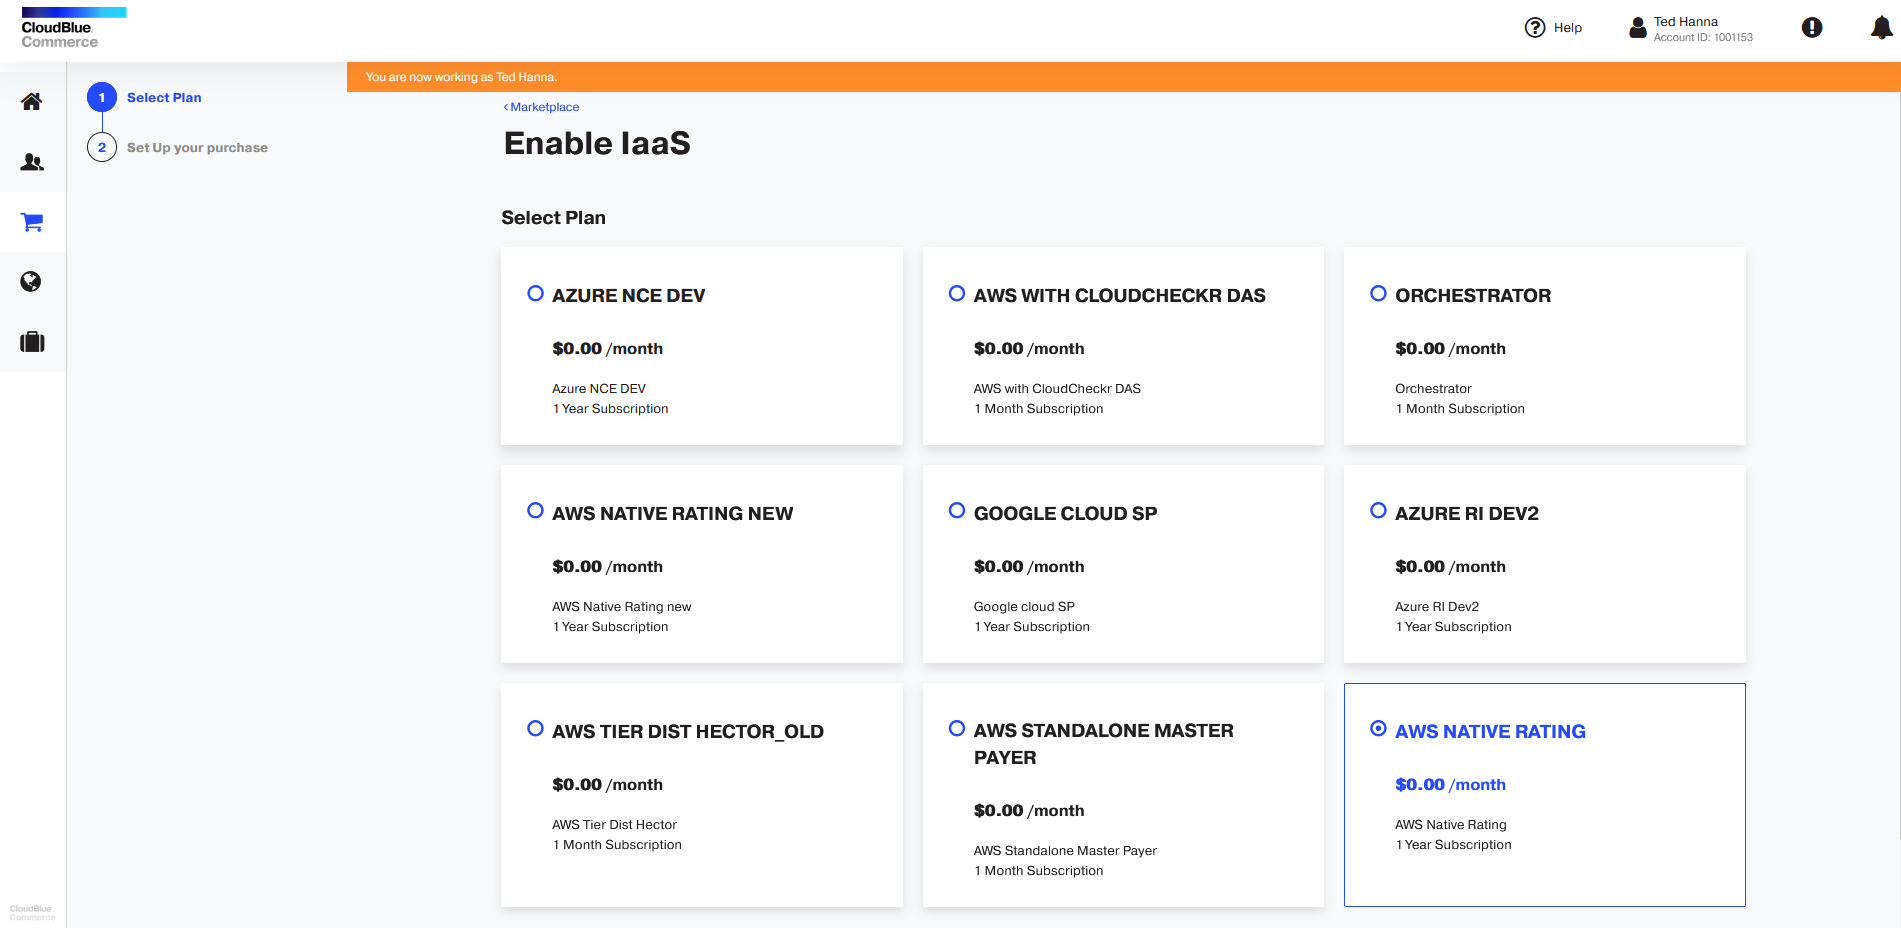
Log in to the Marketplace, select an AWS Consolidated plan and click Add to Cart.
-
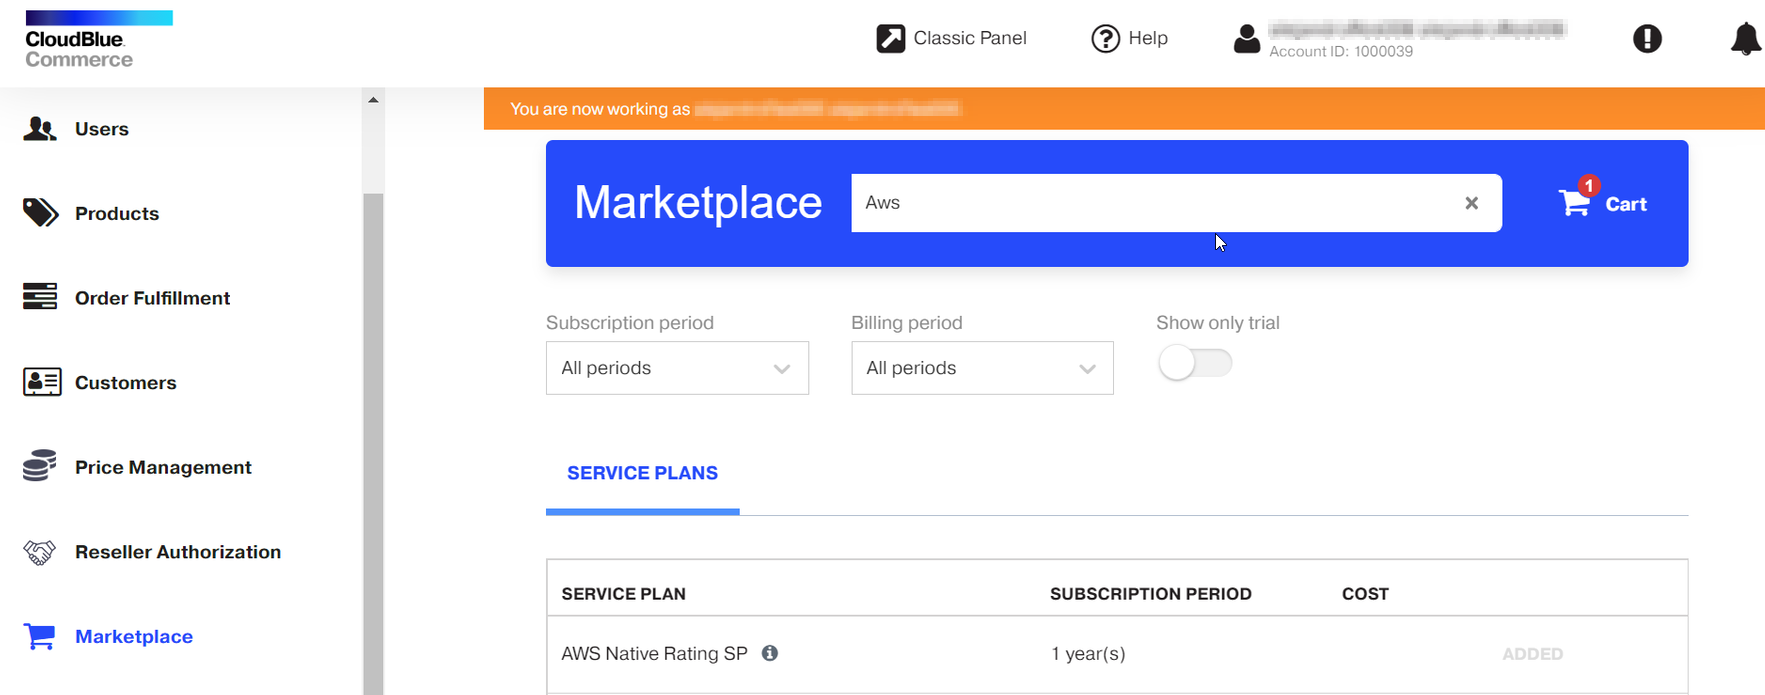
Once a service plan is added, a red notification icon will appear on the cart indicating the number of items that it currently contains.
-
Click the cart icon to review your order. Click Next.
-
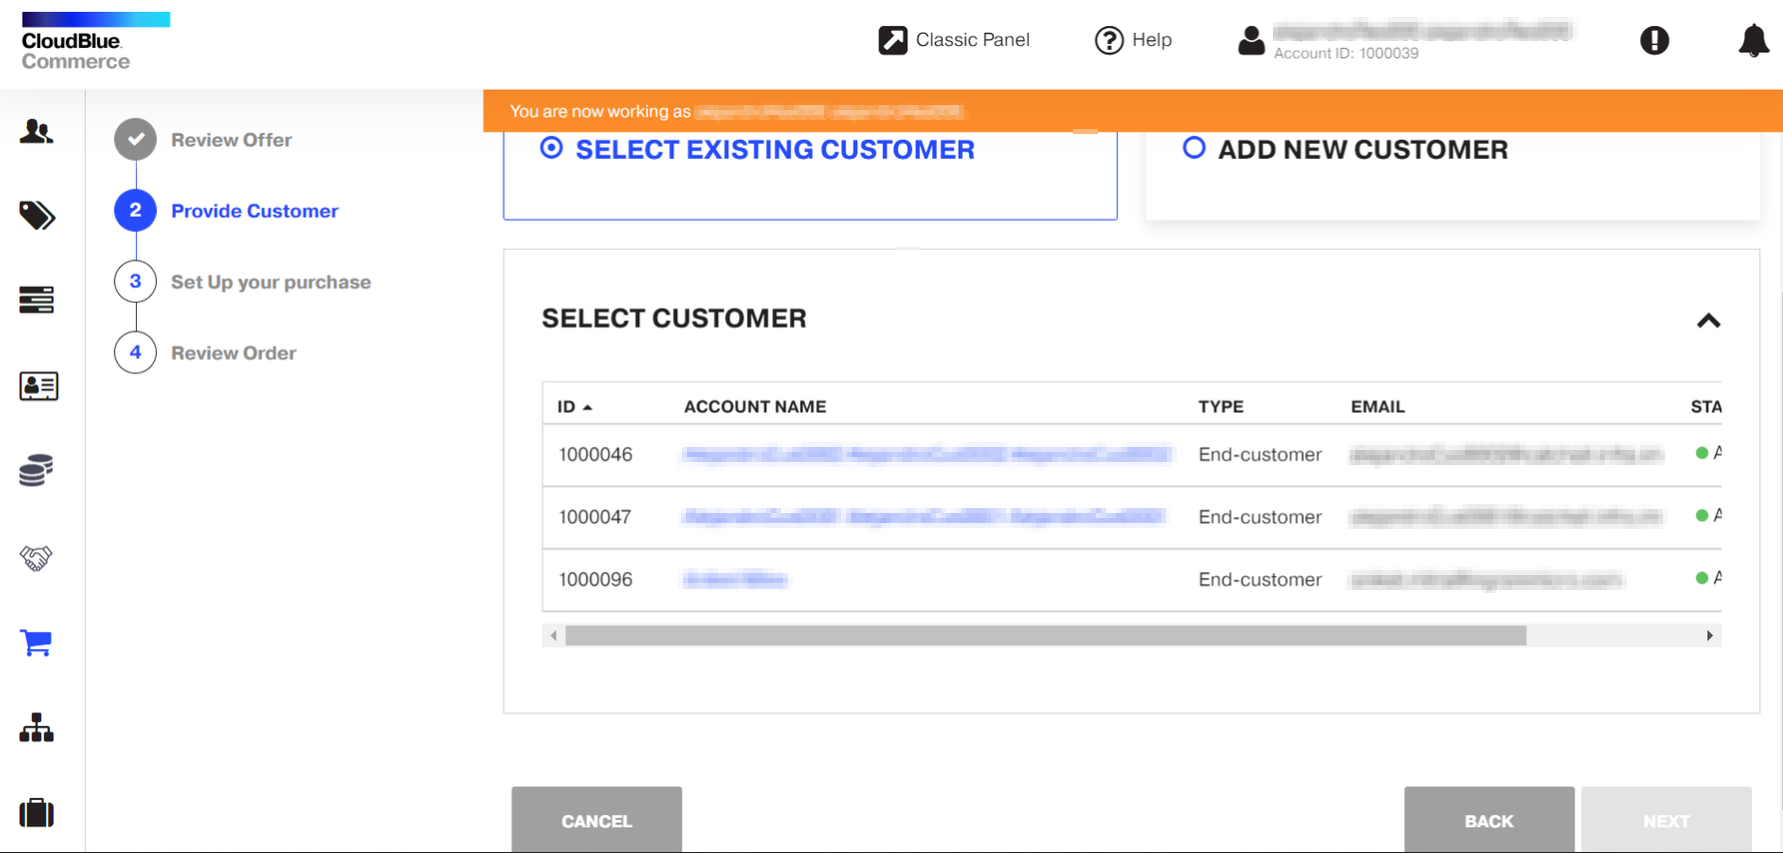
Select an existing customer or add a new customer. In this example, we will select an existing customer. Once the customer is selected, click Next.
-
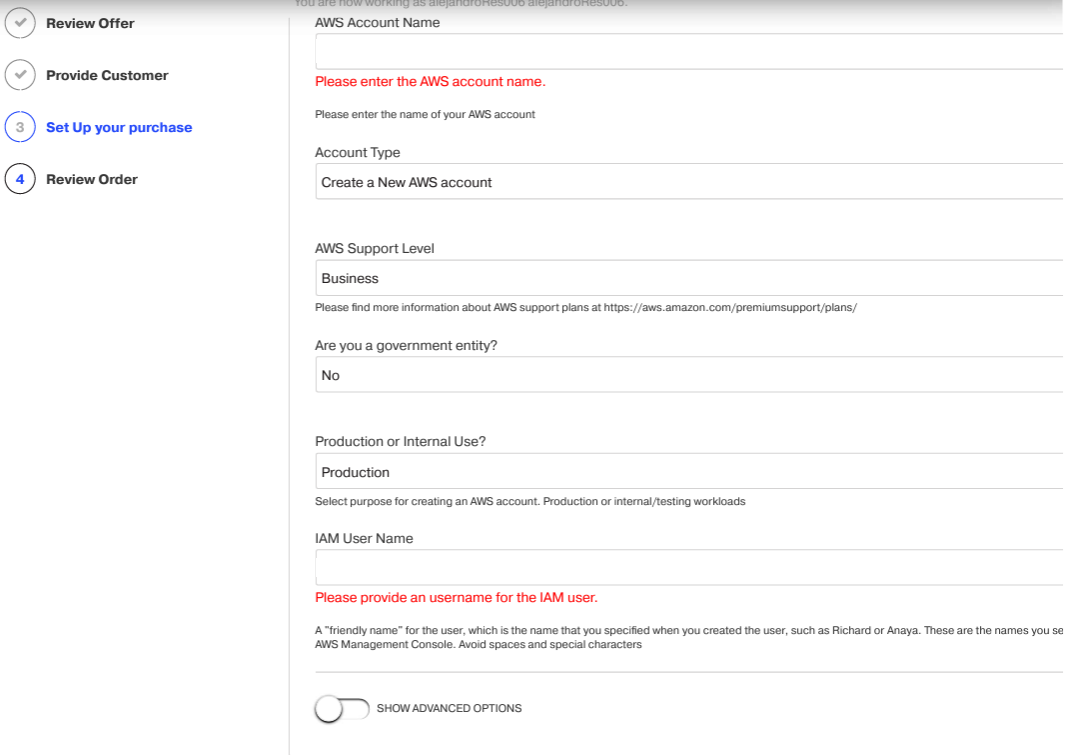
Set up your purchase by providing the following information:
-
Enter a name for the new account.
-
Select the Account Type:
-
New Account: A new account will be created. A new OU (Organizational unit) will be created for new customers.
-
-
Select the AWS Support Level. For more information on the support levels available, refer to the AWS documentation.
-
Basic
-
Developer
-
Business
-
-
Specify if you are creating the account on behalf of a Government Entity.
-
Select the environment:
-
Production
-
Internal Use
-
-
-
Enter the IAM user name that will be used to create an entity in AWS with a temporary password that you will need to change the first time you log in to the AWS Management Console.
-
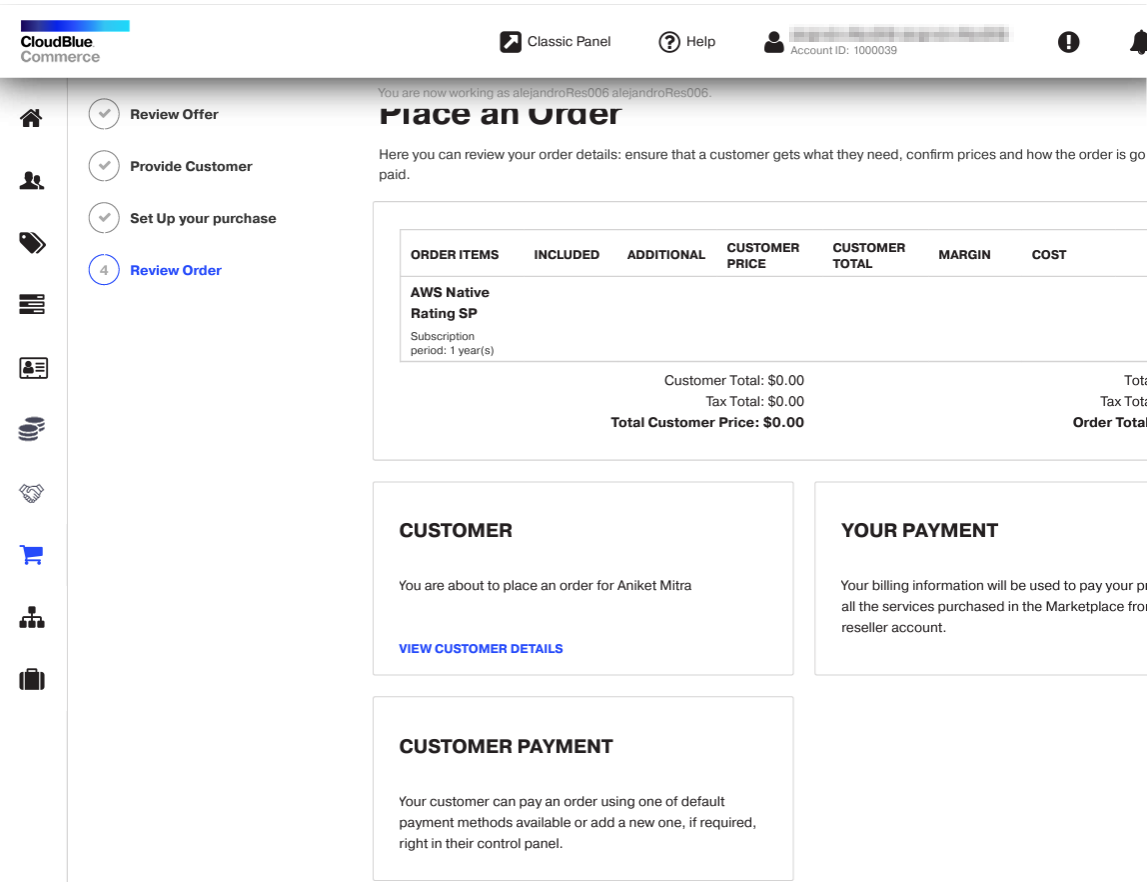
Review the order details and place the order.
-
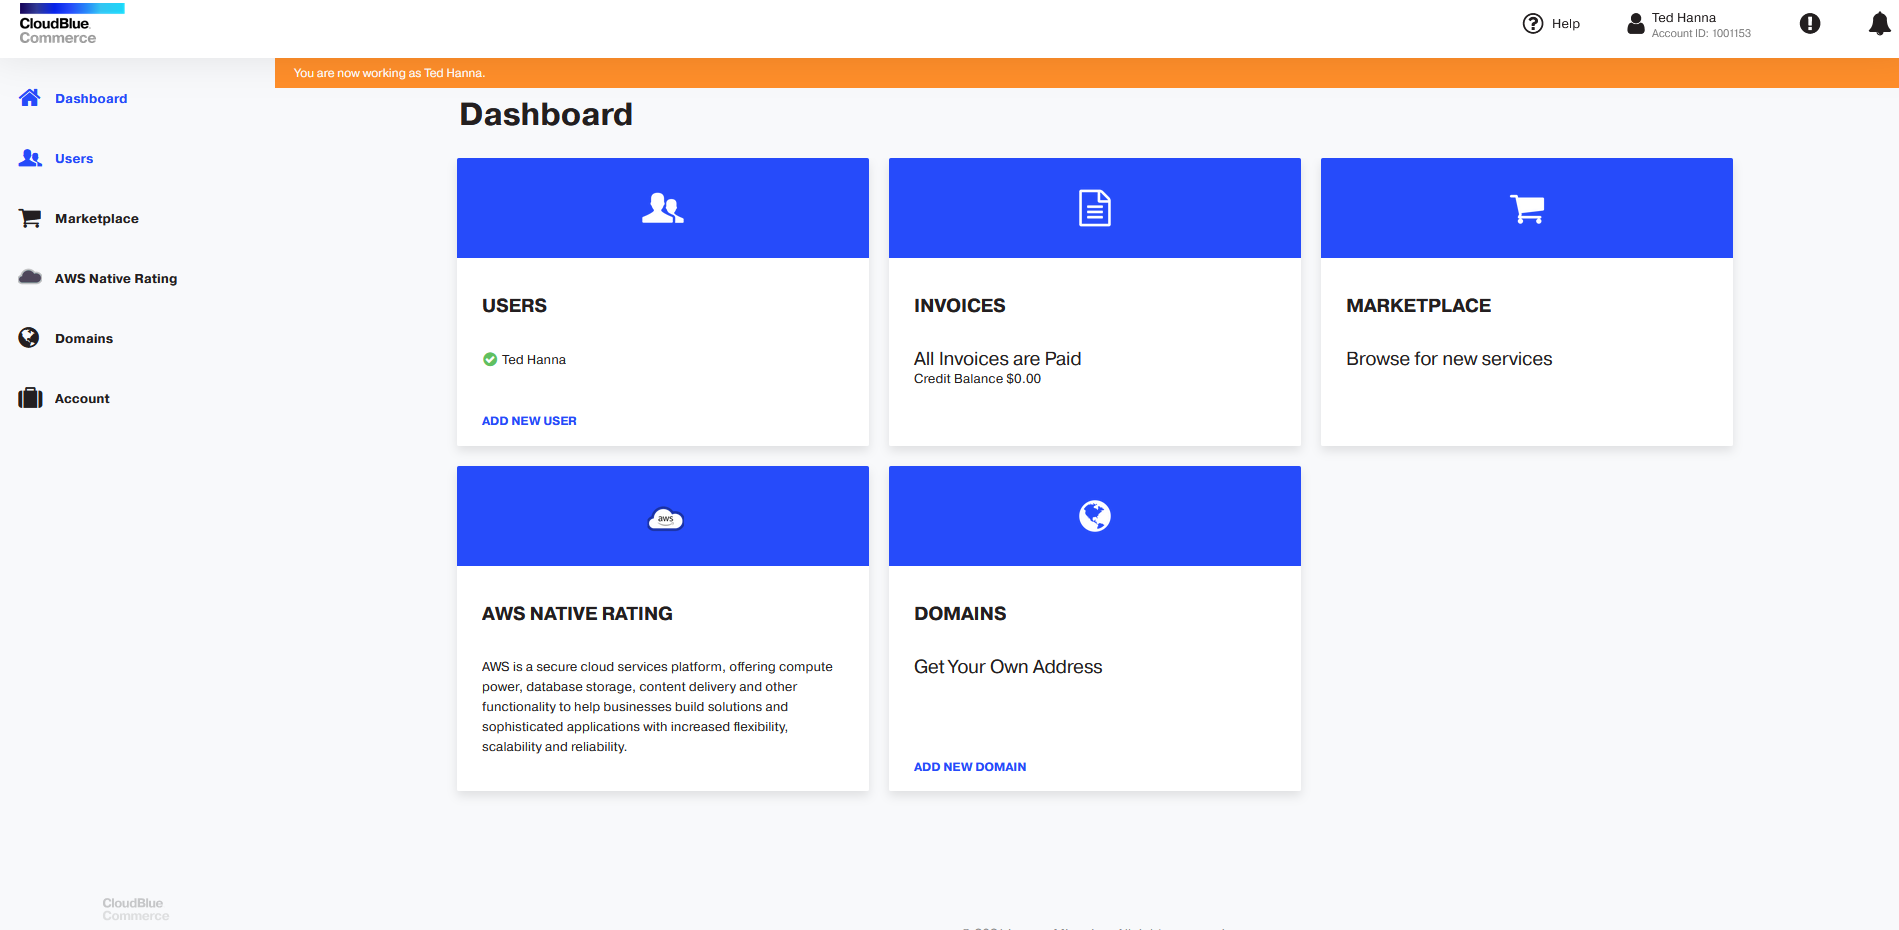
Once the subscription is provisioned, a new tile will be available for AWS Consolidated.
-
Click on the AWS Consolidated tile to see the subscription details (AWS account name, email and ID) as well as links to the AWS Management Console. Additionally, the IAM User Name will be displayed along with a temporary password that you can use to log in to the AWS Management Console. After logging in to the console for the first time, you will be asked to change the temporary password provided.