Setting Up your AWS Organization
In order to use your AWS Master Partner account with AWS Standalone Connect, it is required to create an AWS Organization for each customer account and to enable all features for this organization.
Note: This step is only necessary the first time you need to configure the AWS Master Partner Account in order to make it work with the AWS Standalone Connect connector.
Create AWS Organization
-
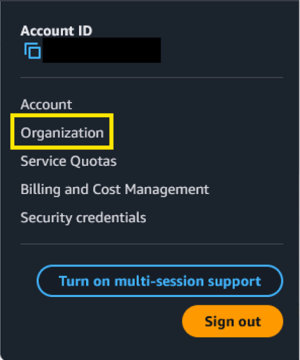
Log in to the AWS Management Console and click Organization.

- On the introduction page, choose Create organization.
- Enable all features for the AWS Organization.
-
Confirm the creation.
Note: Refer to AWS Organizations documentation for more information.
Enable All Features in the Existing AWS Organization
If you already have an AWS Organization created and you want to manage, attach or detach policies in the application settings, it will be necessary to verify that it has all features enabled. To do it, follow these steps:
-
Log in to the AWS Management Console and click Organization.
- On the top-right hand side, select Settings.
- Click Begin process to enable all features.
-
Confirm the action.
Note: Refer to the AWS Organizations documentation for more information.
Verify your master account email address
Before you can invite existing AWS accounts to join your organization, you must verify your email address.
Note: Refer to the AWS Organizations documentation for more information.
To do so, follow these steps:
-
Log in to the AWS Management Console and click Organization.

- On the top-left hand side, click Send verification request.
- Make sure to verify your email address within 24 hours.
Enable Service Control Policy Type for Organization’s Root
If you want to provision, attach or detach policies in the application settings, it is important to ensure that the Service Control Policy type is enabled on the AWS Organization’s root. To do so, follow these steps:
-
Log in to the AWS Management Console and click Organization.

- On the top-right hand side, choose Organize accounts.
- Click Root to open the organization’s root object.
-
Click Enable under the ENABLE / DISABLE POLICY TYPES section.
How to create Service Control Policy inside the AWS Organization
An AWS Organization allows you to apply specific Service Control Policies (SCPs) at the organizational level, helping enforce governance across all member accounts.
To create a new Service Control Policy for your organization, follow these steps:
-
Log in to the AWS Management Console and click Organization.

- Select Policies in the left-hand navigation menu.
- Click Service Control Policies.
- Click Create policy.
- Configure the access restrictions as required.
-
Click Create policy to complete the action.
Note: Refer to the AWS documentation for detailed information on how to configure policies in the AWS Organizations Management Console.
How to Obtain an AWS Access Key ID and a Secret Access Key
When setting up your AWS configuration, you’ll be prompted to provide an AWS Access Key ID and a Secret Access Key.
This section outlines the steps to retrieve these credentials securely from your AWS account.
-
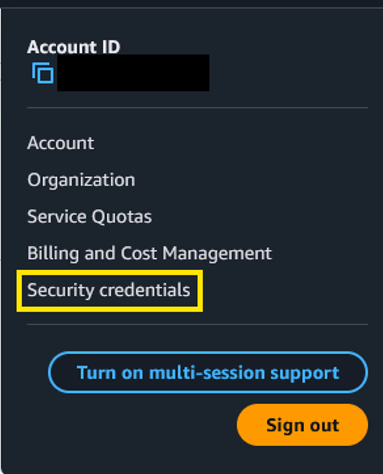
Log in to the AWS Management Console and click Security Credentials.
-
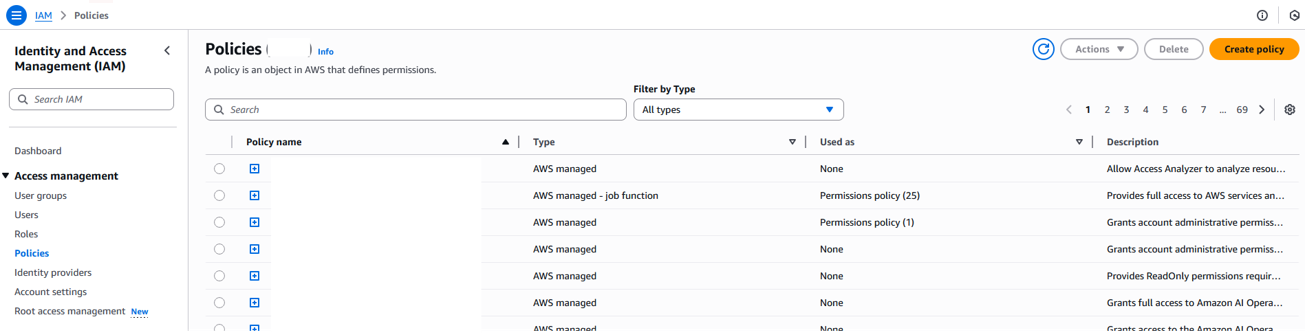
In the left-hand navigation menu, click Policies and then select Create Policy.
-
Switch to the JSON policy editor and specify the following policy:
Copy{
"Version": "2012-10-17",
"Statement": [
{
"Effect": "Allow",
"Action": [
"organizations:ListAccounts",
"organizations:DescribeAccount"
],
"Resource": "*"
},
{
"Effect": "Allow",
"Action": [
"athena:StartQueryExecution",
"athena:GetQueryResults",
"athena:GetQueryExecution",
"athena:StopQueryExecution",
"athena:ListWorkGroups",
"athena:GetWorkGroup",
"s3:ListBucket",
"s3:GetObject",
"s3:PutObject",
"s3:CreateBucket",
"s3:PutBucketVersioning",
"s3:PutBucketPolicy"
],
"Resource": "*"
},
{
"Effect": "Allow",
"Action": [
"iam:CreateUser",
"iam:ListUsers",
"iam:GetRole",
"iam:ListAttachedRolePolicies",
"iam:CreateRole",
"iam:AttachRolePolicy",
"iam:PassRole"
],
"Resource": "*"
},
{
"Effect": "Allow",
"Action": "sts:AssumeRole",
"Resource": "*"
},
{
"Effect": "Allow",
"Action": [
"glue:CreateDatabase",
"glue:GetDatabase",
"glue:GetDatabases",
"glue:CreateCrawler",
"lakeformation:GetDataAccess",
"lakeformation:GrantPermissions",
"lakeformation:RevokePermissions",
"lakeformation:GetDataLakeSettings",
"lakeformation:PutDataLakeSettings",
"lakeformation:ListPermissions"
],
"Resource": "*"
}
]
} -
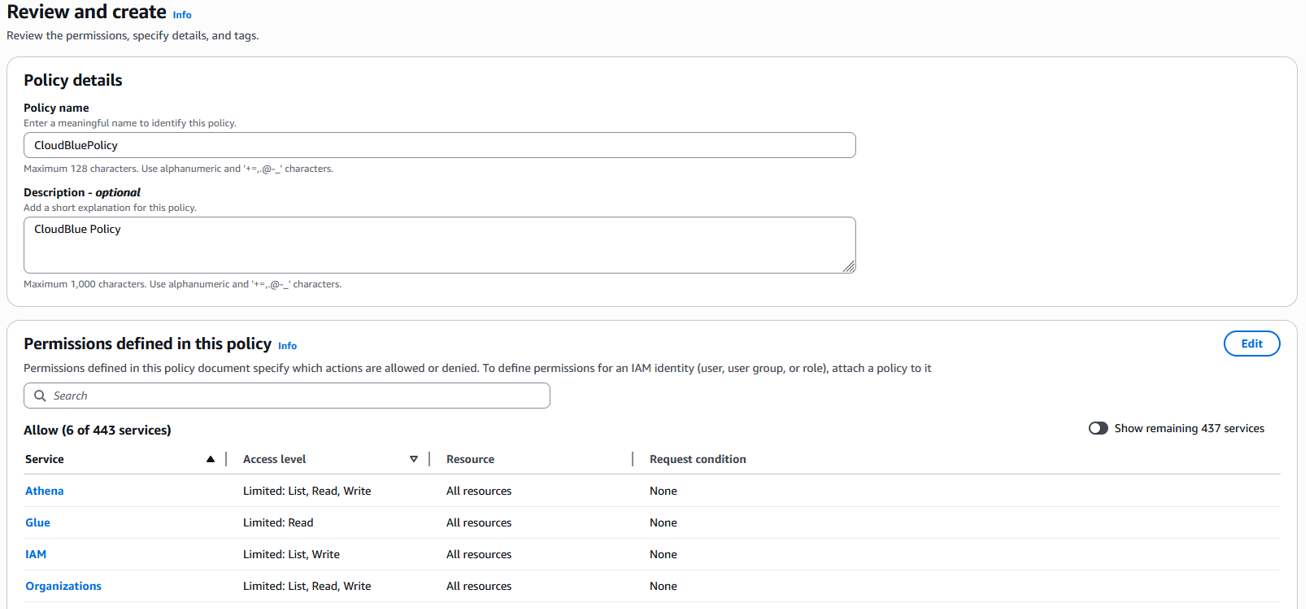
Provide a name for the policy and click Create Policy.
-
Click Users on the left-hand navigation menu
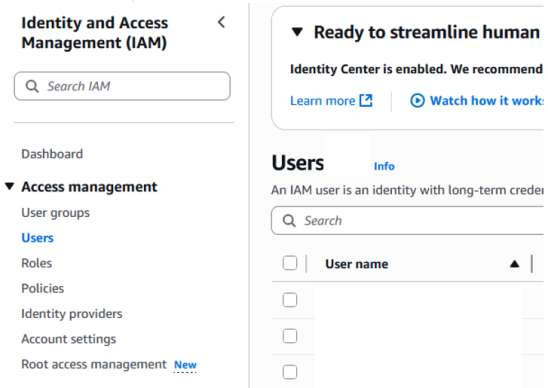
-
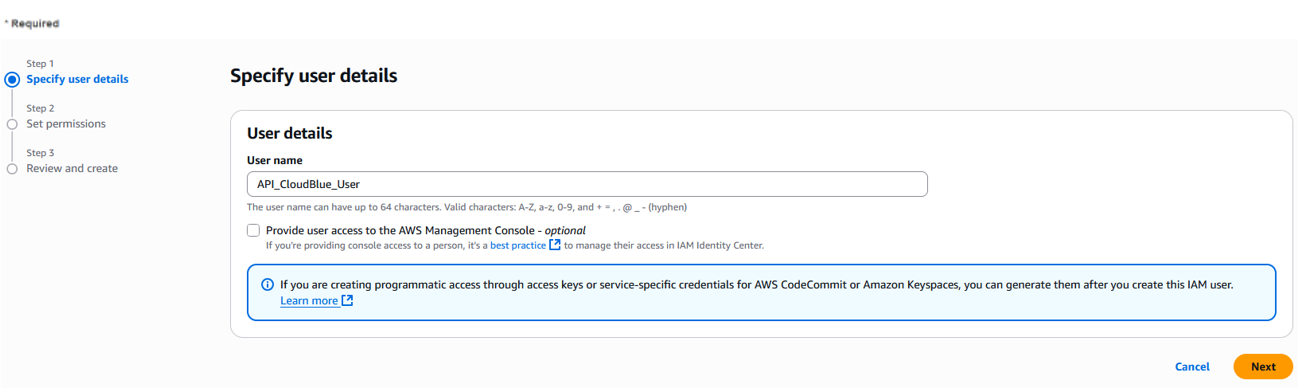
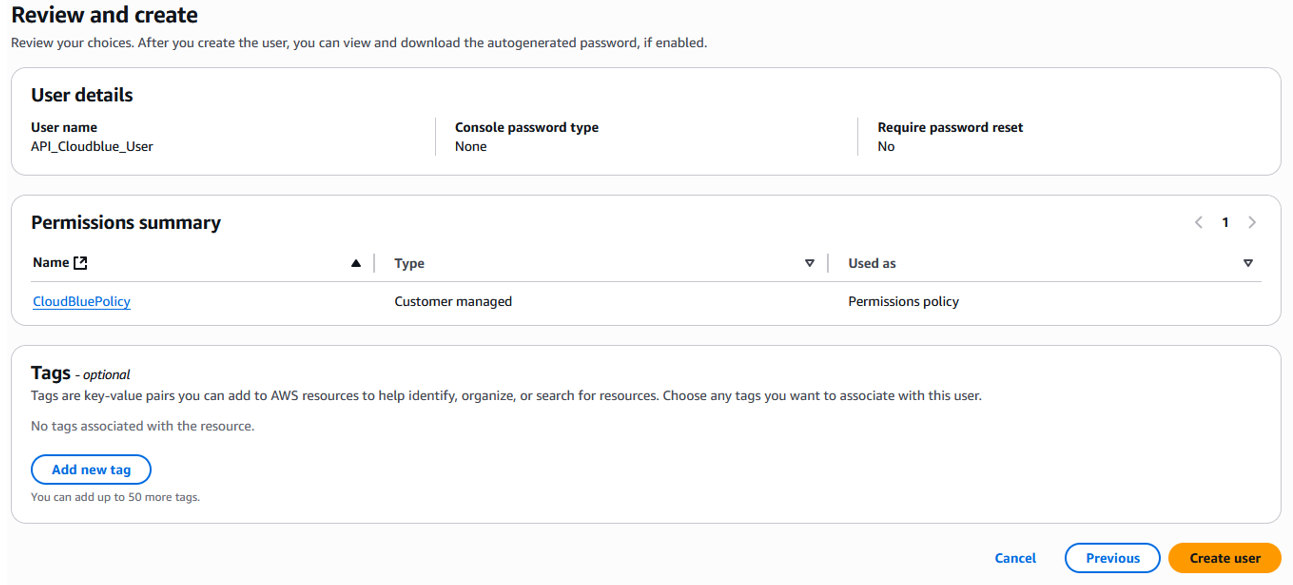
Click Create User and enter the user name "API CloudBlue USER".
-
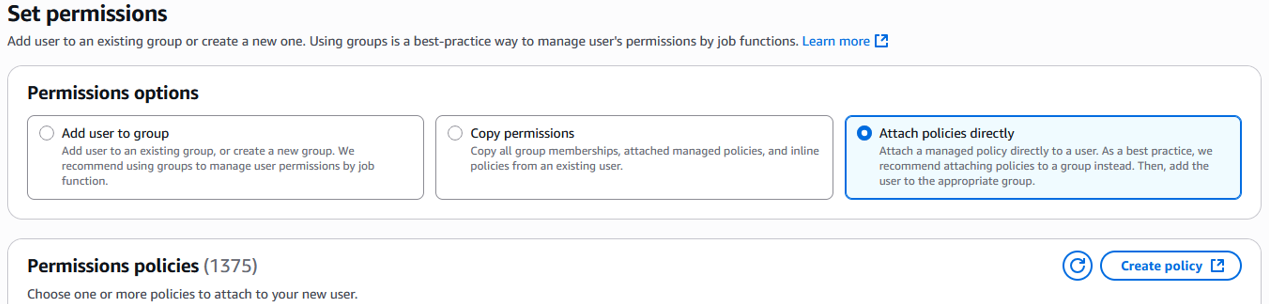
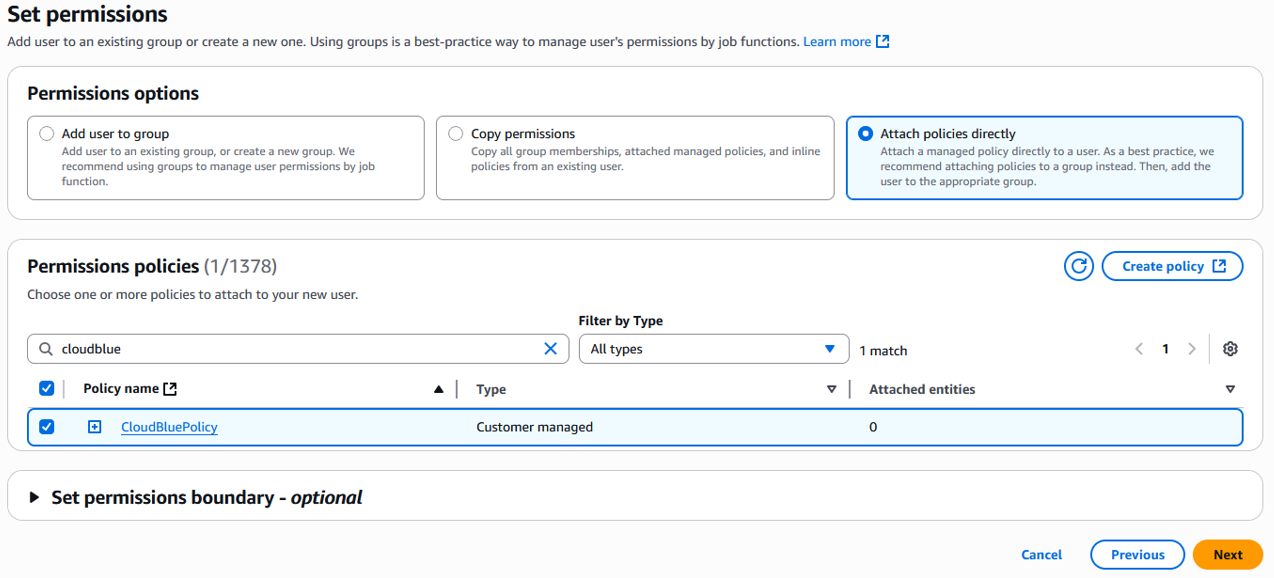
Select the Attach policies directly option.
-
Search for the policy you created previously and select the corresponding checkbox.
-
Confirm the data and click Create User.
Related Topics