Enable a Zap for CloudBlue Commerce to ServiceNow Order Management Flow
This process explains how you can enable a Zap to capture the order data from the CloudBlue Commerce platform and transmit the data to the ServiceNow platform.
You must set the Zap and enable the conditions to trigger the Zap as required to capture data from CloudBlue Commerce, when a new request is created or an existing request is updated in CloudBlue Commerce. Requests are created or updated in CloudBlue Commerce when an order is placed or updated in ServiceNow. The trigger is configured by default according to the template. You may modify the settings if required.
To enable the Zap, complete the following steps:
- Log in to Zapier.
- On the Dashboard, click the search (
 ) icon.
 - In the search bar, search for CloudBlue Commerce.
- On the CloudBlue Commerce Integrations page, search for the app (that is, ServiceNow) with which you want to integrate CloudBue Commerce.
- On the CloudBlue Commerce + ServiceNow Integrations page, scroll down to view the list of Zap templates configured for this integration.
- In the list, click the TRY IT button beside the CloudBlue Commerce to ServiceNow flow. This is the return flow.
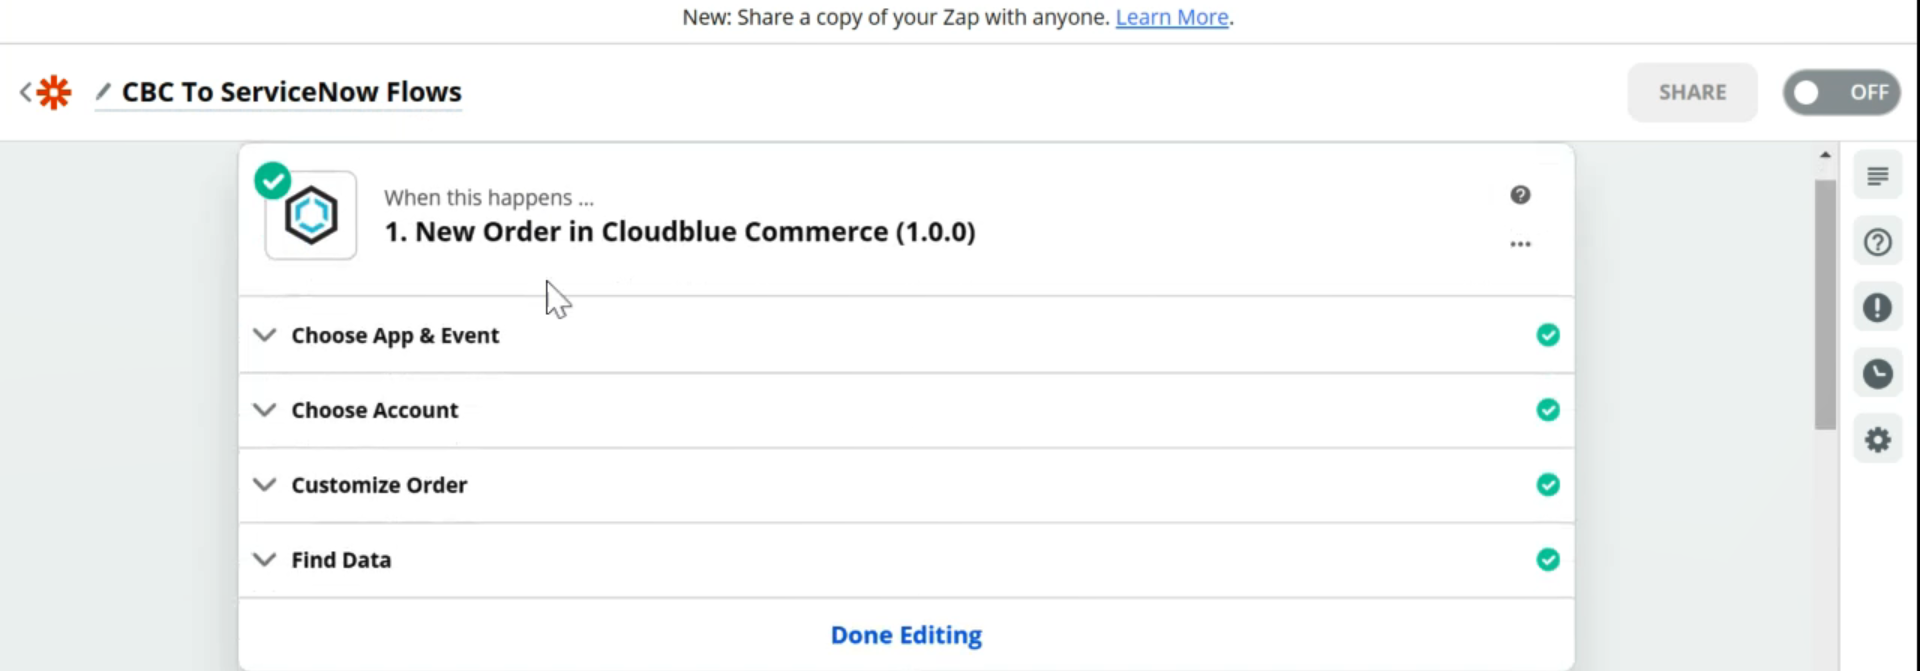
- On the edit page, under When this happens, the following fields are populated by default based on the preconfigured template.
Click the action item and edit. The following fields are populated by default based on the preconfigured template.
- Choose App & Event: Displays the following details as defined in the template.
- Choose App: The target app is selected. For example, CloudBlue Commerce.
- Choose Trigger Event: Displays the action to be performed in ServiceNow when the corresponding trigger happens.
- Choose Account: To enable the Zap to update a record in CloudBlue Commerce, you must log in to a CloudBlue Commerceaccount. This field is populated by default if you have logged in to the application previously.
- Customize Order: Displays the order status and provisioning status filters, based on which the Zap functions. Click Refresh Fields.
- Click CONTINUE.
- Find Data: Based on the customization, it displays the order information found in the platform. For more order information, click Load More.
- Click Done Editing.
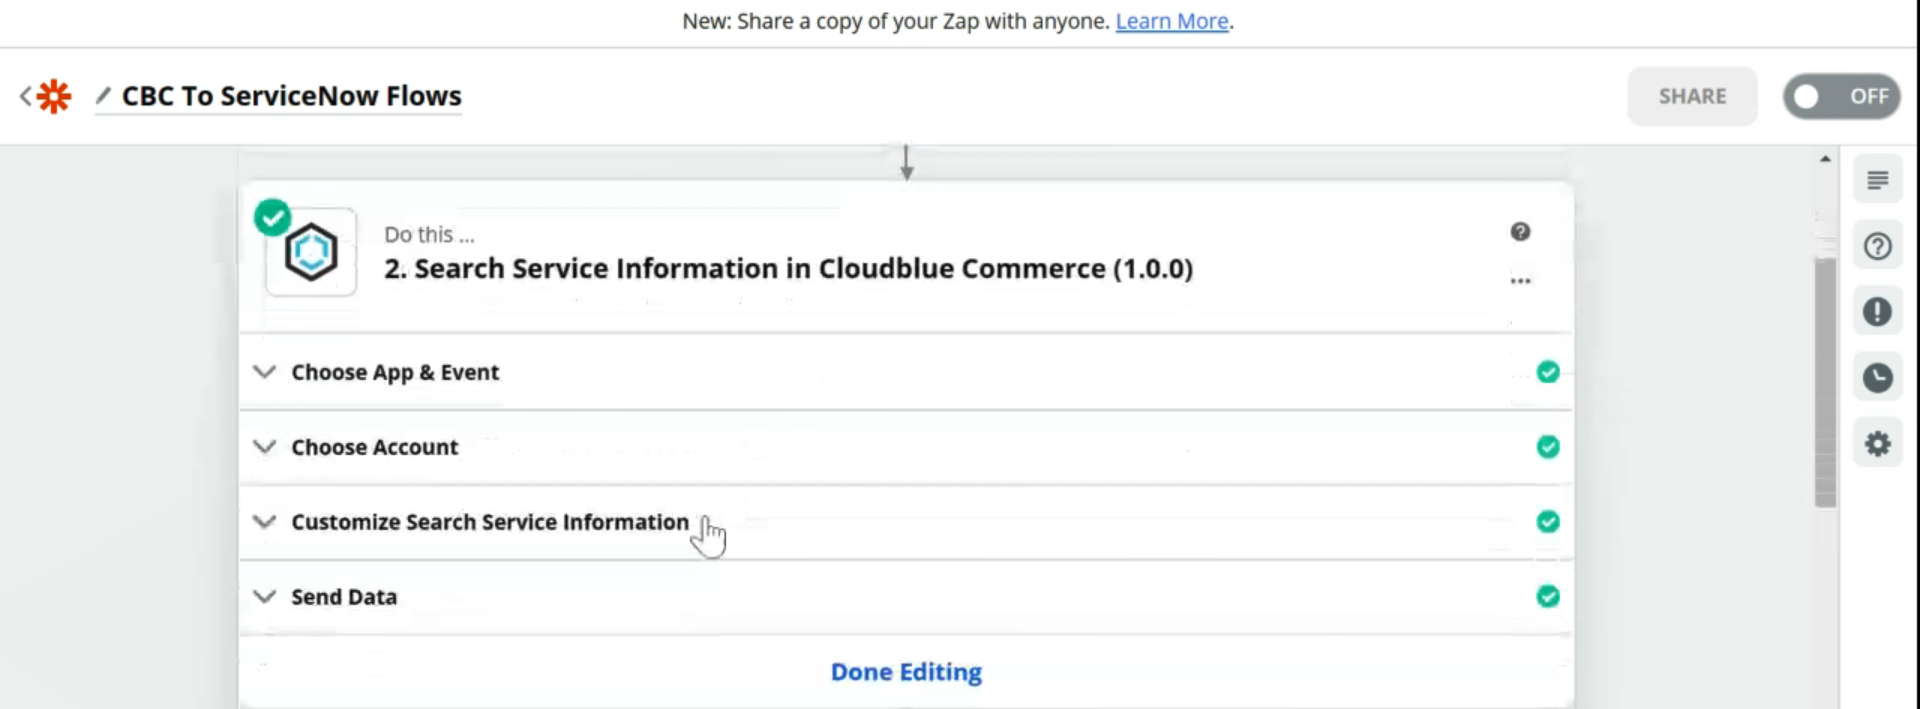
- Under Do this, the name of the action for the path is displayed.
- Choose App & Event: Displays the following details as defined in the template.
- Choose App: Displays the application where the Zap must perform the action.
- Choose Trigger Event: Displays the action to be performed in ServiceNow when the corresponding trigger happens.
- Choose Account: To enable the Zap to update a record in CloudBlue Commerce, you must log in to a CloudBlue Commerceaccount. This field is populated by default if you have logged in to the application previously.
- Customize Search Service Information: Displays the search condition.
- Click Refresh Fields and Continue.
- Send Data: Displays the test result of the search service operation. Click TEST & CONTINUE.
- Click Done Editing.
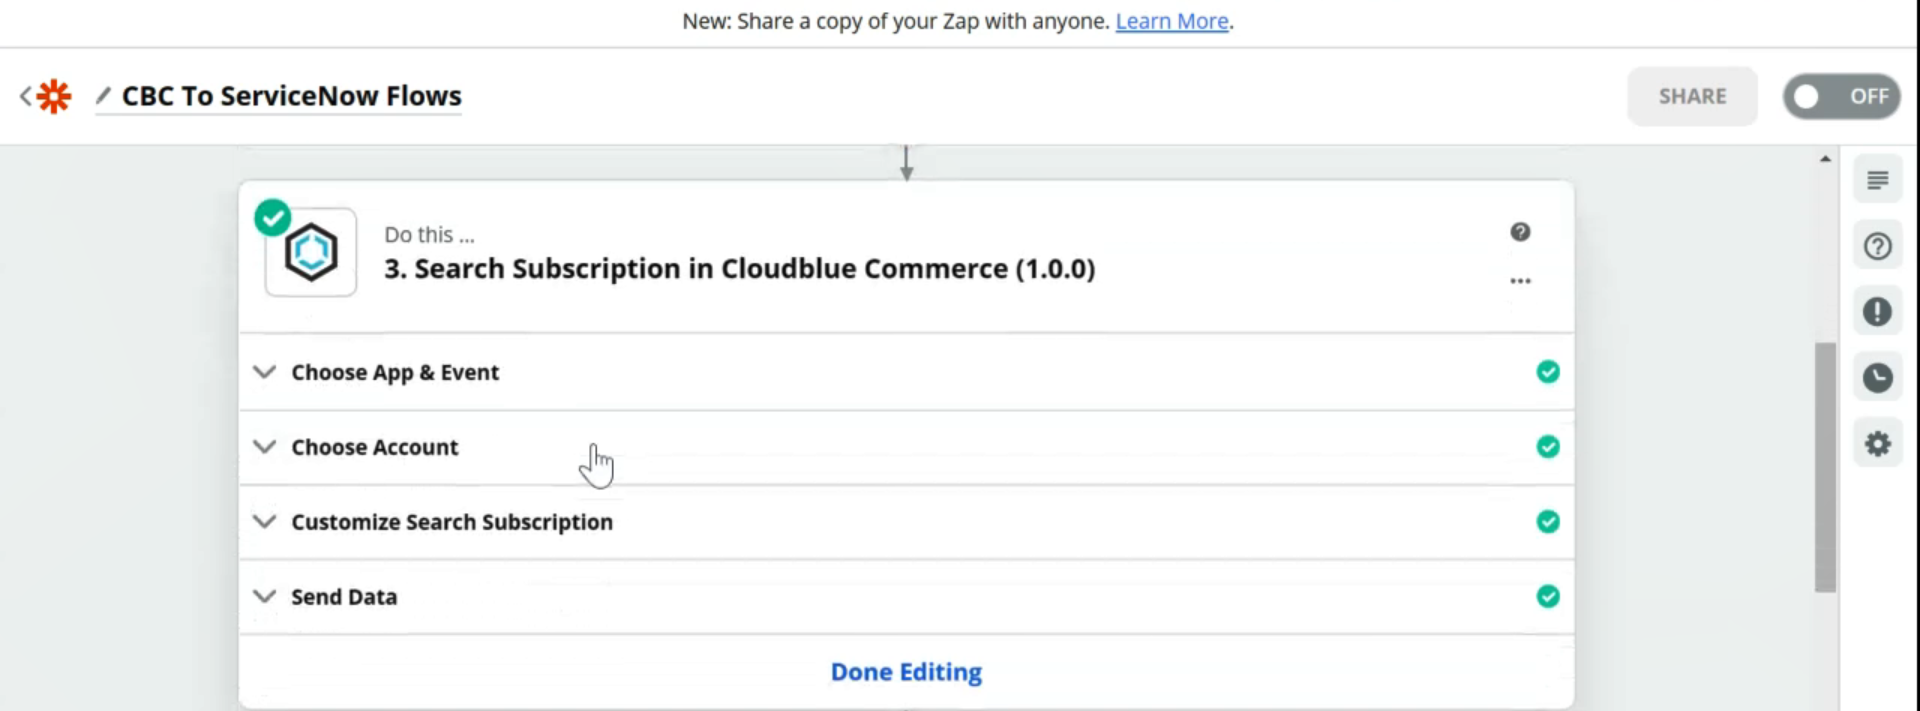
- Under Do this, the name of the action for the path is displayed.
- Choose App & Event: Displays the following details as defined in the template.
- Choose App: Displays the application where the Zap must perform the action.
- Choose Trigger Event: Displays the action to be performed in ServiceNow when the corresponding trigger happens.
- Choose Account: To enable the Zap to update a record in CloudBlue Commerce, you must log in to a CloudBlue Commerceaccount. This field is populated by default if you have logged in to the application previously.
- Customize Search Subscription: Displays the search condition. Click Refresh Fields.
- Click Refresh Fields and Continue.
- Send Data: Displays the test result of the search subscription. Click TEST & CONTINUE.
- Click Done Editing.
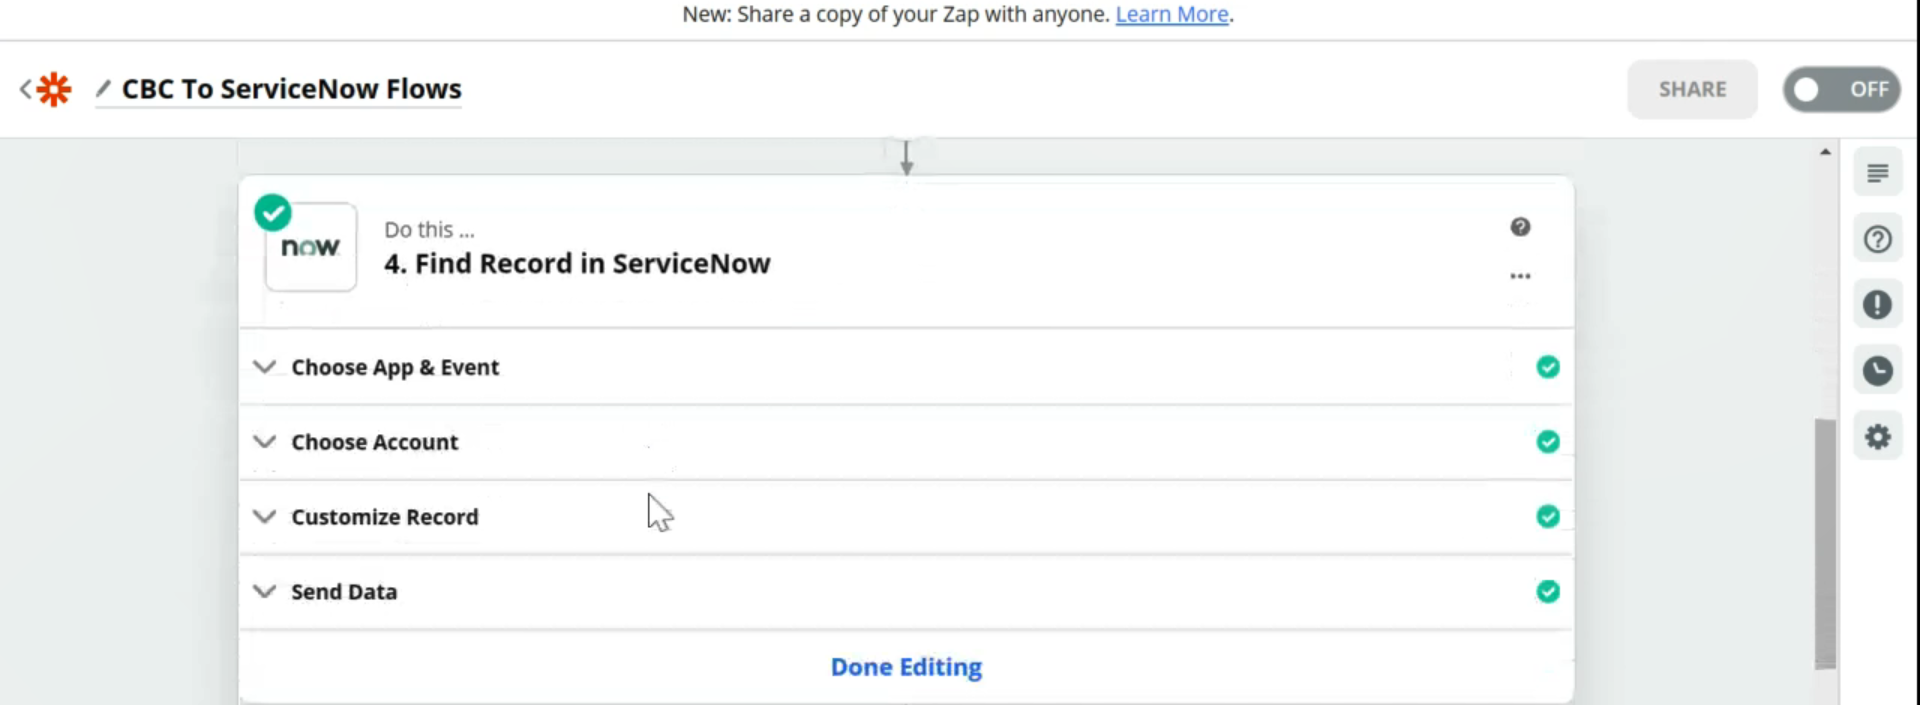
- Under Do this, the name of the action for the path is displayed.
- Choose App & Event: Displays the following details as defined in the template.
- Choose App: Displays the application where the Zap must perform the action.
- Choose Trigger Event: Displays the action to be performed in ServiceNow when the corresponding trigger happens.
- Choose Account: To enable the Zap to update a record in ServiceNow, you must log in to a ServiceNow account. This field is populated by default if you have logged in to the application previously.
- Customize Record: Displays the search condition as defined in the template.
- Click Refresh Fields and Continue.
- Send Data: Displays the test result of the search. Click TEST & CONTINUE.
- Click Done Editing.
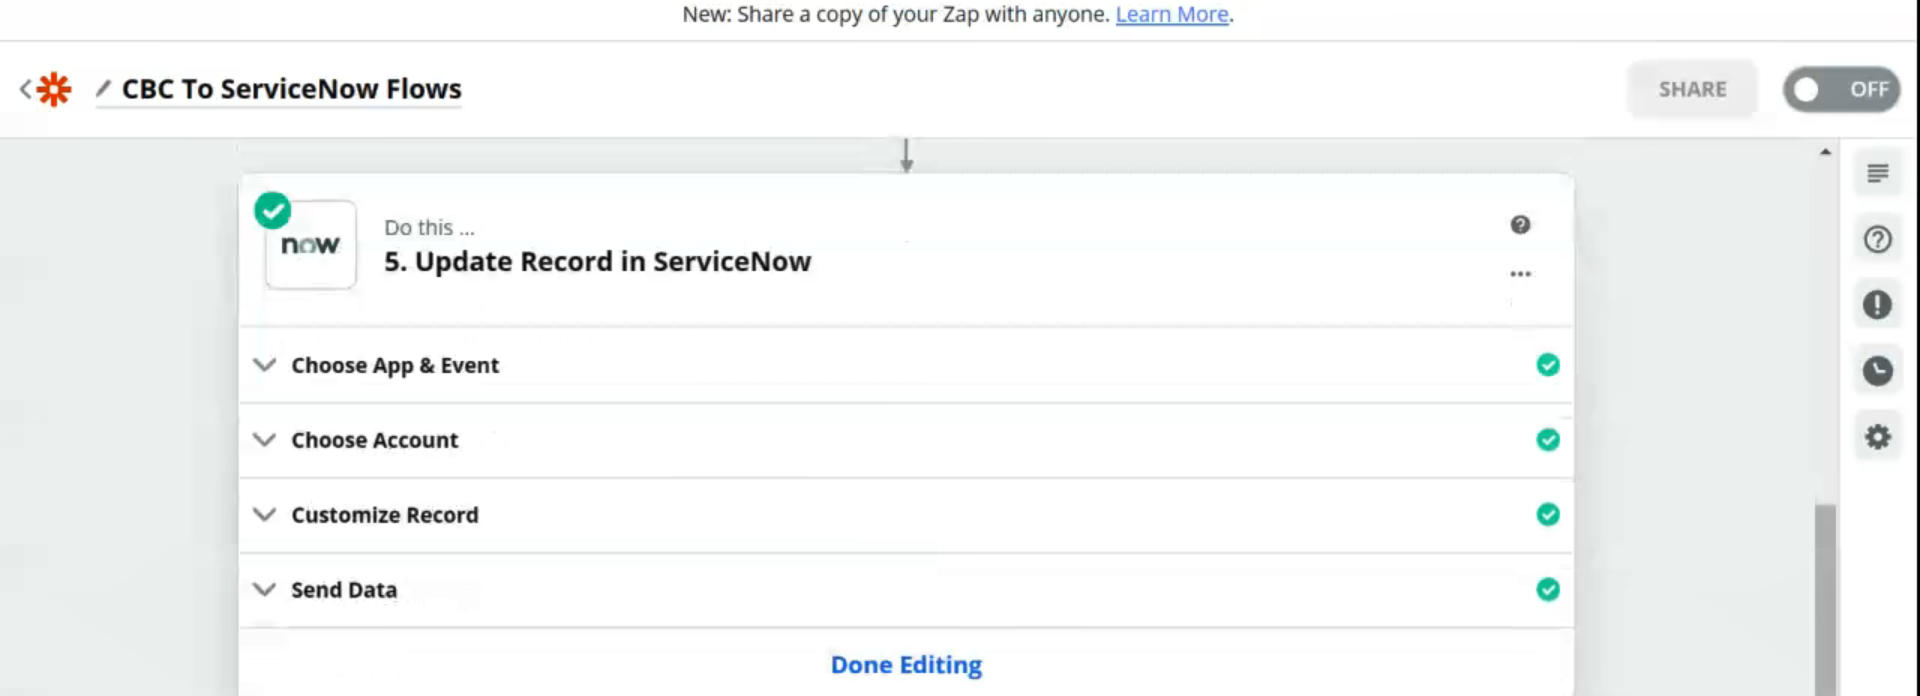
- Under Do this, the name of the action for the path is displayed.
- Choose App & Event: Displays the following details as defined in the template.
- Choose App: Displays the application where the Zap must perform the action.
- Choose Trigger Event: Displays the action to be performed in ServiceNow when the corresponding trigger happens.
- Choose Account: To enable the Zap to update a record in ServiceNow, you must log in to a ServiceNow account. This field is populated by default if you have logged in to the application previously.
- Customize Record: Displays the search condition as defined in the template.
- Click Refresh Fields and Continue.
- Send Data: Displays the test result of the search. Click TEST & CONTINUE.
- Click Done Editing.
- Click Share Feedback.
If you are logging in for the first time, click Sign In to CloudBlue Commerce, provide the necessary credentials, and then click Allow to log in to a CloudBlue Commerce account where the action must take place. To log in to a different CloudBlue Commerce account, click +Add a New Account.
Click the action item and edit. The following fields are populated by default based on the preconfigured template.
If you are logging in for the first time, click Sign In to ServiceNow, provide the necessary credentials, and then click Allow to log in to the ServiceNow account where the action must take place. To log in to a different ServiceNow account, click +Add a New Account.