To integrate Sage with Reseller Marketplace, complete the following steps:
Important: Ensure that the OAuth 2.0 Redirect microservice is installed and the OAuth 2.0 Redirect URL is configured.
-
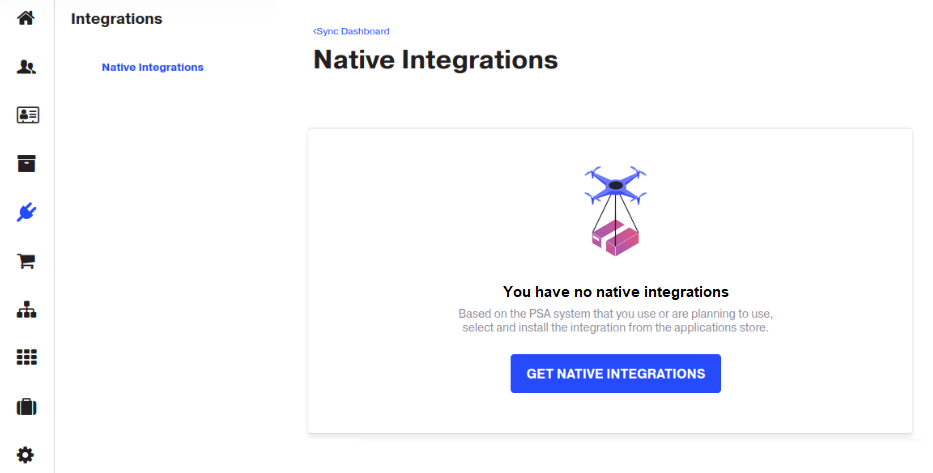
In your UX1 for Resellers, click Integrations.
-
Click Get Native Integrations. You will be redirected to the CloudBlue Store for Resellers.
-
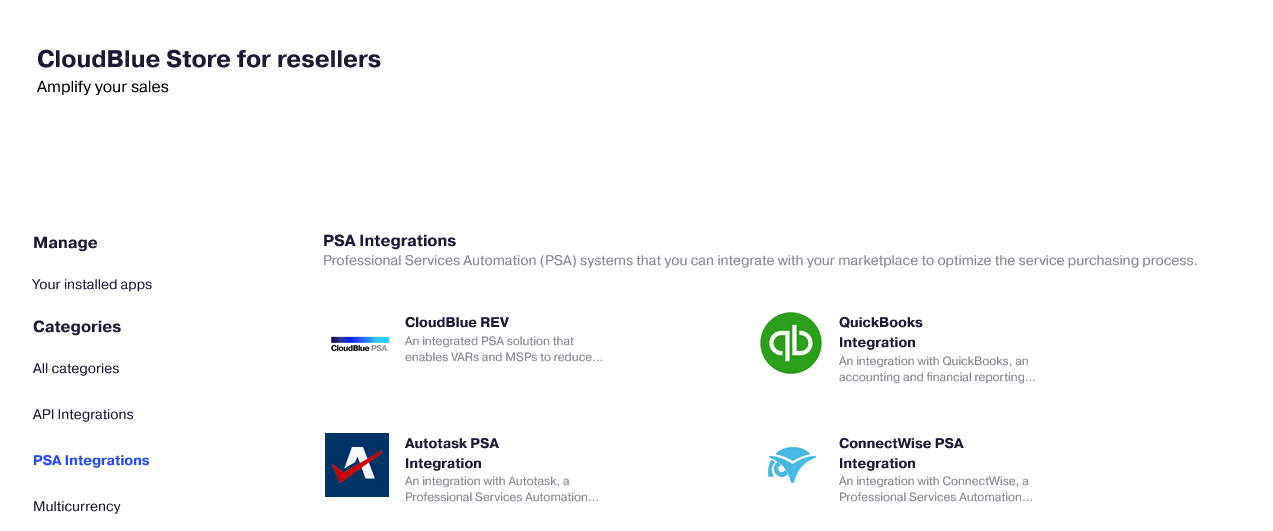
Click Sage Integration.
-
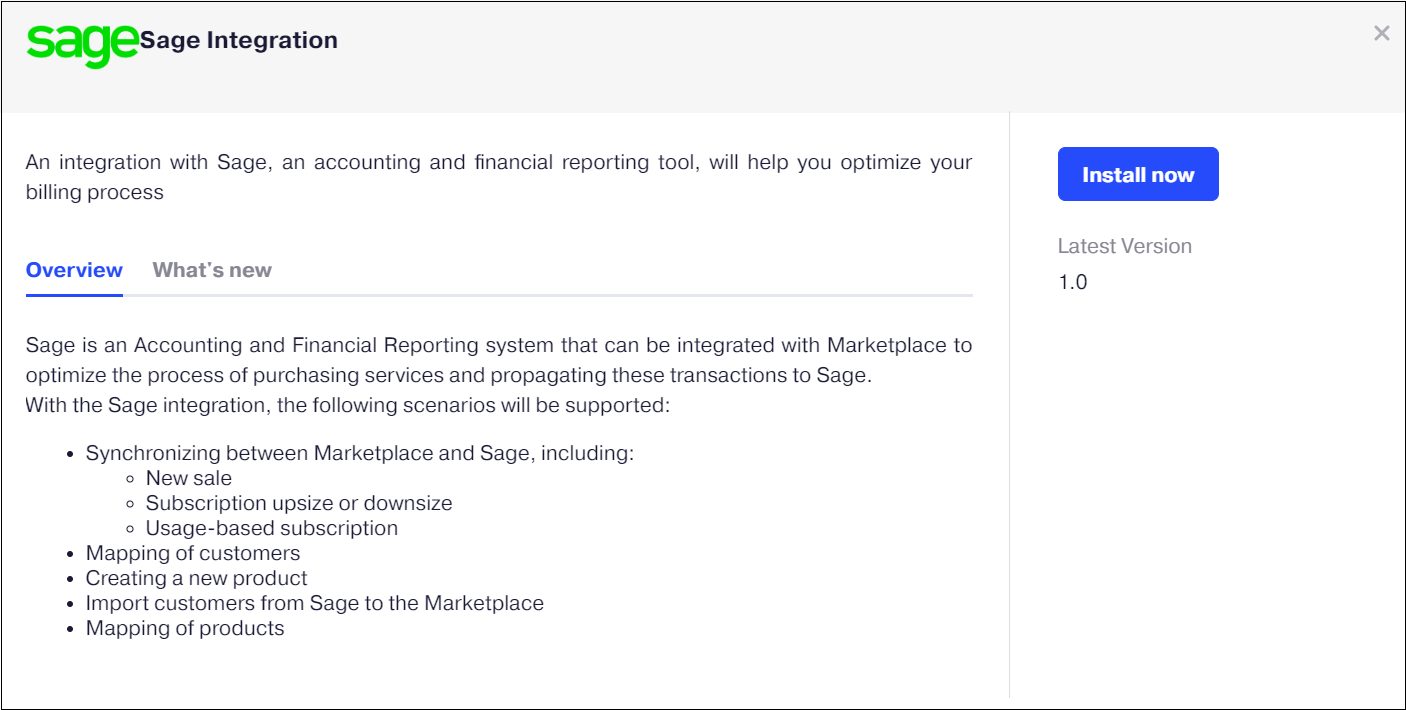
In the pop-up window that displays, click Install now. Then, in the appeared pop-up message, click Continue.
-
On the authorization page, connect your Sage account. After completing authorization, you will be redirected back to the CloudBlue Store for Resellers.
-
Follow the OAuth 2.0 Redirect procedure to validate redirect URLs.
-
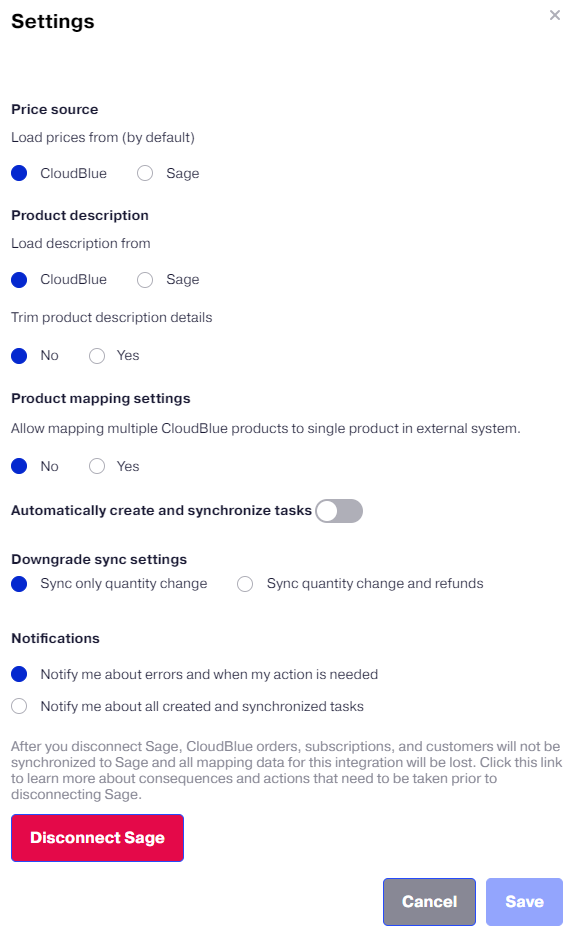
In the Settings window, specify:
-
Whether to load prices and their descriptions from Sage or Reseller Marketplace by default.
-
Whether or not to trim product description details. When Yes is selected, only the product name is used in the line description.
-
Whether or not to allow mapping multiple products to a single product.
-
Whether to automatically create and process synchronization tasks. You can select from two check frequency options: once per day or once every 5 minutes. It is also required to enable auto-sync at the customer level.
-
Whether to sync refunds on downgrades or sync only resource quantity changes.
-
Which events you want to track and be notified of: when errors and actions required from you only, or all tasks. These notifications are displayed in pop-up messages and the Action Log.
-
Whether to synchronize new or existing invoices.
-
New Invoice: Each order will create a new invoice in Sage.
-
Existing Invoice: The order will be synchronized to the latest invoice, for that customer.
-
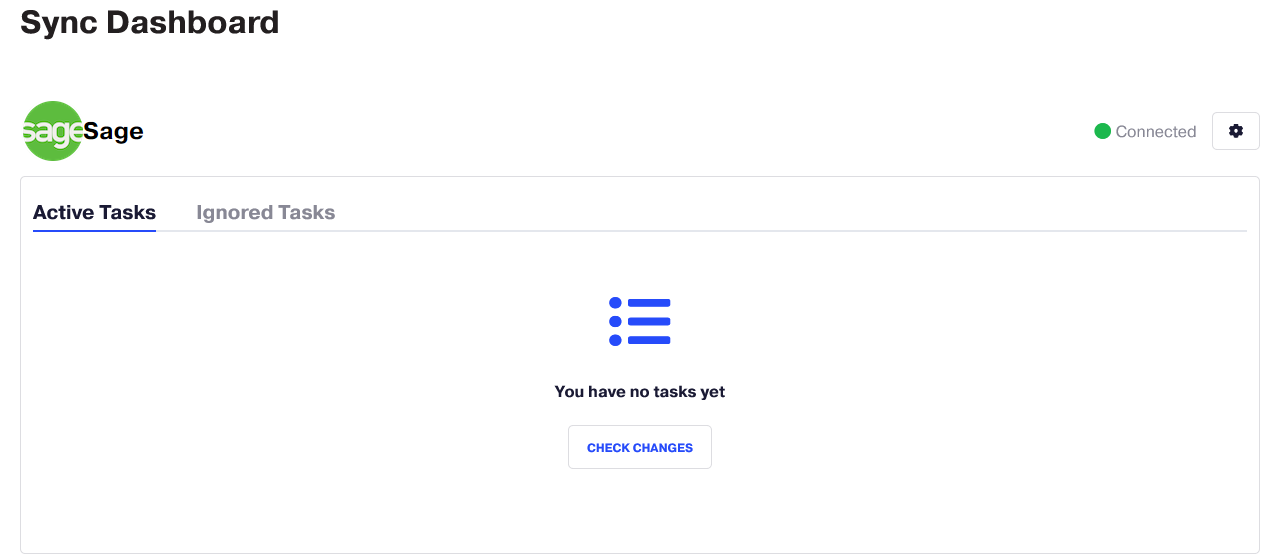
Note: You can access these settings later by clicking the gear icon on the dashboard and selecting Settings.
The Sage integration is now complete.
-