Table Of Contents
Provisioning
This is the phase, where customers subscribe to the application services and then provision resources for themselves.


In this document:
Create Customer Account
In PCP, navigate to Operations > Customers to ensure there is a customer account to test the application service. If there is no customer, follow these steps to create one:
Click Add New Customer.
In the General section, fill in the address parameters and click Next.
In the Administrative Contact section, fill in the required fields and click Next.
In the Password section, enter a strong enough password or click Generate.
In the Personal Info section, tick the Same as administrative contact box, and then click Finish.
The newly created customer must appear in the list of customers.
Subscribe to Application Services
Subscribe the test customer to the application services:
In PCP, open the customer account and switch to the Subscriptions tab.
Click Create New Subscription.
In the list of service templates, select your service template, for example, “VPS Demo”.
Leave intact the resource limits and click Next.
If necessary, change the subscription name and then click Finish.
The newly created subscription must appear in the list of subscriptions. Stay on this screen to start the testing procedure.
Test Application in UX1
The following steps walk you through the test procedure in UX1:
In the list of customer subscriptions, find your test subscription and click on its Actions link in the last column.
The UX1 must open for you in a separate browser tab.
In the UX1 navigation panel, find your demo application and select it.

The list of servers is empty and there is the New button that allows you to create a VPS.
Click New to start creating a VPS.
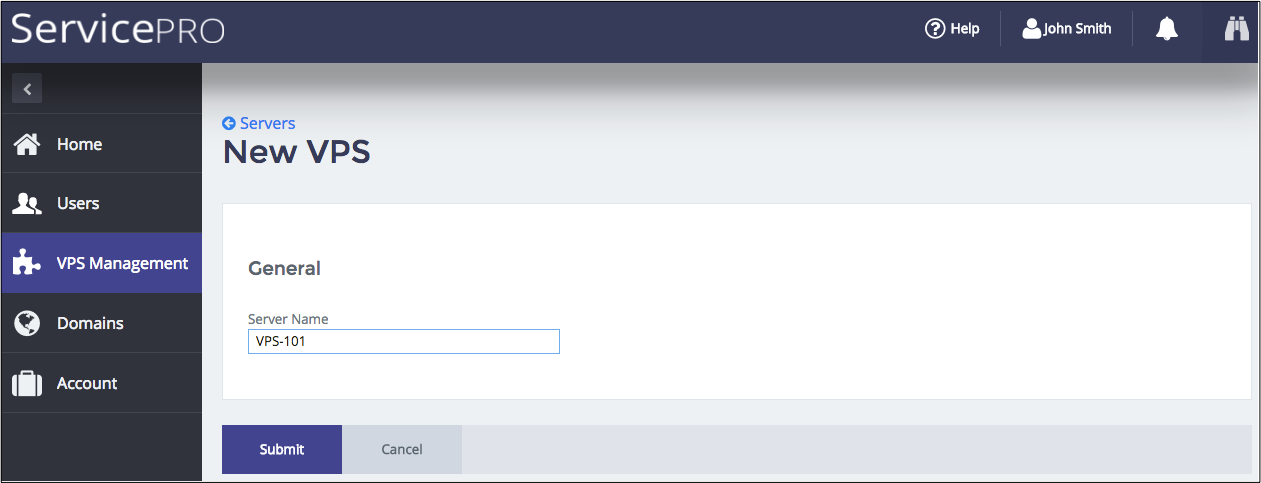
Fill out the New VPS form:

Click Submit.
The newly provisioned VPS must appear in the list of servers.
Repeat the above steps to create one or more servers with different names.

Conclusion
This completes the application design-development-deployment-provisioning life cycle. The project is pretty much simplified. If you have understood the main ideas of the application integration process, the demo project has reached its goal.
This is the final sample package for download.
What should you do if you need to update your APS application? Let us see in the next document.
