Before you can sign up customers to hosting services, you need to configure the following items in Odin Automation to reflect your hosting offerings:
Service templates define the hosting settings, the operations that the hosting customers can perform in the system, and the amounts of allotted resources such as the number of websites, disk space, and monthly bandwidth. There are four predefined service templates: DNS Hosting, WebHosting Plesk Linux, WordPress WebHosting Plesk Linux, and WebHosting Plesk Windows. You can review and change them to suit your needs or create new service templates. To view and edit the service templates, go to Products > Service Templates. Note that the hosting settings you define in service templates are applied to all websites of subscriptions that are created based on service templates.
We recommend that you configure service templates in Odin Automation so as to match the resource usage limits and hosting settings of source subscriptions in Plesk to the most possible extent. During migration, the hosting settings that were used on source Plesk servers will be restored, with some exceptions: If you are migrating from Plesk 12.5 or earlier, some hosting settings will be ignored because they are no longer supported by the latest versions of Plesk.
Service plans are based on service templates. In addition to the hosting settings, resource allotments, and operations defined by service templates, a service plan specifies the billing settings, such as subscription period and pricing. You need to set up service plans only if you are using Odin Automation with the Billing component. There are a number of predefined service plans in billing: Small WebHosting Plesk Linux, Medium WebHosting Plesk Linux, Large WebHosting Plesk Linux, WordPress WebHosting Plesk Linux, Small WebHosting Plesk Windows, Medium WebHosting Plesk Windows, Large WebHosting Plesk Windows, and DNS Hosting. To view and edit the service plans, go to Billing > Products > Service Plans.
To create a service template:
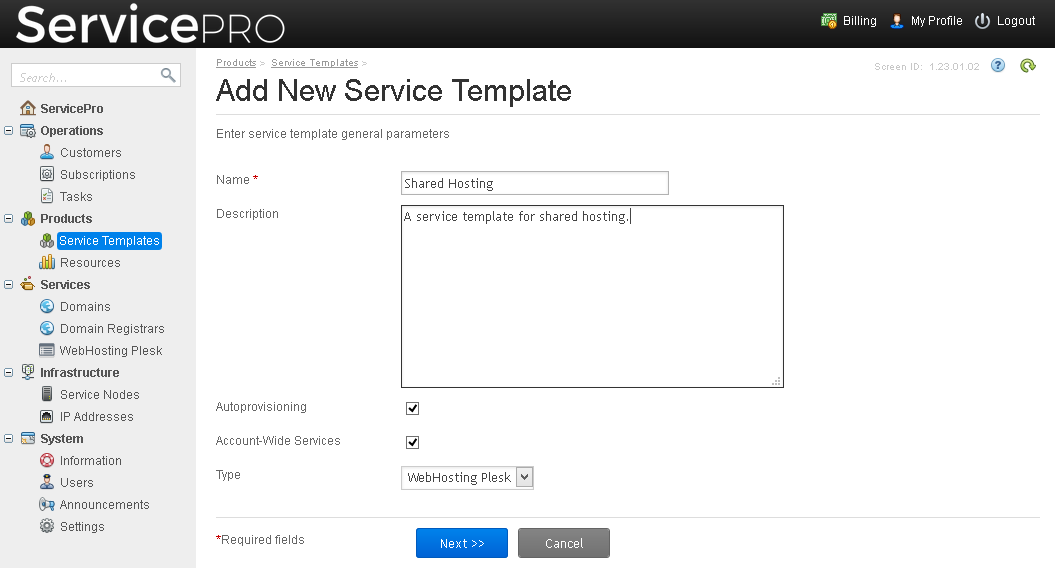
If you are using Odin Automation with the Billing module, then you should also set up a service plan in billing, based on the service template you created in the previous steps. Service plans define the amounts of available resources and the applicable charges.
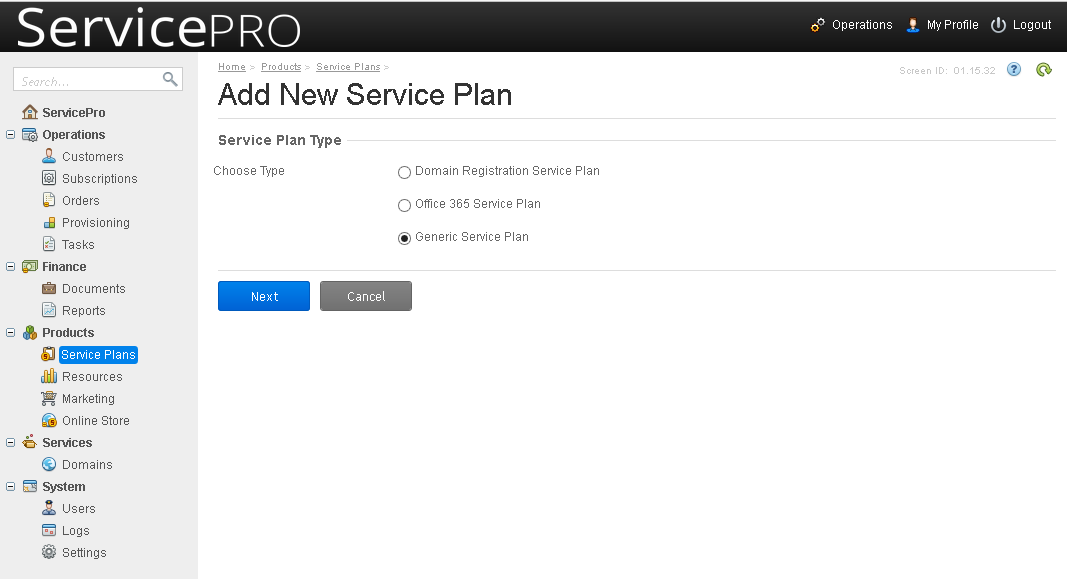
To create a service plan based on a service template: