Migrating Between Modules of Odin Automation > Migrating from Windows Shared Hosting to WebHosting Plesk > Preparing for Migration > Configuring Service Templates and Service Plans
Configuring Service Templates and Service Plans
Before you can sign up customers to hosting services, you need to configure the following items in Odin Automation to reflect your hosting offerings:
- Create a service template or configure an existing one.
Service templates define the hosting settings, the operations that the hosting customers can perform in the system, and the amounts of allotted resources such as the number of websites, disk space, and monthly bandwidth. There are four predefined service templates: DNS Hosting, WebHosting Plesk Linux, WordPress WebHosting Plesk Linux, and WebHosting Plesk Windows. You can review and change them to suit your needs or create new service templates. To view and edit the service templates, go to Products > Service Templates. Note that the hosting settings you define in service templates are applied to all websites of subscriptions that are created based on service templates.
We recommend that you configure service templates in Odin Automation so as to match the resource usage limits and hosting settings of source subscriptions in Windows Shared Hosting to the most possible extent.
- Create a service plan or configure an existing one.
Service plans are based on service templates. In addition to the hosting settings, resource allotments, and operations defined by service templates, a service plan specifies the billing settings, such as subscription period and pricing. You need to set up service plans only if you are using Odin Automation with the Billing component.
Note: To avoid double charging, set the setup fee and recurring fee to zero for all subscription periods of target service plans. If you are migrating customers under a reseller, delegate target service plans to that reseller.
There are a number of predefined service plans in Billing: Small WebHosting Plesk Linux, Medium WebHosting Plesk Linux, Large WebHosting Plesk Linux, WordPress WebHosting Plesk Linux, Small WebHosting Plesk Windows, Medium WebHosting Plesk Windows, Large WebHosting Plesk Windows, and DNS Hosting. To view and edit the service plans, go to Billing > Products > Service Plans.
To create a service template:
- Go to Products > Service Templates > Add New Service Template.
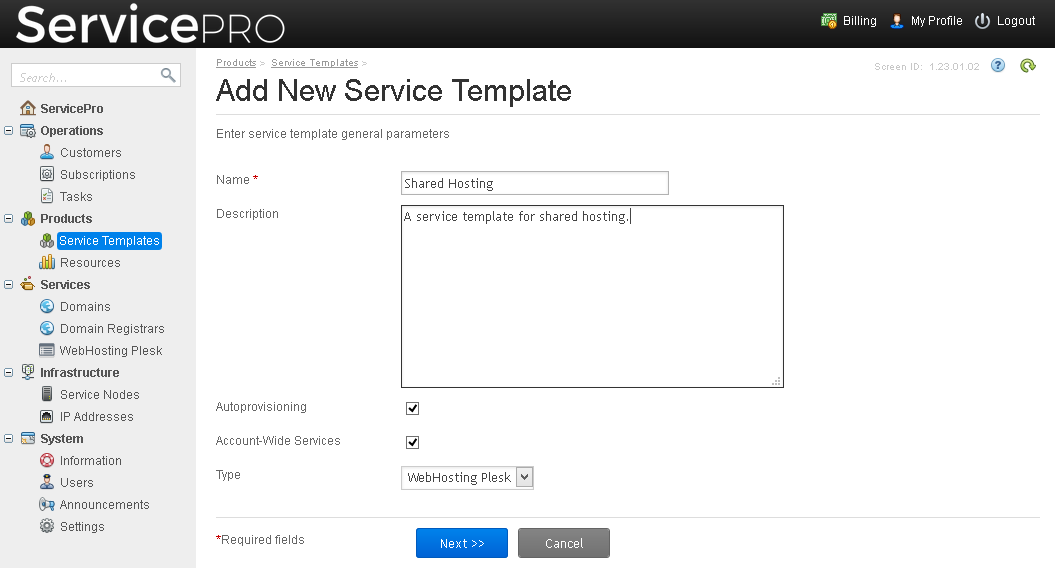
- Type a name, select WebHosting Plesk from the Type menu, and click Next.
- In the Platform menu, select Windows.
- Under Services, leave the Web Hosting checkbox selected.
- If the source hosting subscriptions were not provided with email services, and you want to provide users with mailboxes after migration to WebHosting Plesk, select the Email Hosting checkbox. If the source hosting subscriptions were configured to use email services, do not select the Email Hosting checkbox. Note that the migration of email services used by Windows Shared Hosting subscriptions is not supported.
- Click Next.
- Specify the amounts of resources that you want to allocate. Click Next.
- Specify the permissions for operations that users will be able to perform on their hosting accounts. Click Next.
- Specify the hosting settings and click Next.
- Configure the PHP performance and security settings, or set additional directives, if you need to. Click Next.
- Select the database servers that will be used for hosting users' databases and click Next.
- Select the web applications that should be available to your customers and click Next.
- Specify the mail hosting settings if you selected the option to provide email services in step 5.
- Click Next and then click Finish.
If you are using Odin Automation with the Billing module, you should also set up a service plan in Billing, based on the service template you created in the previous steps. Service plans define the amounts of available resources and the applicable charges.
To create a service plan based on a service template:
- Click the Billing link in the top right corner of the screen.
- Go to Products > Service Plans > Add New Service Plan.
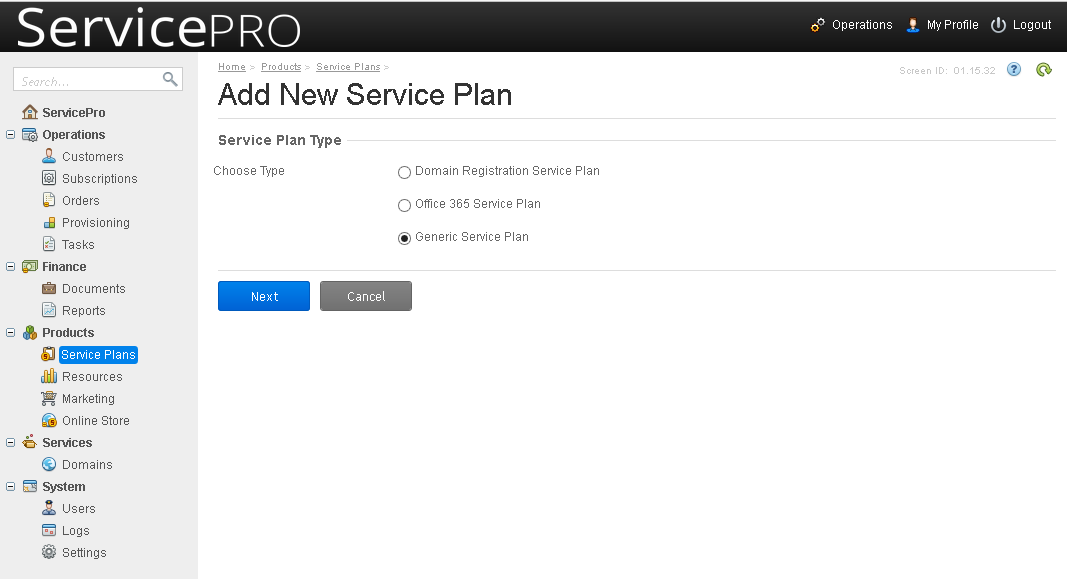
- Select Generic Service Plan and click Next.
- In the Service Template menu, click the Search icon and select the service template that you created previously. Click Next.
- Specify a name and a description for the plan. Customers will see them in the online store.
- In the Plan Category menu, select Hosting Services.
- In the Service Terms menu, select Hosting Service Terms.
- Under Billing Terms, do not change anything, leave the default values selected. Click Next.
- To avoid double charging for the source subscriptions in Windows Shared Hosting and the migrated subscriptions in WebHosting Plesk, leave the default values of 0.00 in all fields.
- Select the checkboxes corresponding to the same subscription periods as in Windows Shared Hosting plans. Click Next.
- Click Set Up Plan Rates.
- To avoid double charging for the source subscriptions in Windows Shared Hosting and the migrated subscriptions in WebHosting Plesk, leave the default values of 0.00 in all fields under the columns titled Setup Fee, Recurring Fee, and Overuse Fee.
- Click Finish.