Table Of Contents
Application Packaging Standard
Last updated 18-Mar-2019Provisioning
At the provisioning stage, you should verify if a customer is able to subscribe to the application services and manage the acquired resources.


In this document:
Continue your demo project from the previous step.
I you wish to test both basic and advanced view-plugins, follow these steps:
- Subscribe to the application that uses the first view-plugin.
- Test generic operations.
- Update the APS application to use the second view-plugin.
- Test generic operations again.
Subscribe to Application Services
If your platform does not include BSS, follow the Provisioning section of the predecessor project to subscribe a customer to the application services.
If you have BSS, subscribe your customer to the service plan created in BSS as follows:
- In the BSS provider control panel, navigate to Operations > Orders.
- Using the Add New Order wizard, create a sales order for your customer to use the service plan trial period.
- Open the newly created sales order and on the General tab click Open Order. The service must be provisioned successfully.
In both systems OSS and BSS, you will find a new subscription belonging to your test customer.
Test Generic Operations
Once you have provisioned a subscription to a customer, enter the customer control panel and do the following:
Make sure the Home dashboard is open.
Find the application tile there.
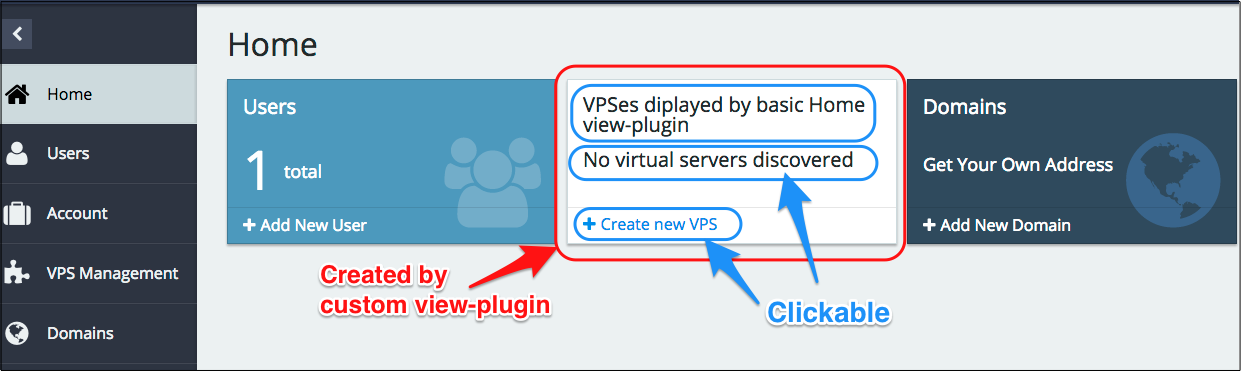
Create a VPS from the dashboard.
- Click the + Create new VPS button. You will be directed to the first step of creating a VPS.
- Fill out the form with the VPS properties and click Next.
- Complete the operation.
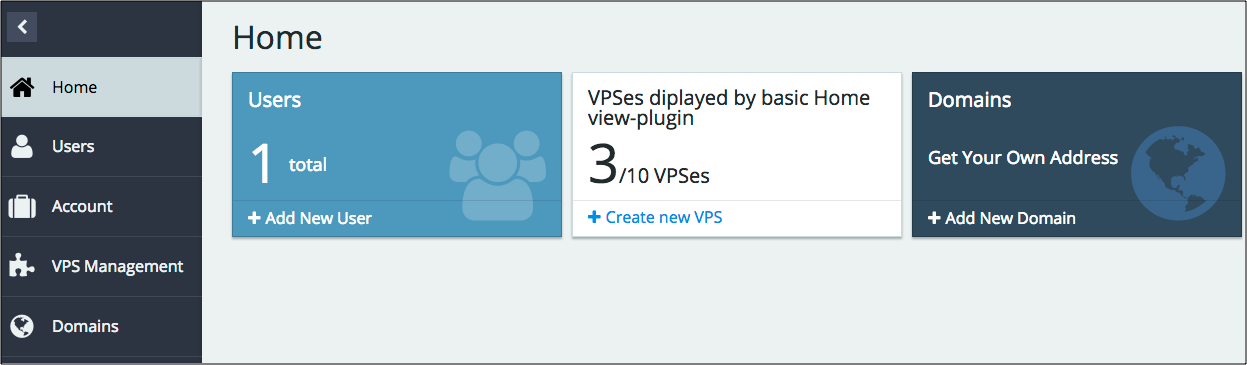
Return back to the Home dashboard and verify if the total number of VPSes is increased.
Repeat steps 1 to 4 to create more VPSes.
Return back to the Home dashboard and click on the tile to verify if you are directed to the list of servers.
Update APS Application
This section explains how to update an APS application when you have its previous version deployed on the platform and provisioned for some customers.
To avoid caching effect on the server and on the browser, follow these recommendations.
- Ensure, the system is in the development mode:
- In the provider control panel, navigate to System > Settings.
- Open the System Properties and ensure the APS development mode property is Enabled.
- In the browser, run the development tools.
To update a view, you can replace the source vpsDashboardPlugin.js file with the new one on the server
and then refresh the browser screen to find the updated application tile on the Home dashboard.
This is possible if you have direct access to the server file system.
Since it is not always possible and not recommended in production, the following
instructions walk you through the officially recommended steps.
Update Package
Edit the
APP-META.xmlfile as follows.Make the
srcattribute in the view-plugin declaration refer to the new file<view-plugin id="vpsDashboardPlugin" src="ui/plugins/vpsDashboardPluginAdv.js">
Note
The other way is to simply rename the
vpsDashboardPluginAdv.jstovpsDashboardPlugin.jsin theui/plugins/folder.Increase the package release. For example, if it was
0, make it1:<release>1</release>
Also ensure the upgrade is allowed in the package. Metadata must contain the
upgradeelement, for example:<upgrade match="version=ge=1.0, release=ge=0"/>
Note
The <upgrade> element must be just above the first <service> element in the
APP-META.xmlfile.Build the package:
$ aps build basic1pdash
Update APS Application Instance
- In the provider control panel, import the package as described in the Package Import section.
- Open the imported application package.
- Switch to the Instances tab.
- Select the instance you need to update and click Upgrade.
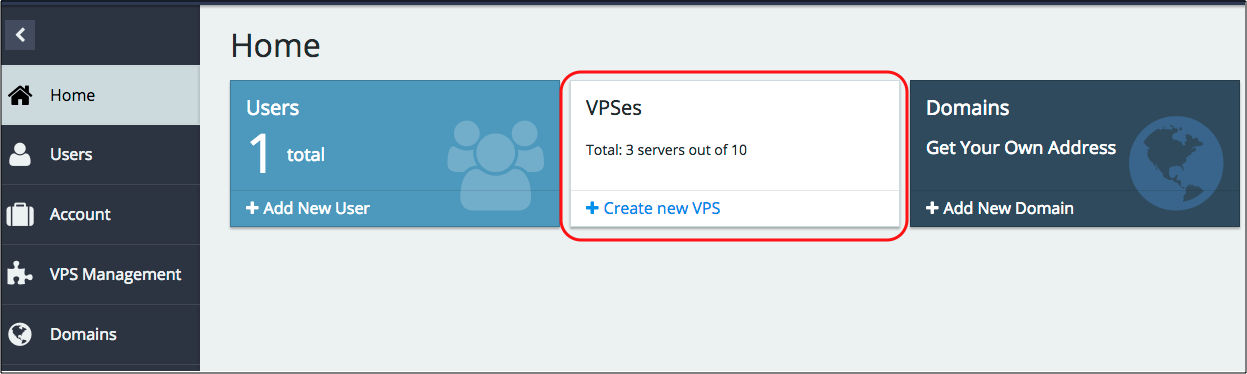
Test updated View-Plugin
Refresh the browser screen and then repeat the steps described in the Test Generic Operations section. The Home dashboard must show the updated application tile:
Conclusion
This completes the APS application development cycle. If you experienced any issues when following
the project steps, you can download
the final package
and compare it with the demo package you have created.
The following section explains how the application can announce its services.