Migrating Between Modules of Odin Automation > Migrating from Linux Shared Hosting to WebHosting Linux > Migrating Data > Running Migration
Running Migration
- Go to System > Migration Manager > Migration Projects, and click Start Migration.
- Review the subscriptions selected for migration and click Next.
- A number of pre-migration checks are run. If you need details about the checks, see the section Running Pre-migration Checks.
- After the checks are completed, click Next.
- Review the migration settings and click Start.
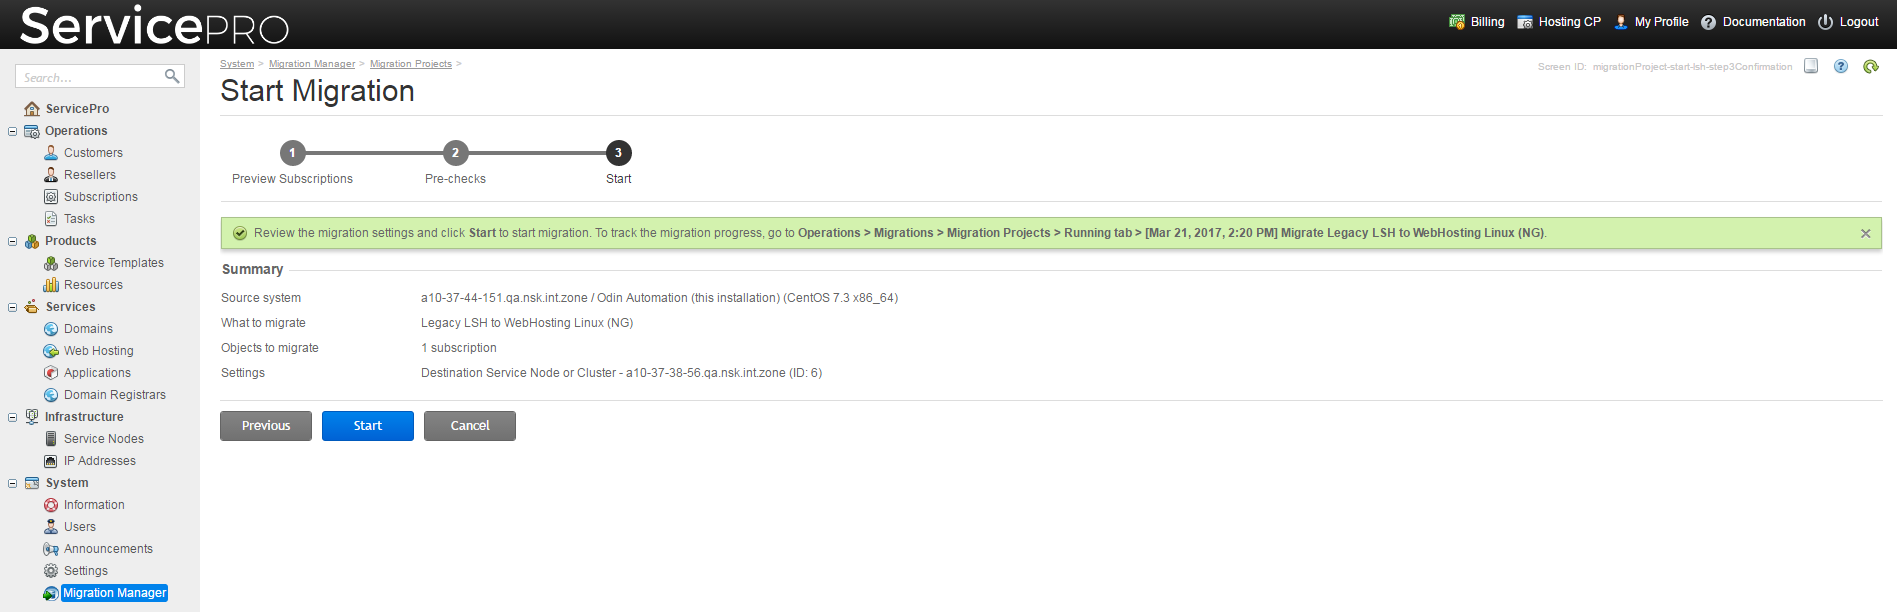
Note: When changing a plan for a subscription from Linux Shared Hosting to WebHosting Linux, a change order will be created in Billing. If there is a difference in resource allotments or subscription periods between plans, some charges might be reflected in an invoice.
Running the Pre-migration Checks
We recommend that you run the following checks before starting migration.
Service plan checks
|
- Check whether it is possible to change the subscriptions' plans from Linux Shared Hosting to WebHosting Linux.
- Check whether the resources of the source plan can be mapped to the resources of the target plan and whether there are enough resources on the target servers.
|
Infrastructure checks
|
- Check whether the required services are running on the server.
- Check whether there are incomplete tasks that must be completed before starting migration, such as "Dump config image for domain service" or "Restart the Apache service."
- Check the connection between the source and the target servers.
- Check whether there is enough disk space to accommodate customers' backups.
|
WebHosting Linux checks
|
- Check if subscriptions from a host can be provisioned on a web cluster or server.
- Check if there is at least one website with FTP access.
- Check if there is at least one parked domain.
|
Checking the Migration Progress
To check the migration progress, go to System > Migration Manager > Migration Projects > Running tab > <migration project name>. When the migration is completed, a record about it is shown in System > Migration Manager > Migration Projects > Completed tab.