Ordering Process as a Transacting Partner (Legacy)
In this section you will find a step-by-step walkthrough of the order process as a transacting partner.
-
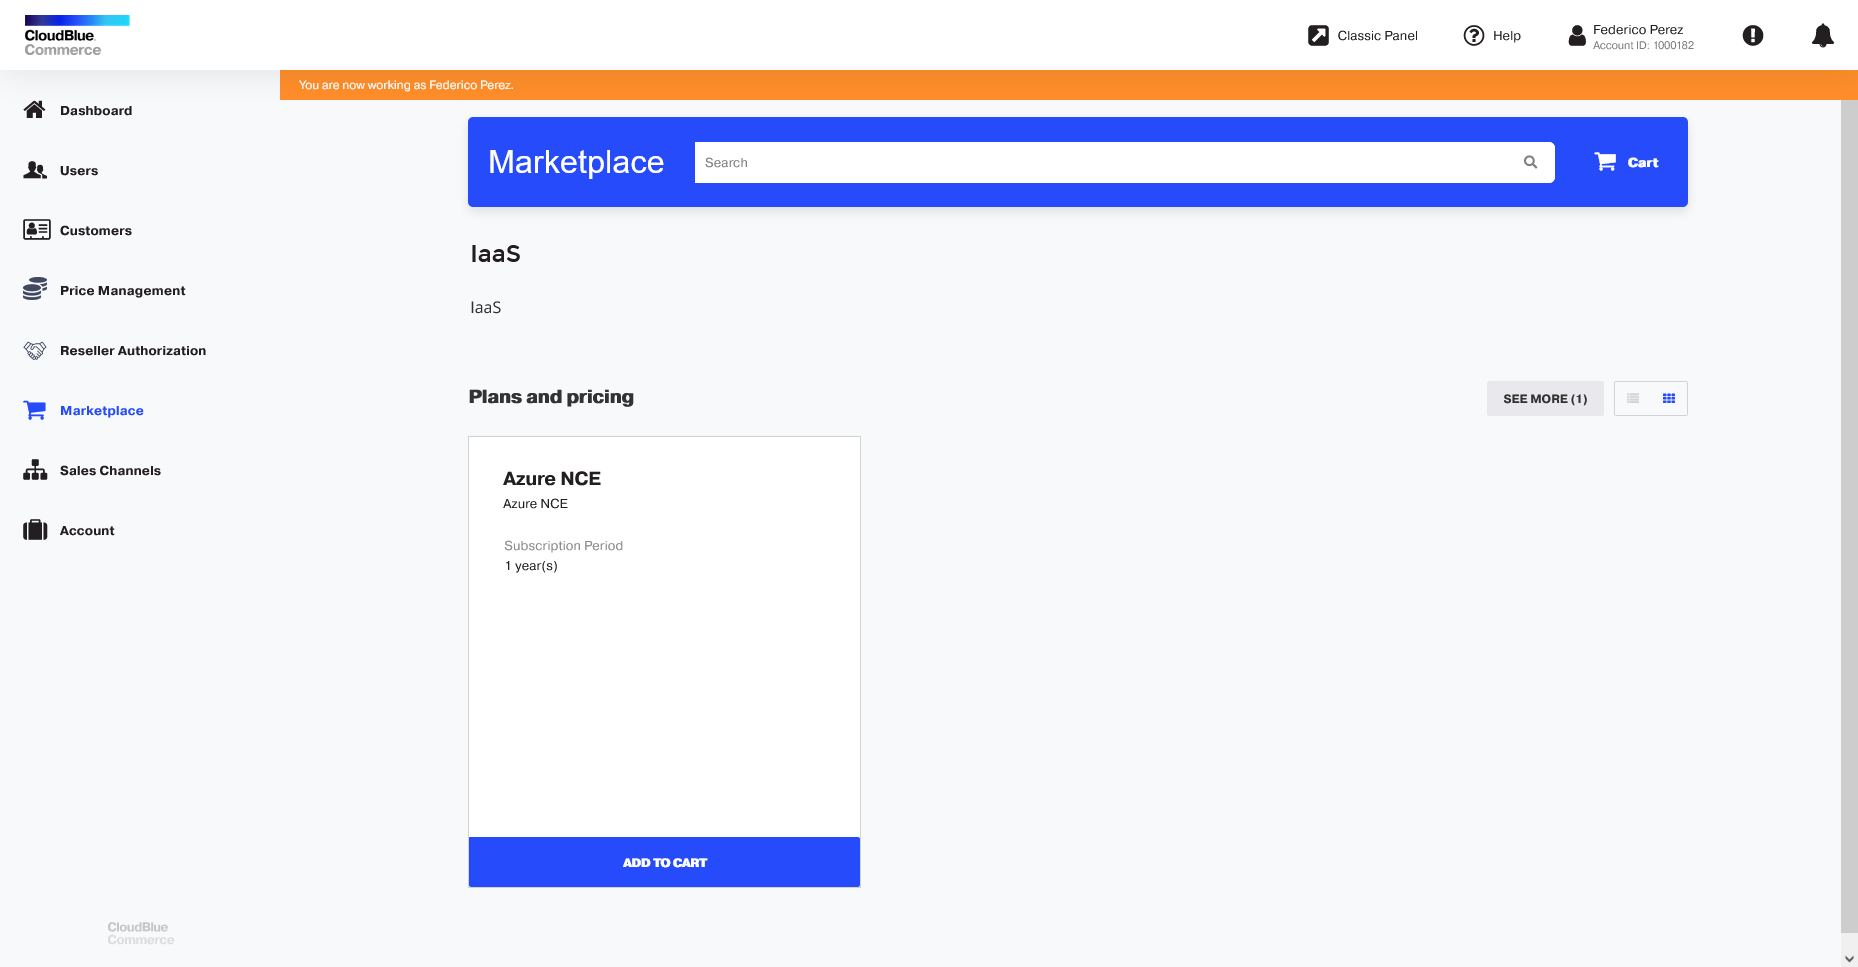
Log in to the Marketplace, select an Azure NCE plan and click Add to Cart.
-
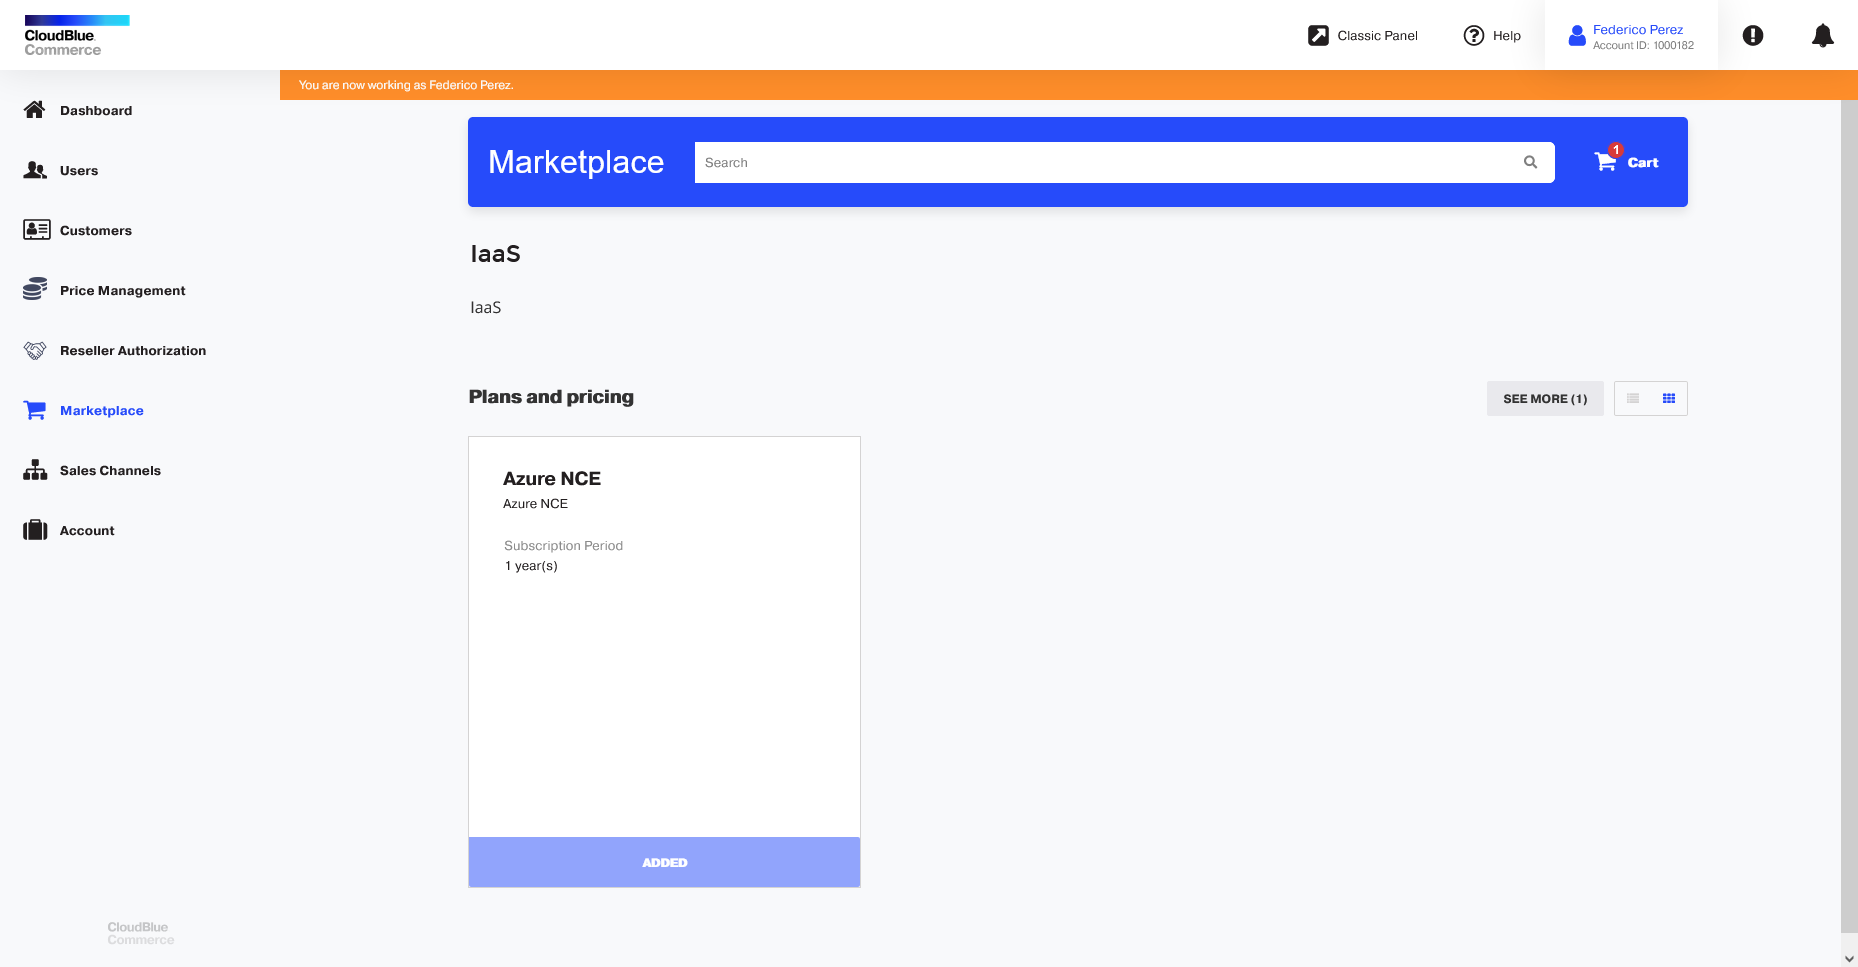
Once a service plan is added, a red notification icon will appear on the cart indicating the number of items that it currently contains.
-
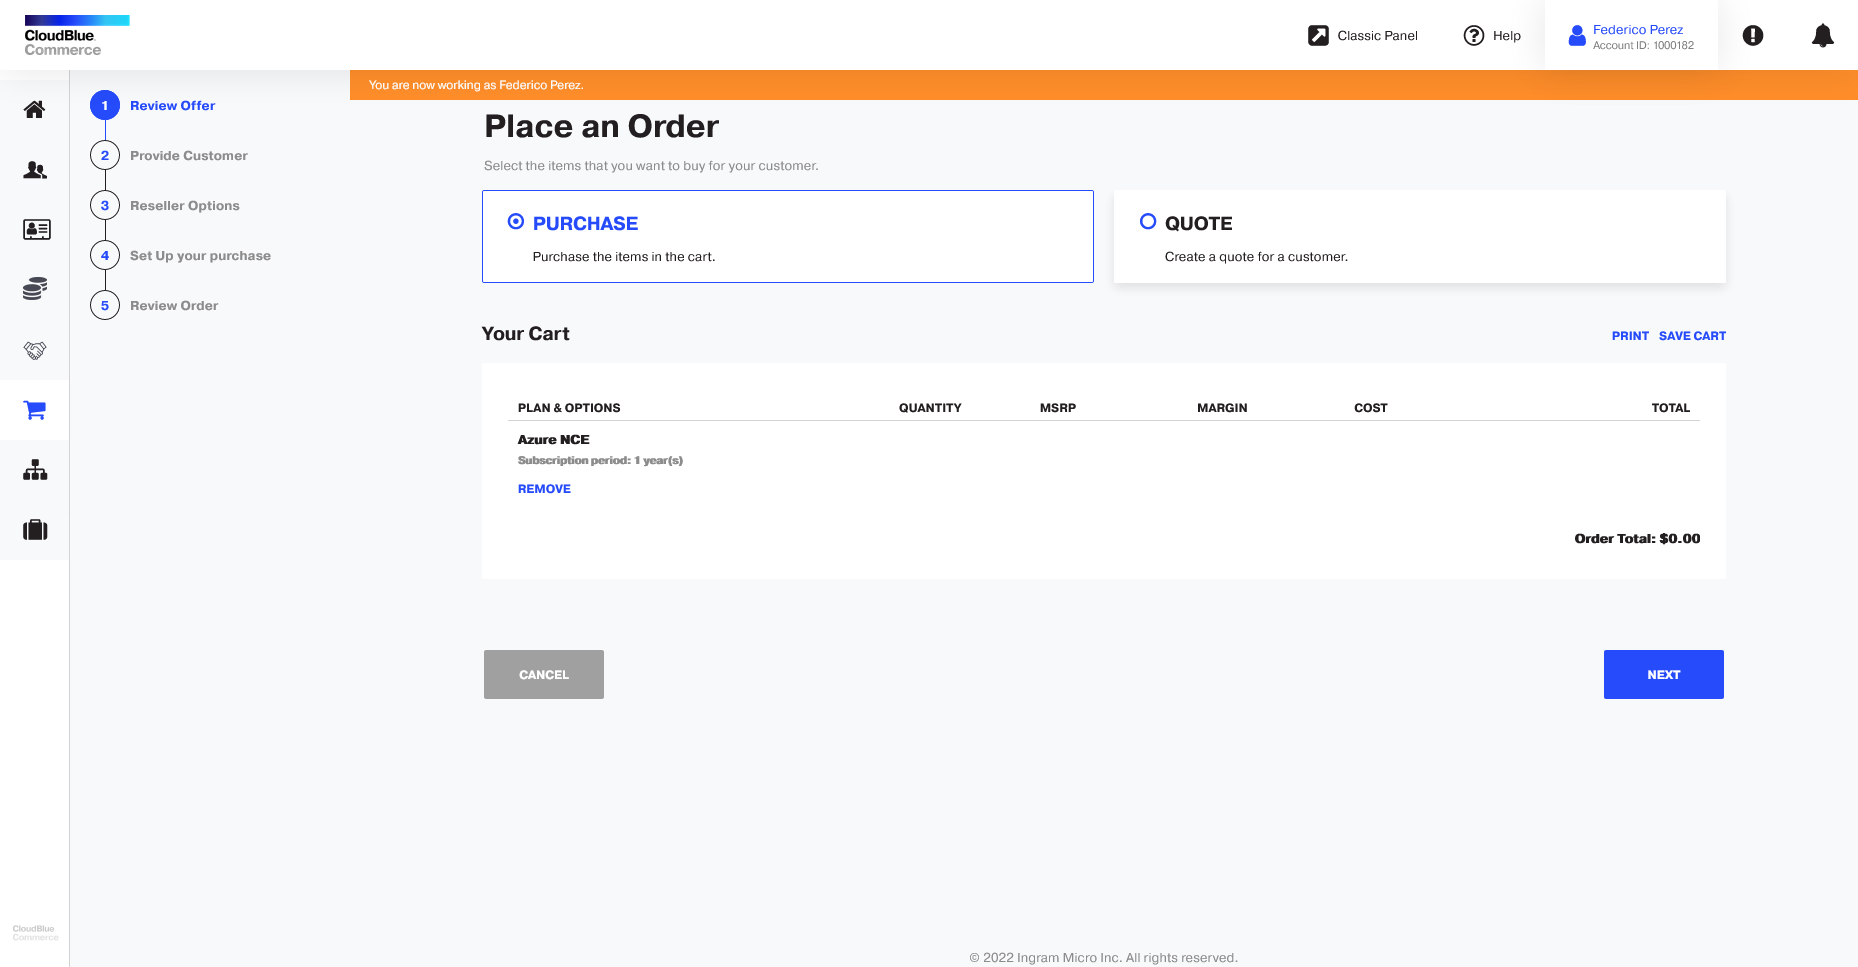
Click the cart icon to review your order. Click Next.
-
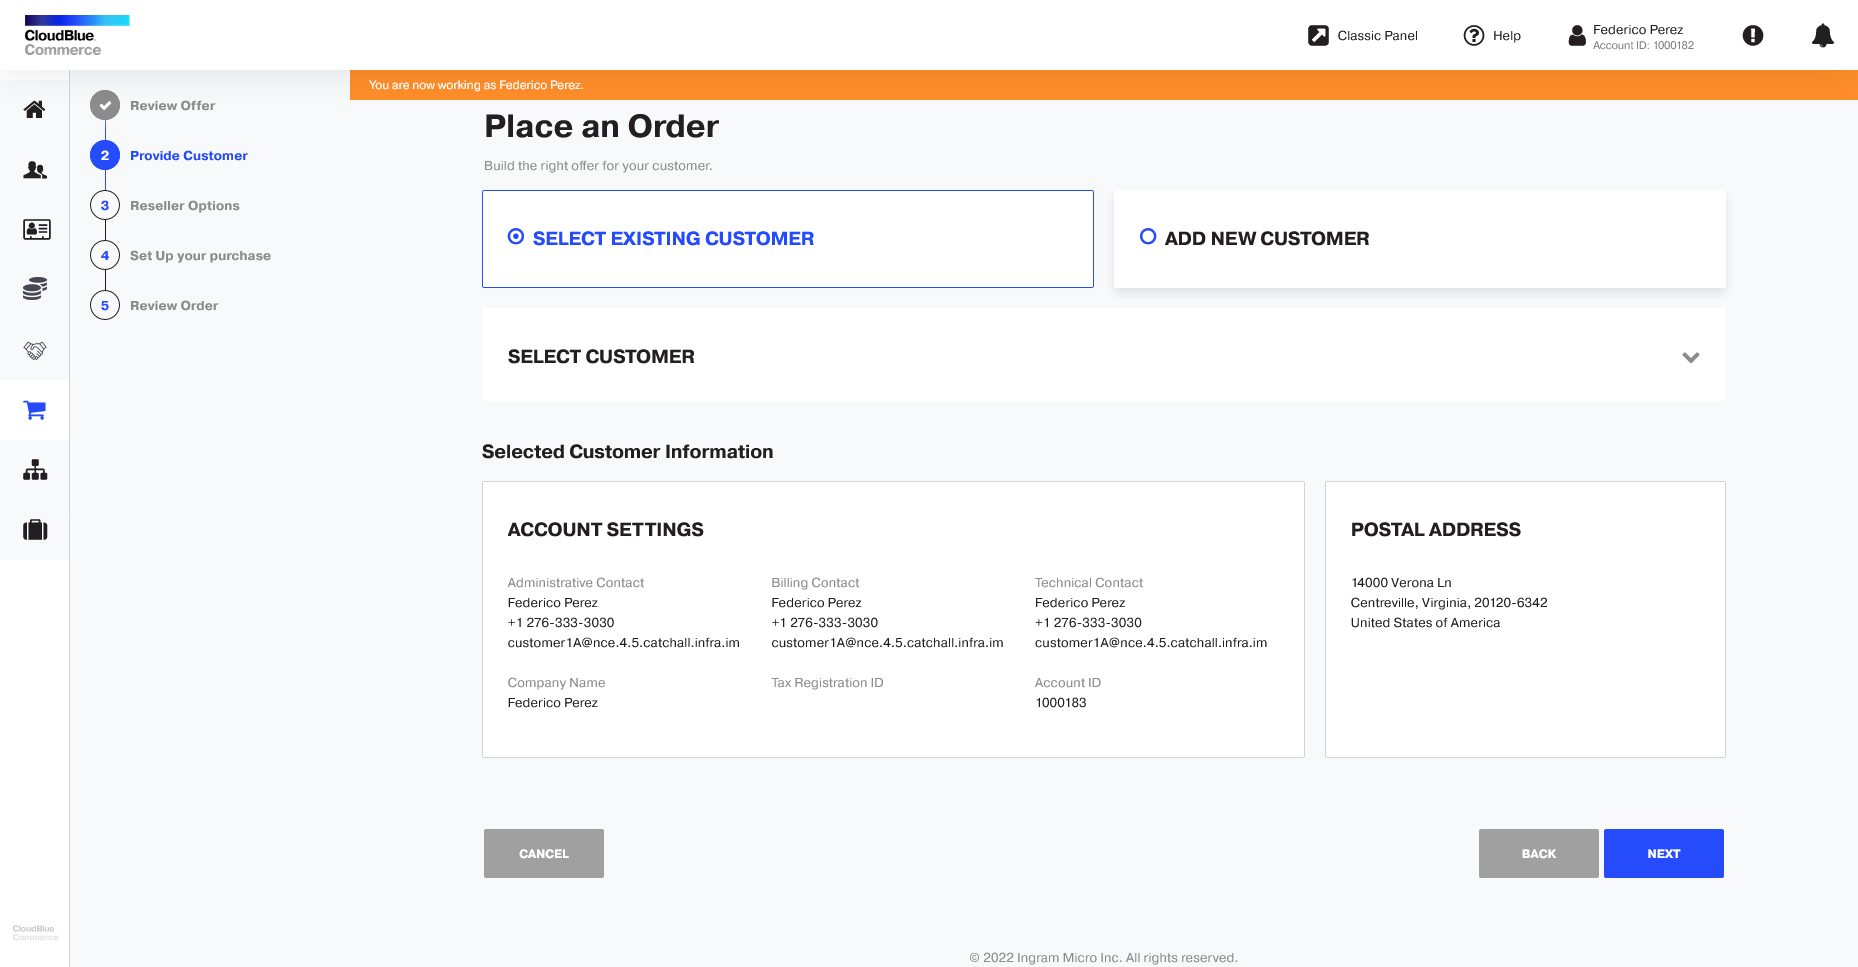
You can choose to either purchase the subscription on behalf of an existing customer, or create a new customer. In this example, we will place an order on behalf an existing customer. To select an existing customer, click Select Existing Customer. To find existing customers, click Select Customer and use the available fields to search for an existing customer by ID, account name, email, etc. Once you find the customer, click the Select option next to it. Click Next.
-
In an indirect sales model (when the
sales_modelparameter was set to "Direct and Indirect Partner"), you will be asked to provide Microsoft Partner Number (MPN) if you have not already provided it in a previous purchase, and optionally you can provide a Principal ID for Lighthouse access to the customer's tenant. For more information on how to obtain an MPN, refer to the Obtaining your Partner MPNID and Indirect Reseller Tenant ID section.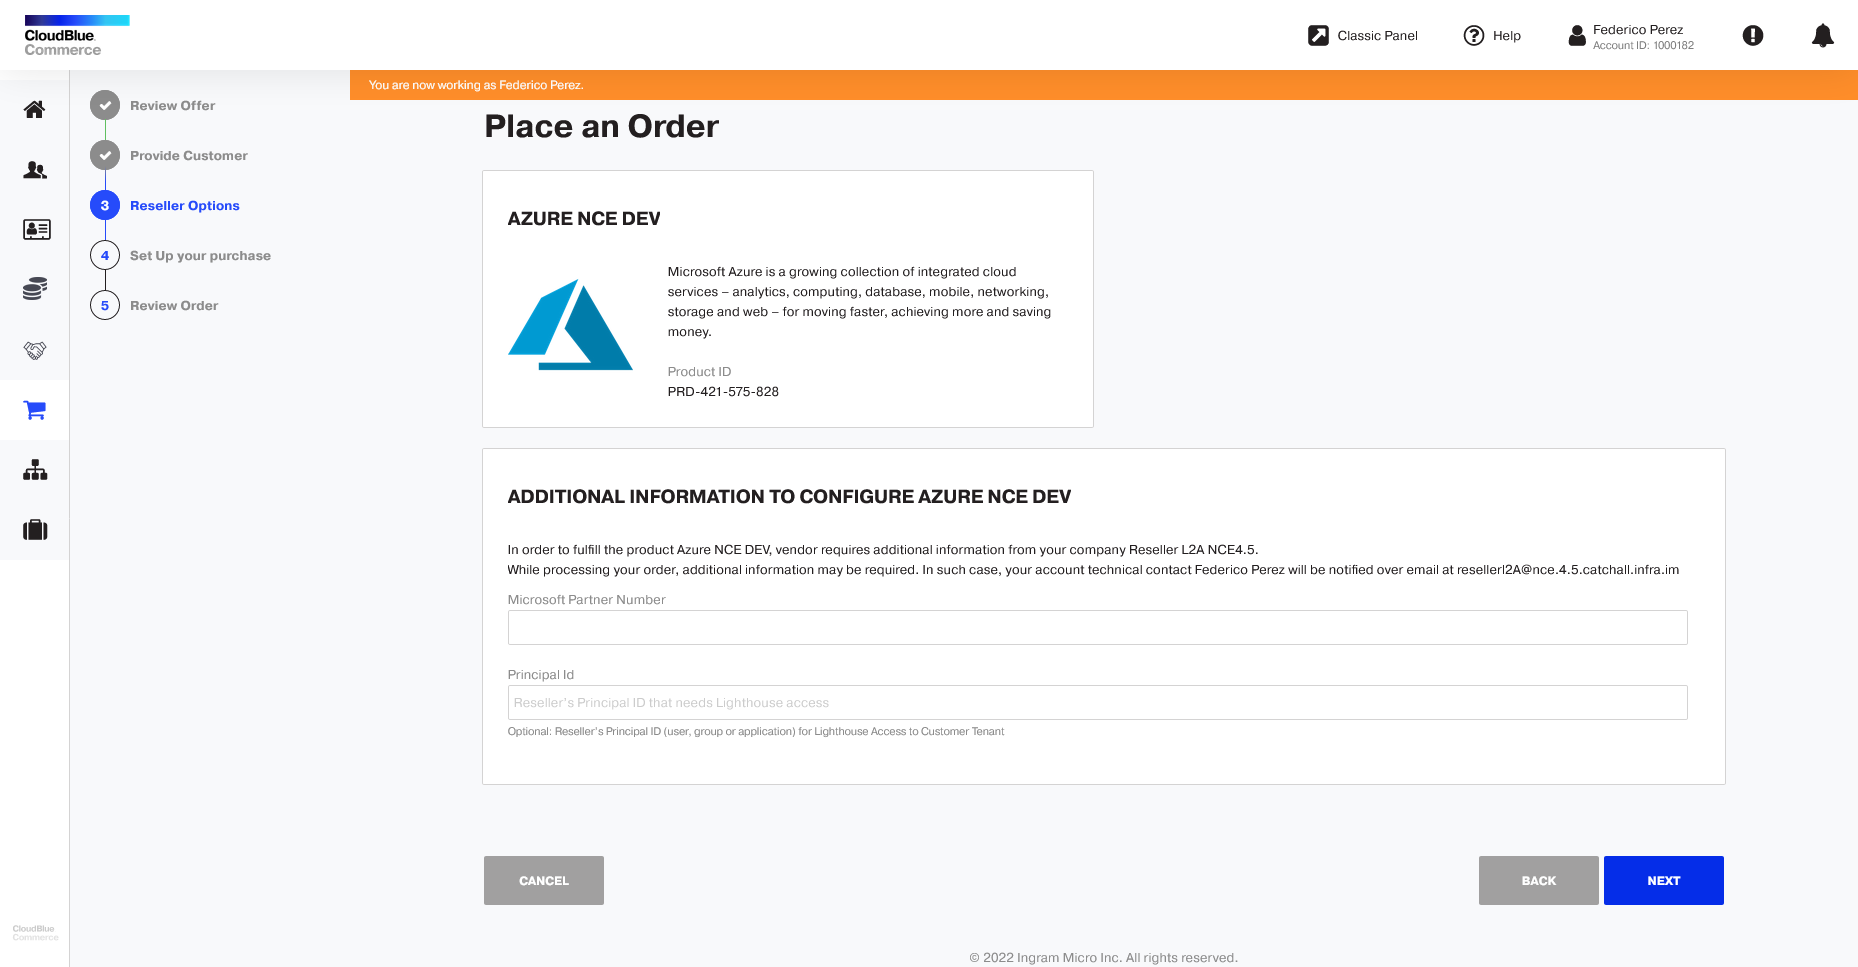
Notes:
- If the MPN was provided by the reseller previously, this step will be skipped and the corresponding MPN will be displayed.
- In a direct sales model, the MPN is not required, so this step will be skipped.
- If the Microsoft Partner Agreement has not been accepted, you will be asked to accept it first in the Partner Center. -
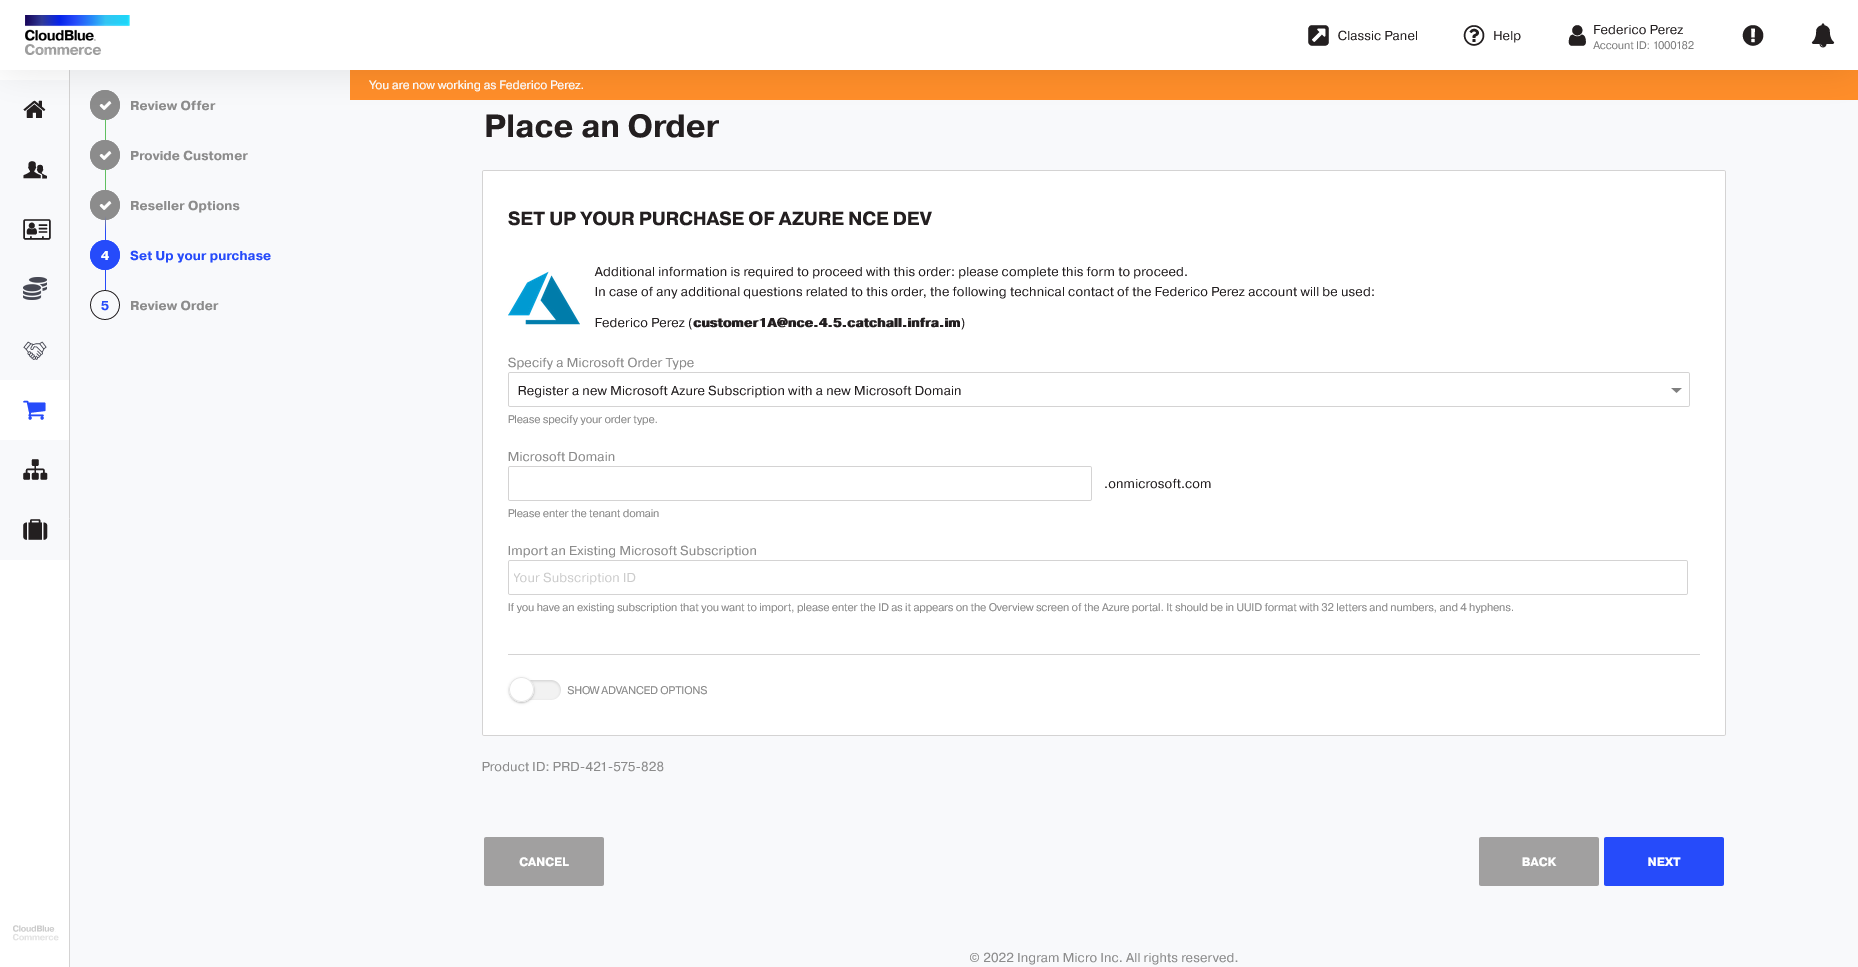
Select the type of order that you would like to place. You can choose from the following order types:
-
Register a new Microsoft Azure subscription with a new Microsoft domain.
-
Register a new Microsoft Azure subscription in an existing Microsoft domain.
-
Import an existing Azure subscription.
Note: GDAP will be validated in imported subscriptions if this option has been activated in the marketplace. For additional information, see the
validate_gdap_importparameter in the Configuring Parameters section.Enter the Microsoft tenant domain. For example:
mytenantdomain.onmicrosoft.comIf you wish to import an existing Azure subscription, select the corresponding option on the menu list and then provide the subscription ID in the field. This ID consists of 32 characters and four hyphens and you will find it in the Overview section of the Azure portal.
Note:
- If the selected customer already has a subscription in the Microsoft Partner Center, but not on CloudBlue Commerce, you will be asked to create a verification user in the Partner Center in order to be able to validate that you own the provided tenant domain. For further details on this requirement, refer to the Validating the Domain Ownership section.
- If the transacting partner does not have the required roles and permissions in Microsoft, it will be necessary to verify the tenant domain ownership manually. To obtain more information, refer to the Manual Verification of the Domain Ownership section.
- If the customer has one or more legacy subscriptions in the Microsoft Partner Center, but has no subscriptions on CloudBlue Commerce, it will be necessary to manually migrate the legacy subscriptions to an Azure Plan. For additional details, refer to the Transitioning a Legacy Subscription to an Azure Plan section. -
-
Check if the customer data displayed is correct and then fill in the fields as required:
-
Microsoft Customer Agreement (MCA): If the customer has not accepted the Microsoft Customer Agreement (MCA) yet, you must share the provided MCA acceptance link with your customer. Once you have shared the link with the customer and they have accepted the Microsoft Customer Agreement, select the following checkbox to confirm: I understand that I must send the MCA attestation link to the Customer. MCA acceptance will be validated and order will be blocked until then.
-
Special Qualification: Select the customer's eligible qualification.
-
Partner Attestation: Only in Indirect Sales models is accepting the Partner Attestation required to continue with the process. If this is the case, confirm that you accept the Partner Attestation by selecting the checkbox. In direct sales models this checkbox will not be displayed.
Partner of Record (PoR) Enforcement for CSP Program Resellers
To strengthen compliance within the Cloud Solution Provider (CSP) program, Microsoft is introducing enhanced validation measures to ensure that distributors assign only active and compliant indirect resellers as the Partner of Record (PoR) for new CSP subscriptions.
CloudBlue Integration with Microsoft Partner Center API
CloudBlue will leverage the Microsoft Partner Center API to pre-validate PoR compliance during the purchase process. If a reseller does not meet the required criteria, an error message will appear at the top of the purchase screen, along with guidance to resolve the issue. For example: "Your reseller has an incomplete configuration for Microsoft. View more details."
Indirect Reseller Requirements
To be eligible as a Partner of Record, indirect resellers must:
- Maintain an active CSP tenant linked to an authorized Partner Location Account (PLA) ID.
- Accept the Microsoft Partner Agreement (MPA) for indirect resellers. For instructions, refer to the MPA Indirect Provider FAQ.
- Be associated with a distributor operating within the same CSP region. -
-
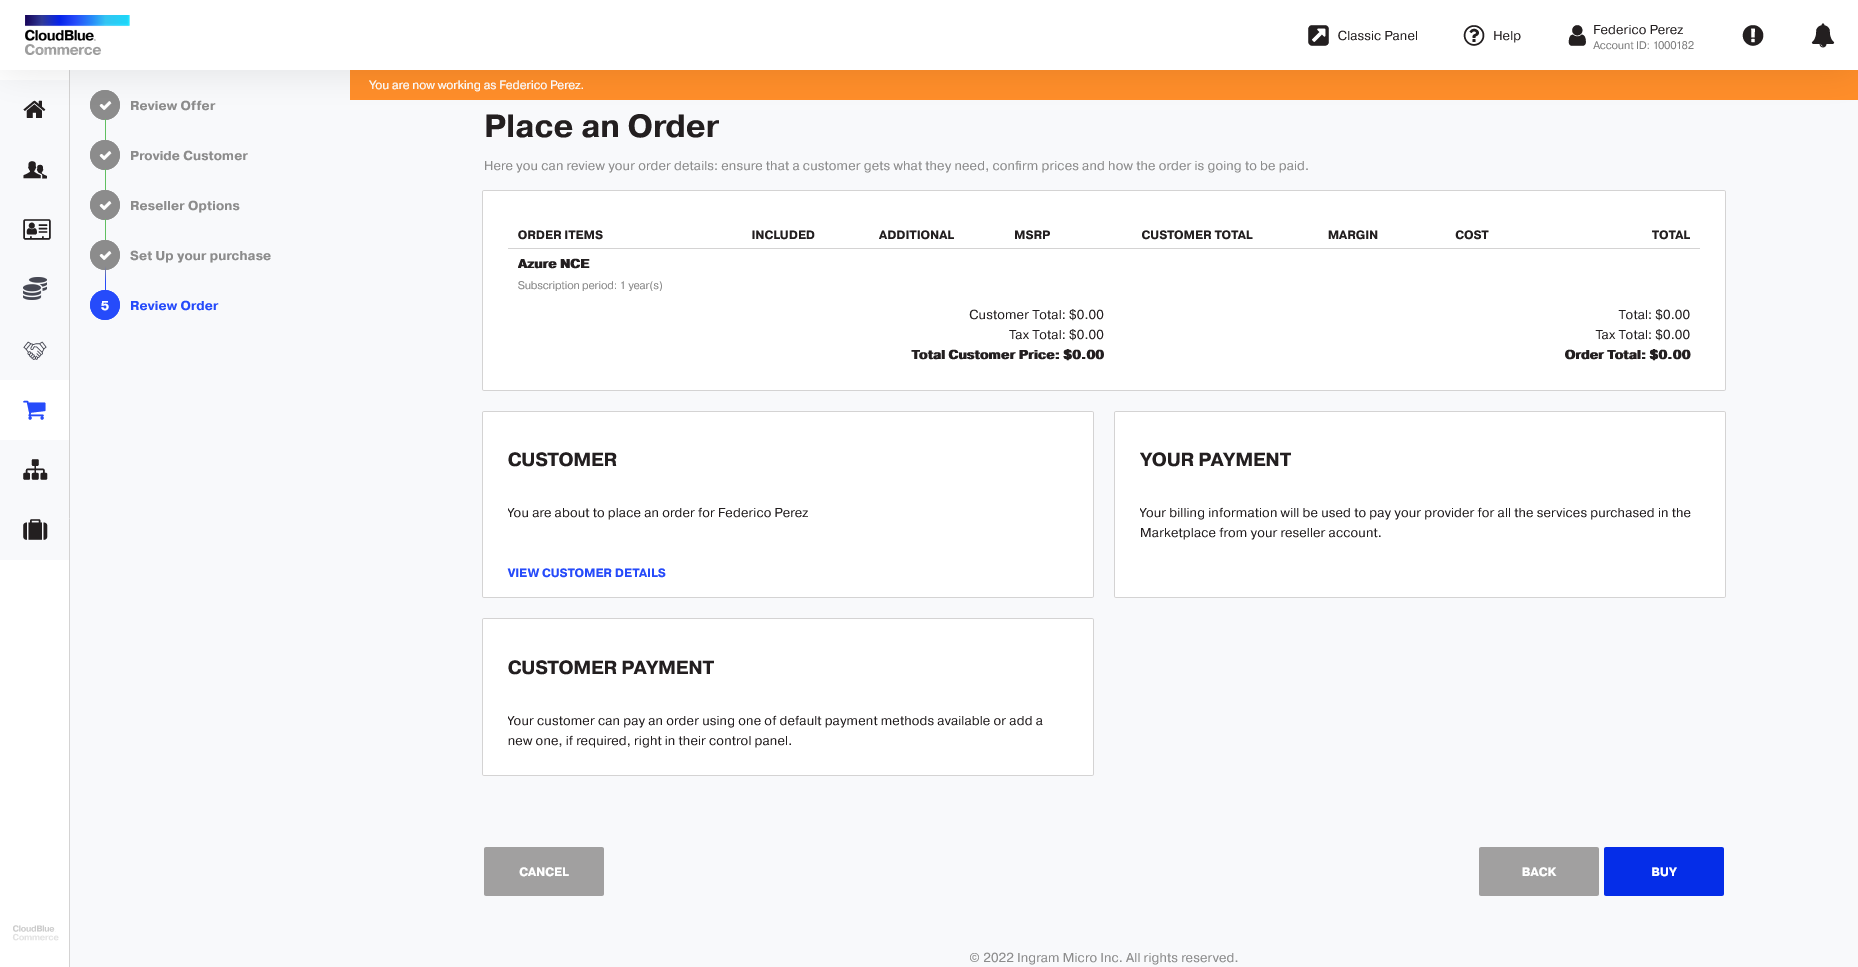
Review the order details and click Buy.
-
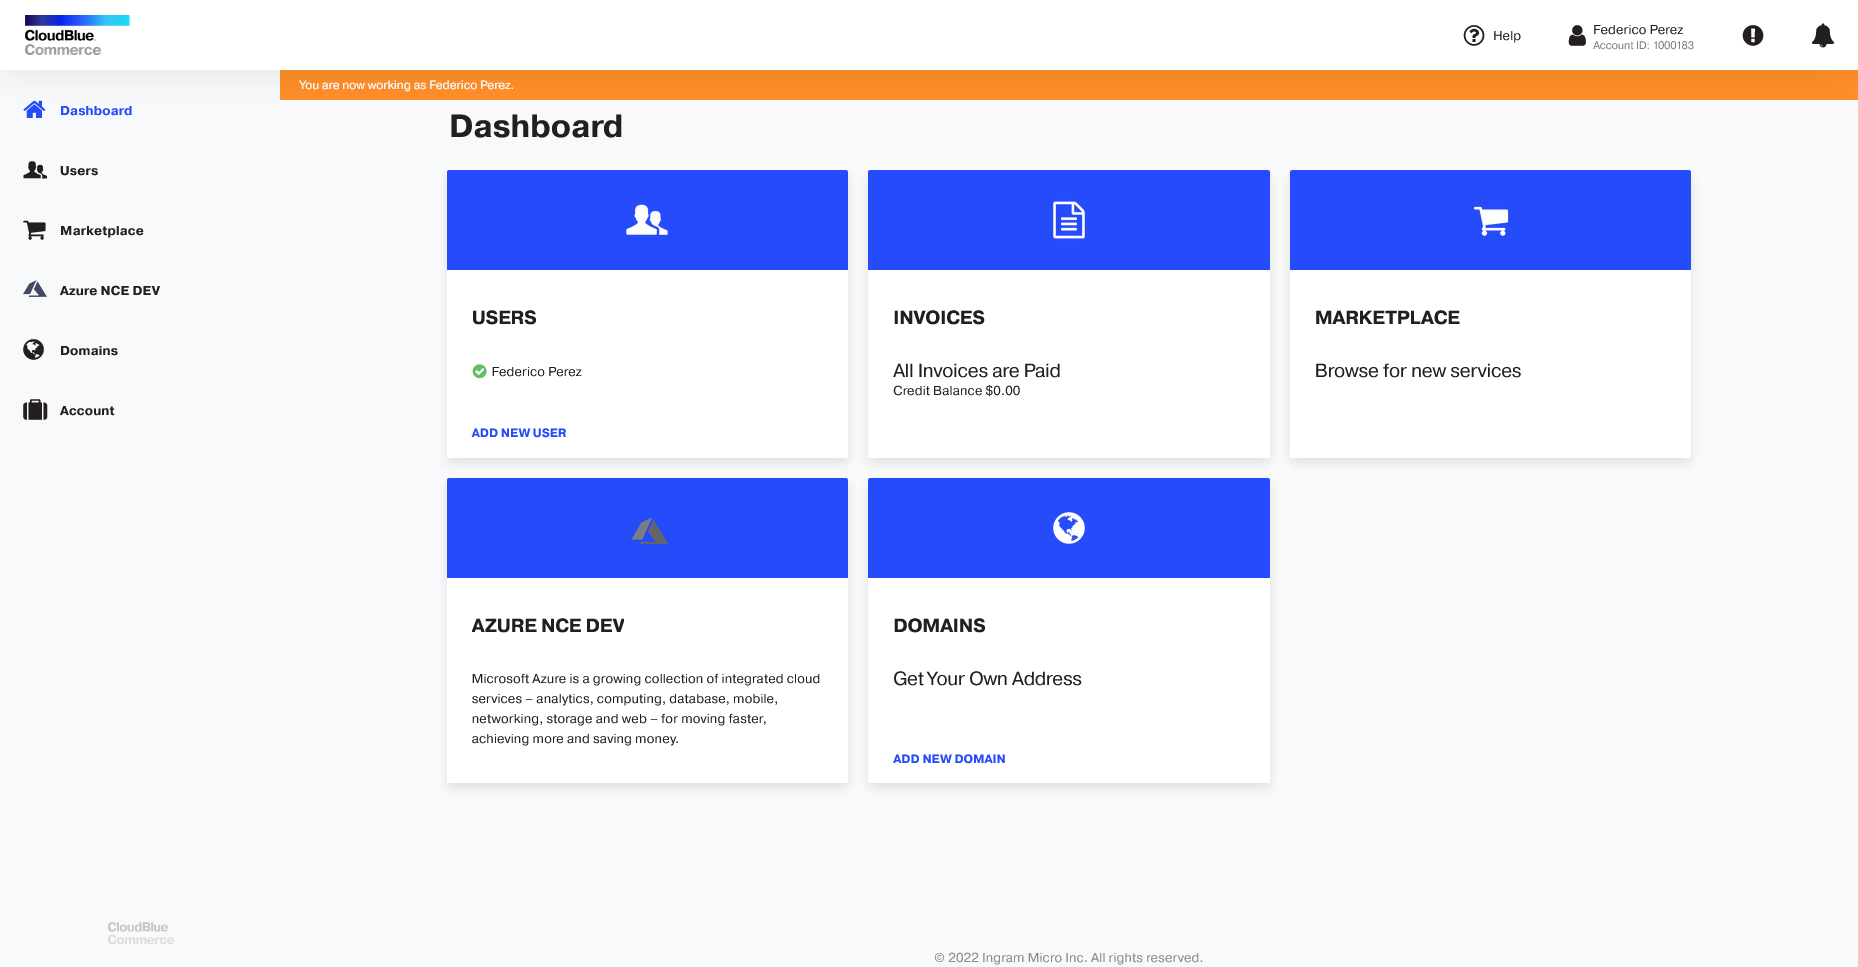
Once the subscription has been created, you will be able to see your subscription details, and obtain an initial temporary password that can be used to access the Azure Management Portal for the first time. To see the subscription details, just go to the Dashboard and click the tile for the new Azure NCE subscription.
-
Finally, the subscription details will be displayed, along with the temporary password that you will need to change in the Azure Management Portal. Please note that once you do that, the new password will not be displayed in this control panel. Additionally, you will also be able to obtain your current estimate spending by clicking the corresponding button.
Finally, the Approve Partner Roles button will allow customers to check if there are roles pending approval. If an approval is necessary, they will be redirected to Microsoft Admin Portal where they will be able to approve the request. This may be necessary if new roles have been added by the provider or if the admin relationship has expired, for example. For more information about GDAP, refer to the Requesting a Granular Admin Relationship with Customers (GDAP) section.