Table Of Contents
Application Packaging Standard
Last updated 18-Mar-2019VPN Setup for Windows
Please follow these steps to establish a VPN connection to the apsdemo.org network.
OpenVPN Desktop Client lets you run OpenVPN on Windows without need to interact with console window. You get an application from which you can control OpenVPN to start/stop your VPN tunnel and control connection properties.
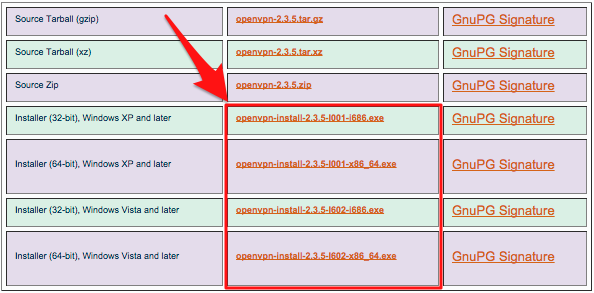
Download the OpenVPN package corresponding your Windows operating system:
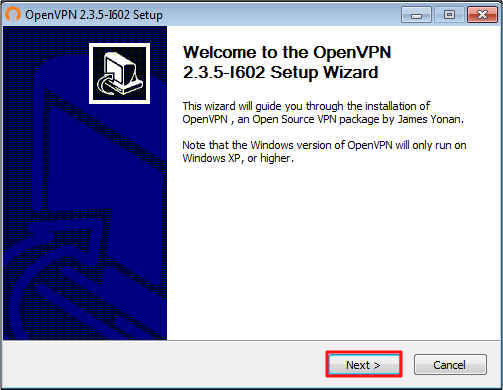
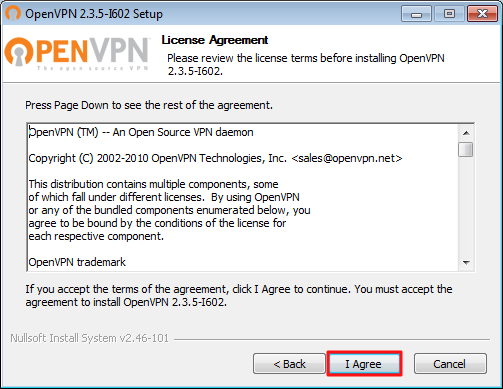
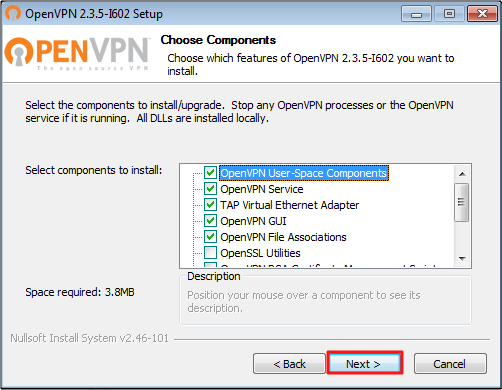
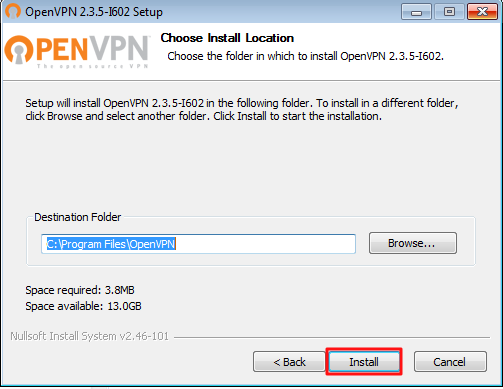
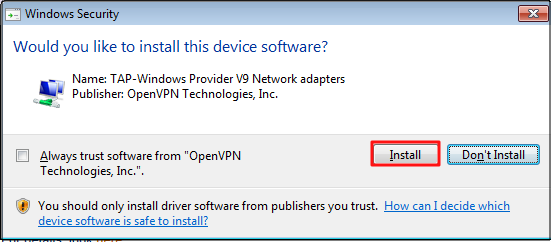
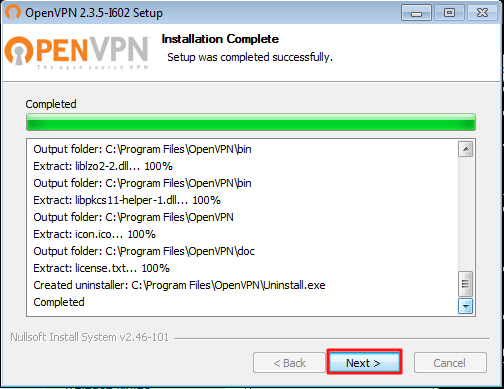
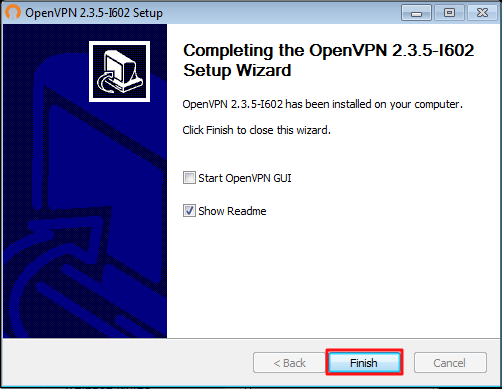
Install the OpenVPN package with default set of components:
Set up the VPN configuration.
The zip file with OpenVPN configuration, you have downloaded, contains all necessary parameters for getting access to the apsdemo.org network:

Extract the configuration file.
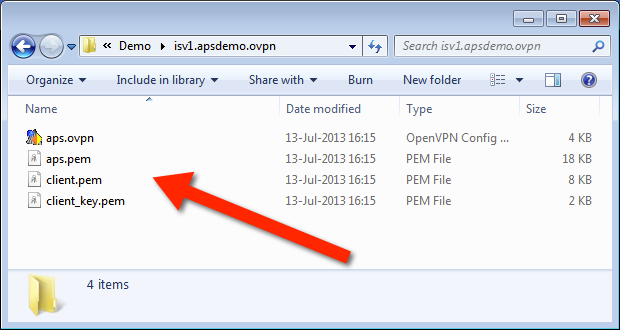
Copy all these files to the
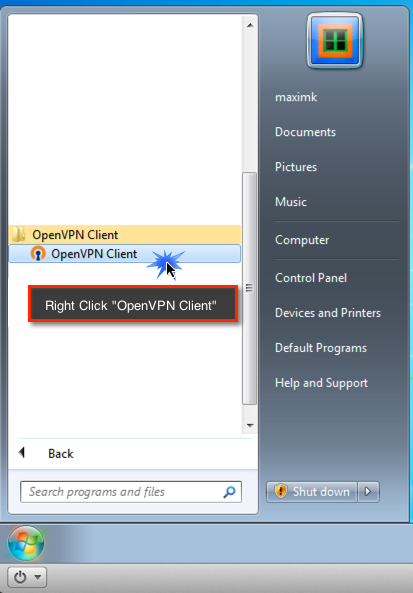
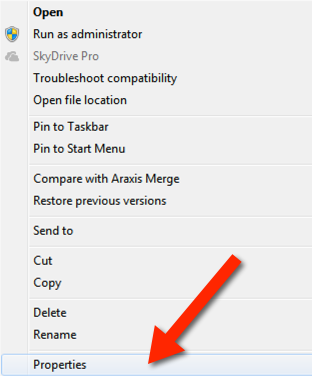
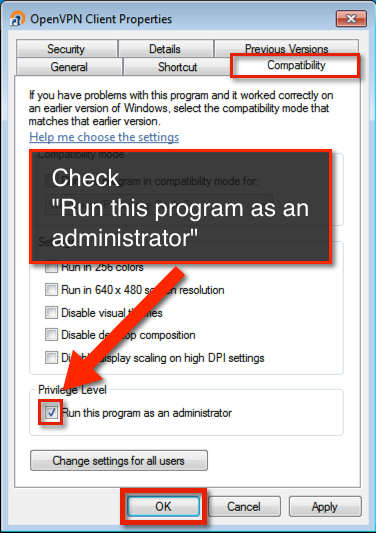
configfolder of the OpenVPN application, that is toC:\Program Files\OpenVPN\config\by default.Change properties of the OpenVPN Client Shortcut:
Warning
In order for DNS to work properly, OpenVPN client must be run ‘As Administrator’.
Start the VPS connection:
From the desktop, start the OpenVPN GUI utility.

This initiates the OpenVPN GUI process. And on the desktop tray, you will find the OpenVPN GUI icon. Right-click it and select Connect.
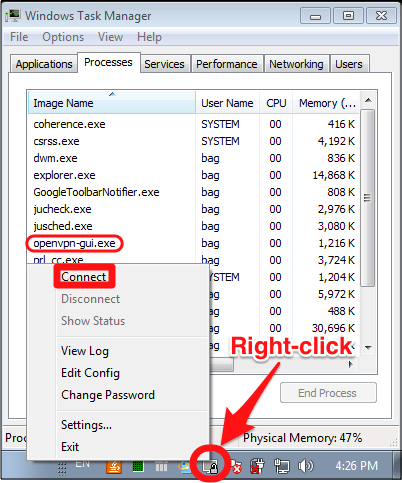
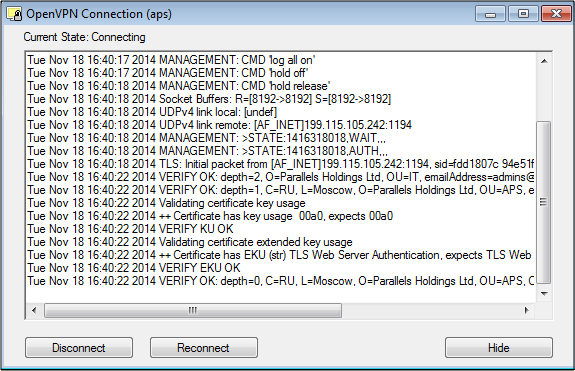
This will initiate the OpenVPN background process that must set a VPN connection with the apsdemo.org VPN.
If the connection is successful, you should be able to ping dns.apsdemo.org by its domain name:
> ping dns.apsdemo.org

Pinging dns.apsdemo.org [10.112.0.11] with 32 bytes of data:
Reply from 10.112.0.11: bytes=32 time=1ms TTL=128
Reply from 10.112.0.11: bytes=32 time=1ms TTL=128
Reply from 10.112.0.11: bytes=32 time=1ms TTL=128
Note
the most common reason for DNS not to resolve properly is that the VPN client was not run As Administrator.
Test connection to the Operations Automation control panel on your sandbox.
Once you have a VPN connection to the apsdemo.org network, you should be able to connect to the Odin Automation control panel: