CloudBlue Commerce API (DRAFT)
Table Of Contents
Provisioning


In this document:
Continue Your Demo Project
Continue the demo project from the previous step.
Depending on the platform configuration, subscribe your test customer using the service template in the OSS provider control panel or using the service plan in the BSS provider control panel.
In UX1, when logged in as the staff member, follow the steps as explained in the Add Users of the User Management demo project to create a couple of users and assign a VPS for each of them.
In the list of servers, note that APS STATUS column shows the
aps:activatingstatus for the new servers: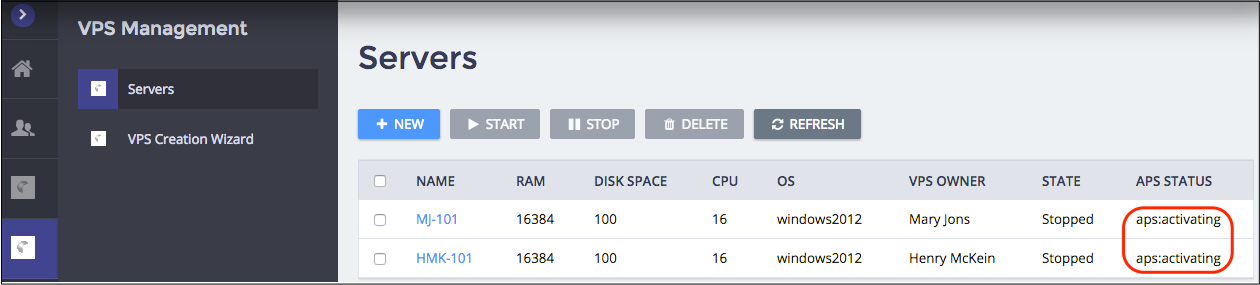
Log in as a new user to UX1. For this effect, open the user list in the User Manager:
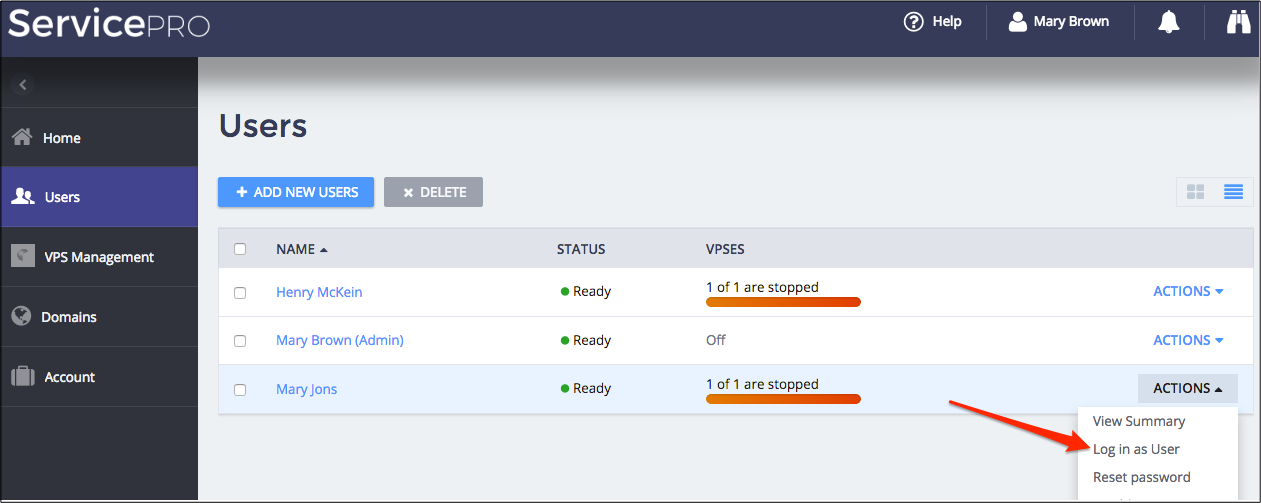
In the ACTIONS drop-down menu, select the Log in as User action to impersonate the selected user.
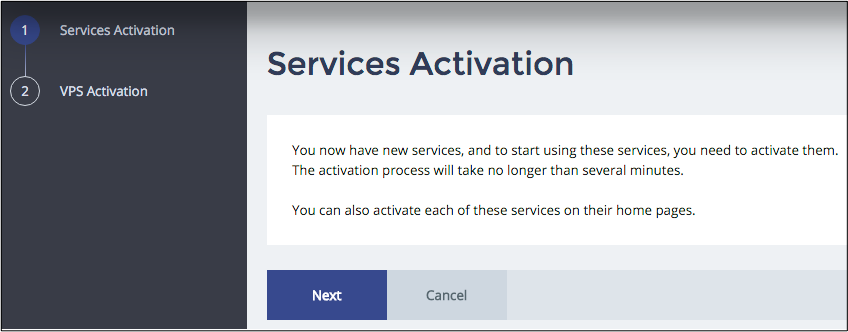
In UX1, the Service Activation wizard must start. In its first step, click Next:
In the second step of the Service Activation wizard, enter the host name in the VPS Name field and then click ACTIVATE:
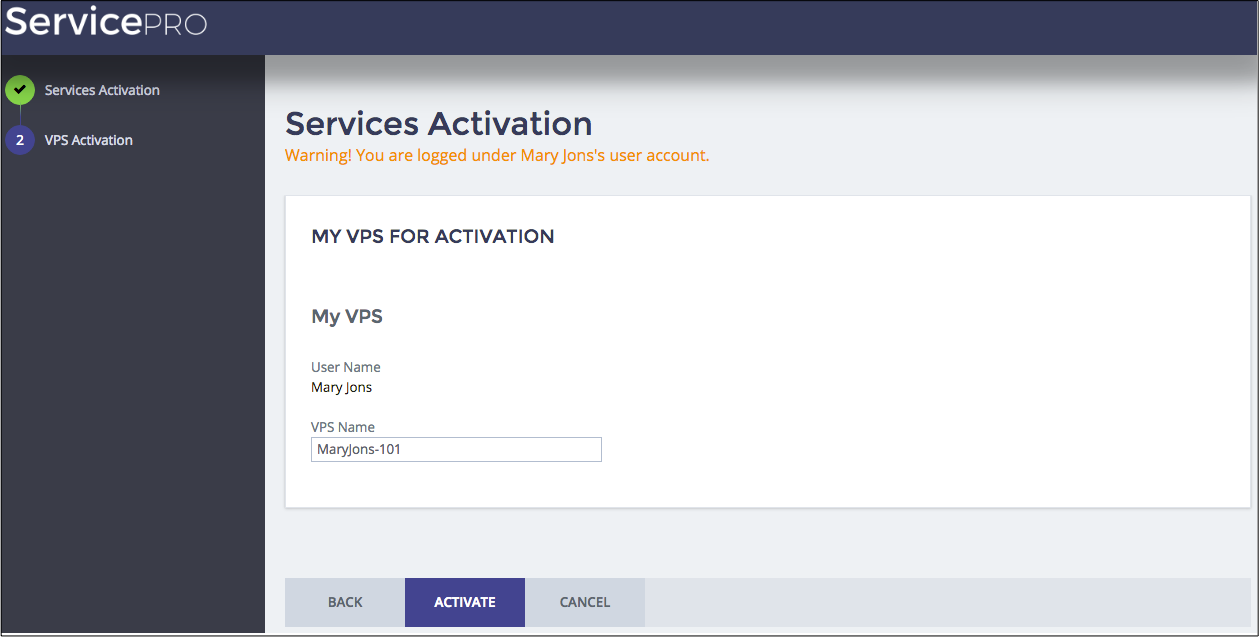
You will be forwarded to the list of servers, where the new VPS status must be
aps:ready: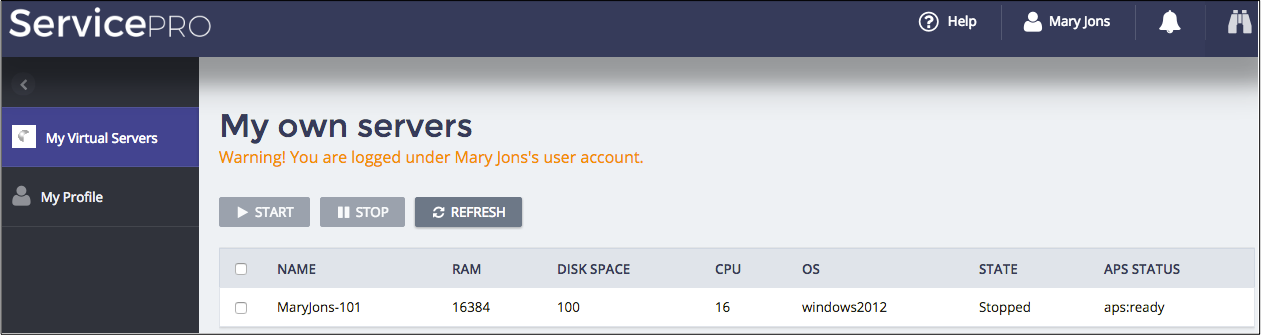
Conclusion
This completes the APS application development cycle. If you experienced any issues when following
the project steps, you can download
the sample package
and compare it with the demo package you have created.